
Looking to bring a little love into your house this Valentine’s Day with the kiddos?! Then this post is for you! I’ve rounded up 10 of my favorite lower-sugar, heart-healthy Valentine Treats for Kids. Make them together or surprise them after nap-time, either way, they’ll think you’re the best!

We’ve been living holiday to holiday since quarantine life started back in March.
Valentine’s Day has been a hot topic since NYE ended, so naturally my toddler and I have been making and baking up a storm!
These lower sugar, heart-healthy Valentine Treats for Kids are a win-win for the entire crew, but especially those little helpers!
Plus, they’re so easy to make and get your kiddos in the kitchen with you (more on how to get kids cooking here!)
How to Make Healthy Treats Kids Will Enjoy
I get it! Kids are picky and if they’re used to an Oreo, it may be challenging to get them interested in a banana!
But, I promise, if you make healthy foods that are filled with natural sugars fun, they won’t ever tell the difference. Pinky promise!
Here are my go to simple-swaps to make healthy treats you kids will enjoy (and you will too!)
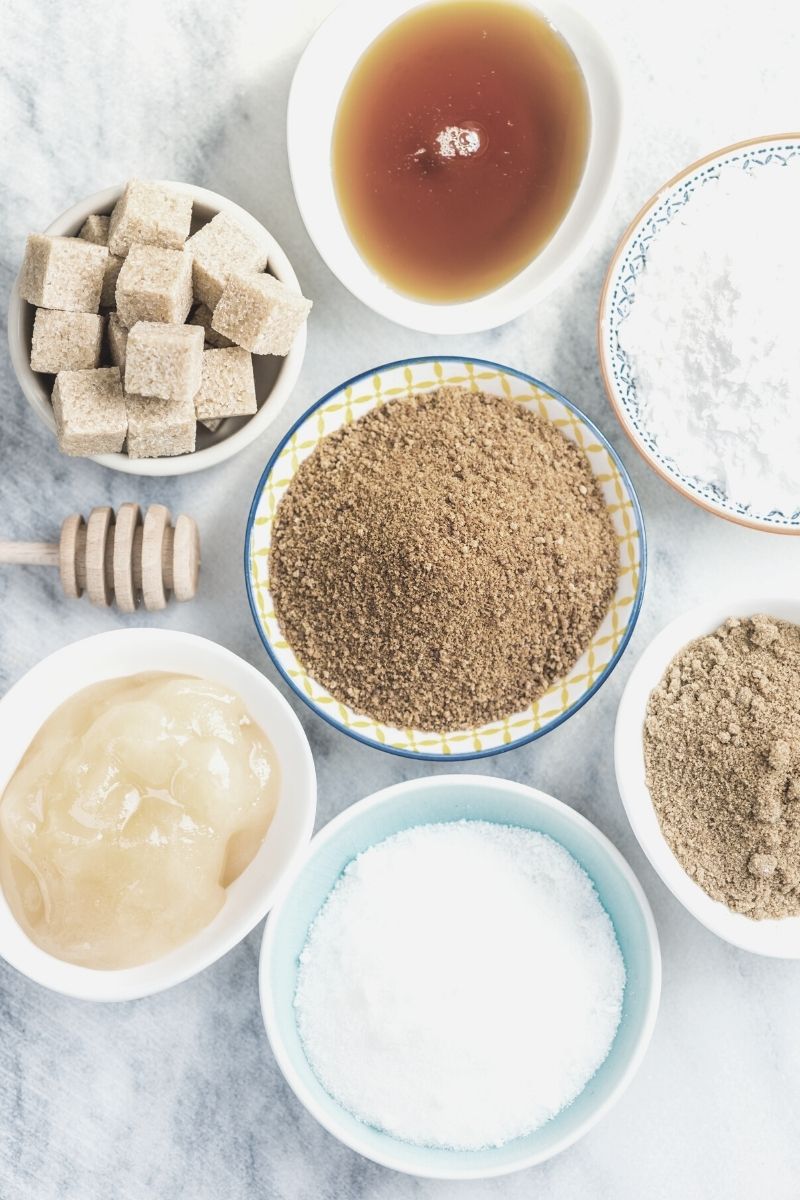
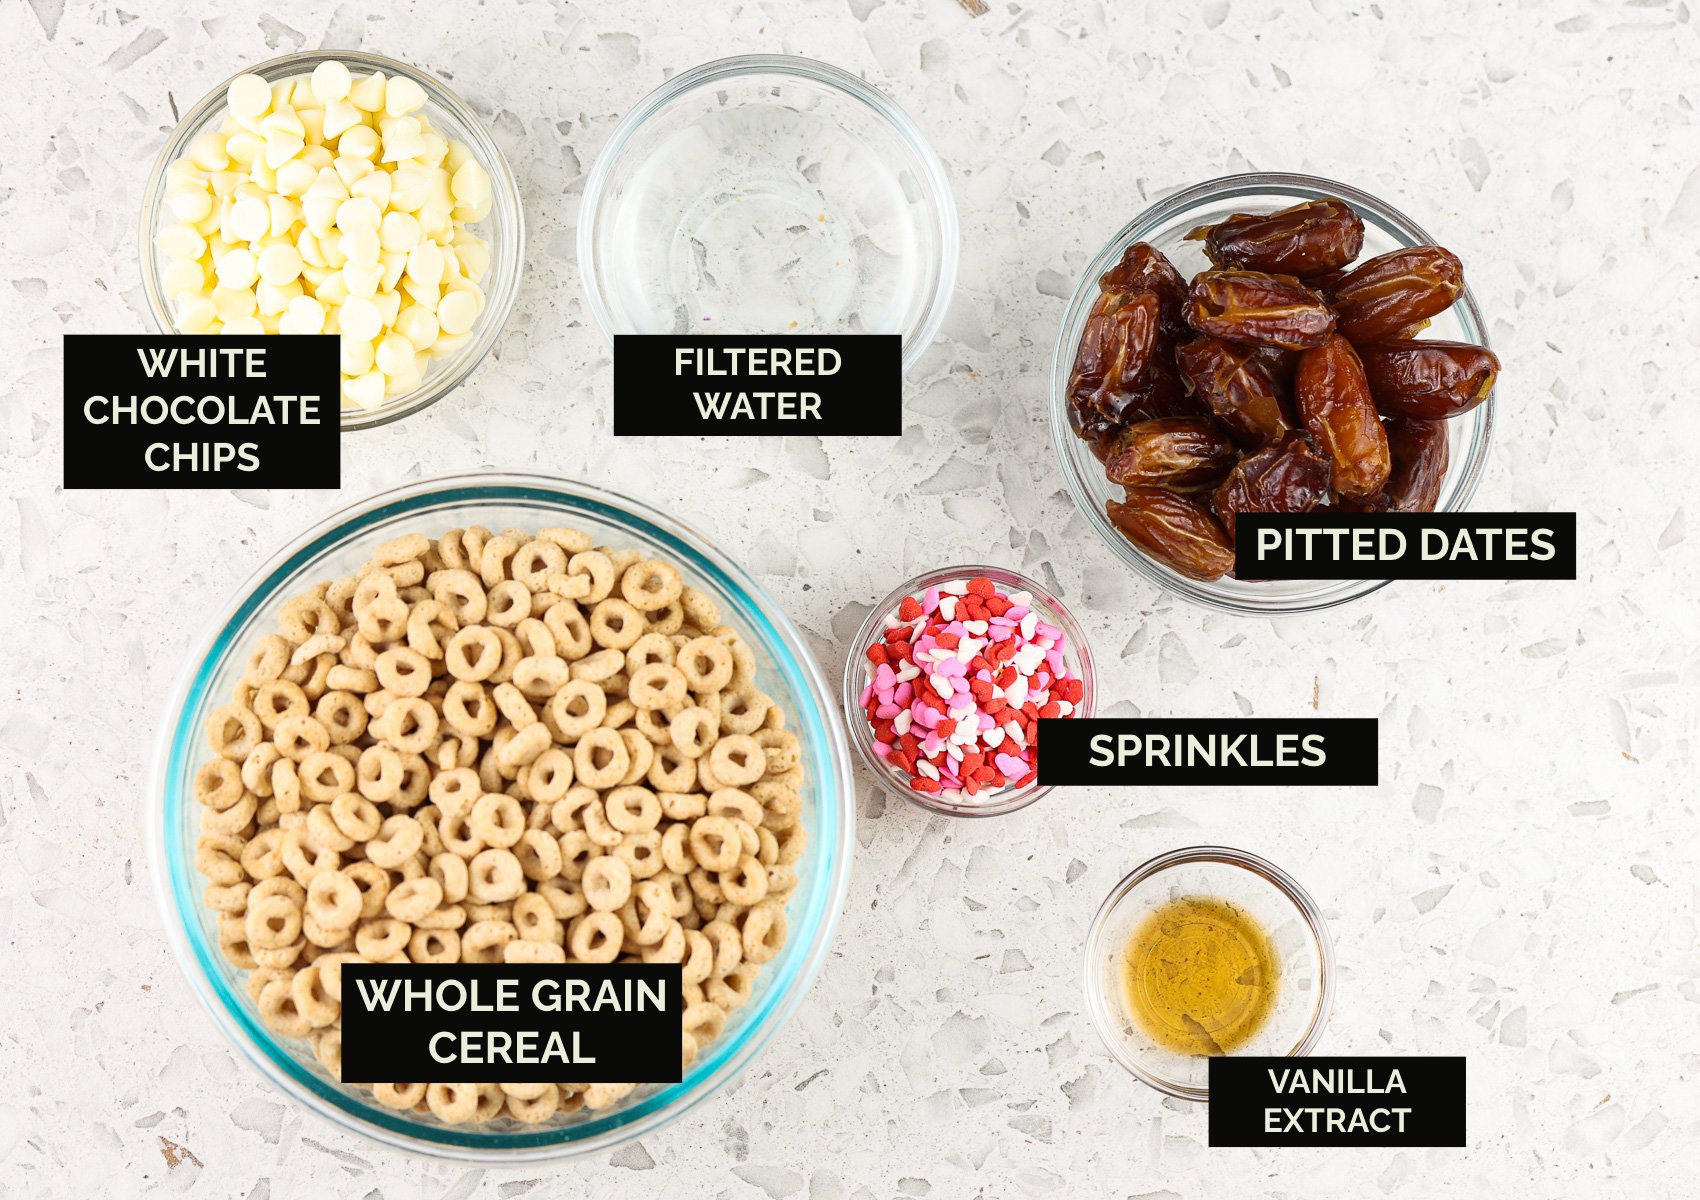
- Experiment with dates, date paste, and date syrup! This is a naturally sweet fruit that adds the perfect sweetness to baked goods without any added sugar.
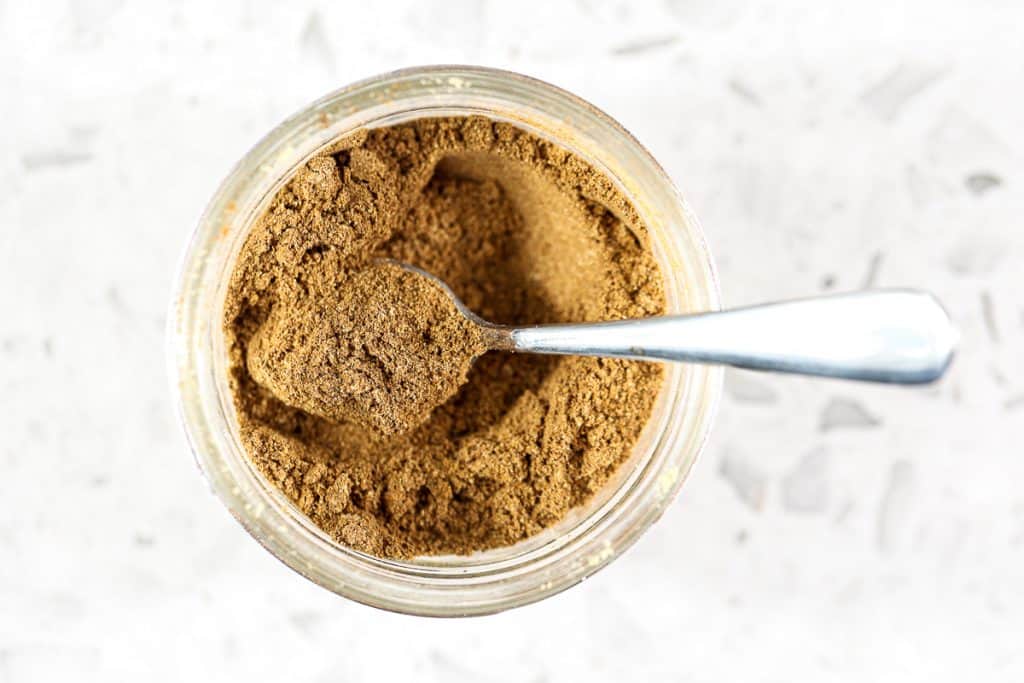
- Add cocoa powder! This natural antioxidant will boos the nutrition and create that chocolate look that kids (ok and moms) go crazy for! Just be sure to add the sweetener too (aka, those dates!)
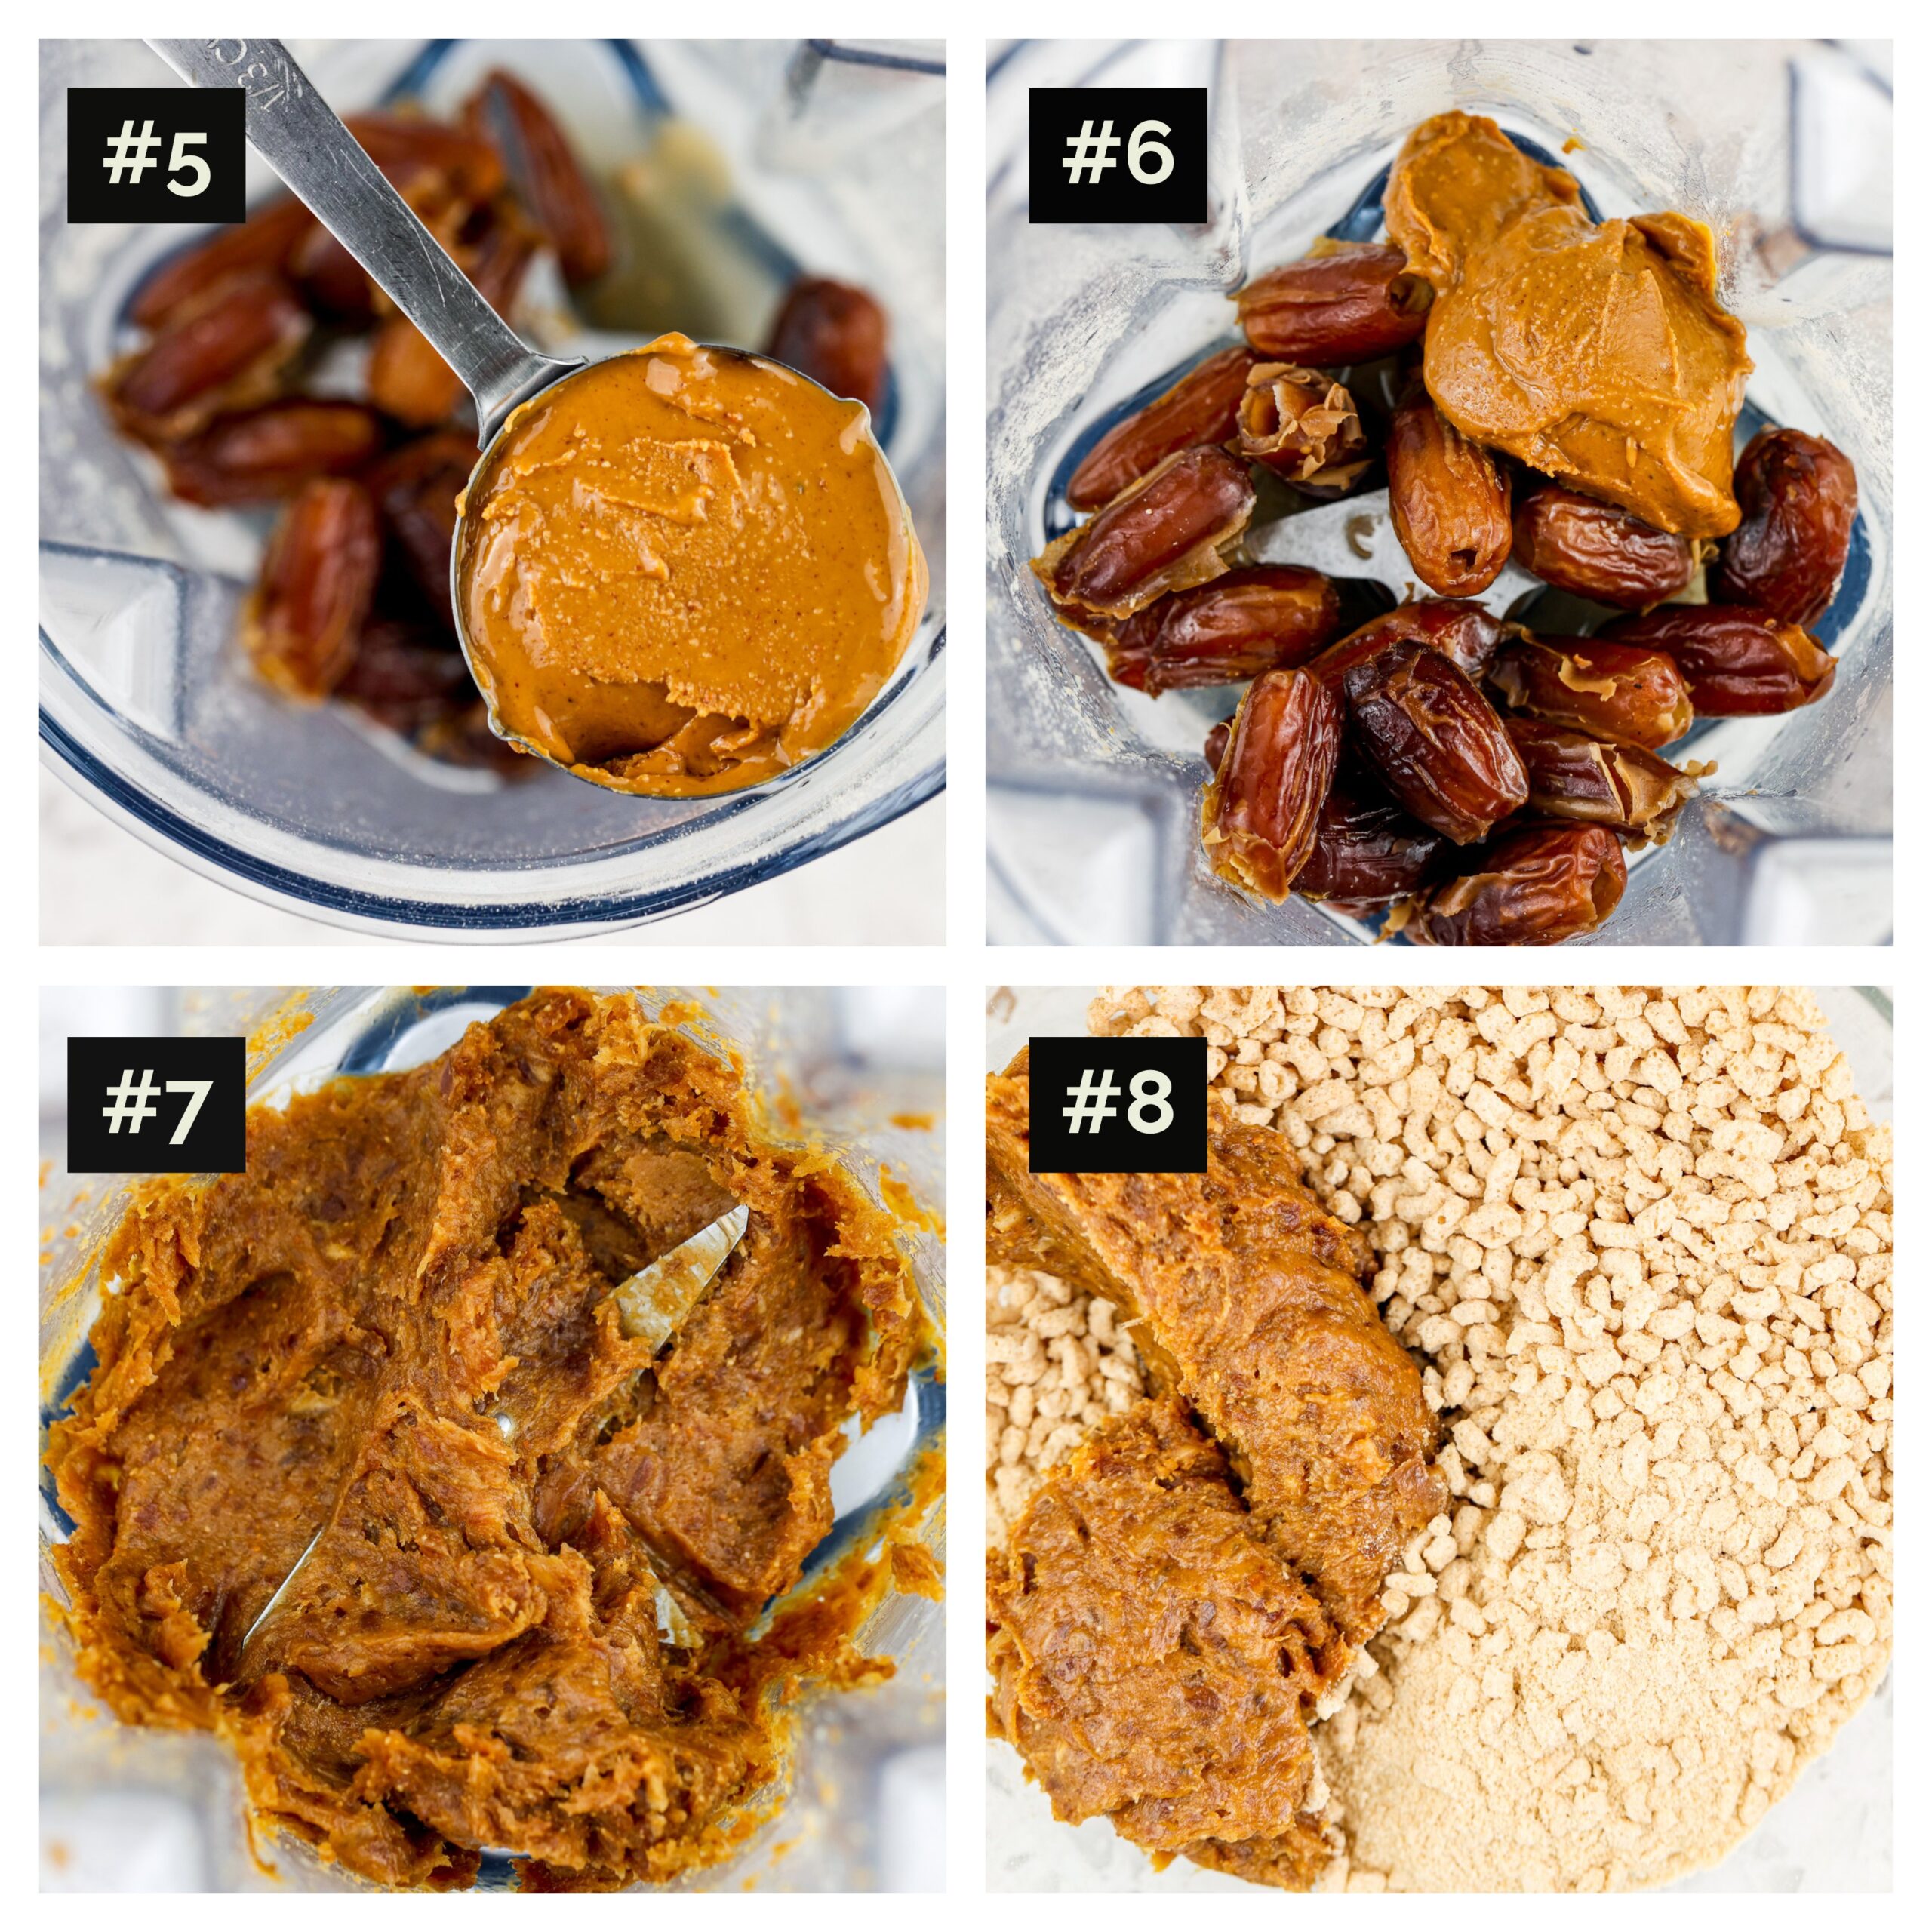
- Consider using a nut or seed butter to add the healthy fats over traditional butter. This adds quality nutrition that your kiddos need!
- Add some fun! Sprinkles that coincide with the holiday are an excellent addition to cakes, cookies, and date pops! I’m not a stickler if you buy ones with the food dyes, but some markets sell natural dye sprinkles for a very cost-effective price too!
Simple Kid Friendly Valentine’s Day Recipes

While these are a big win for Valentine’s Day, you can certainly make these treats year round! Change out the sprinkles with the season and you’ve got yourself a festive Fourth of July cake too!
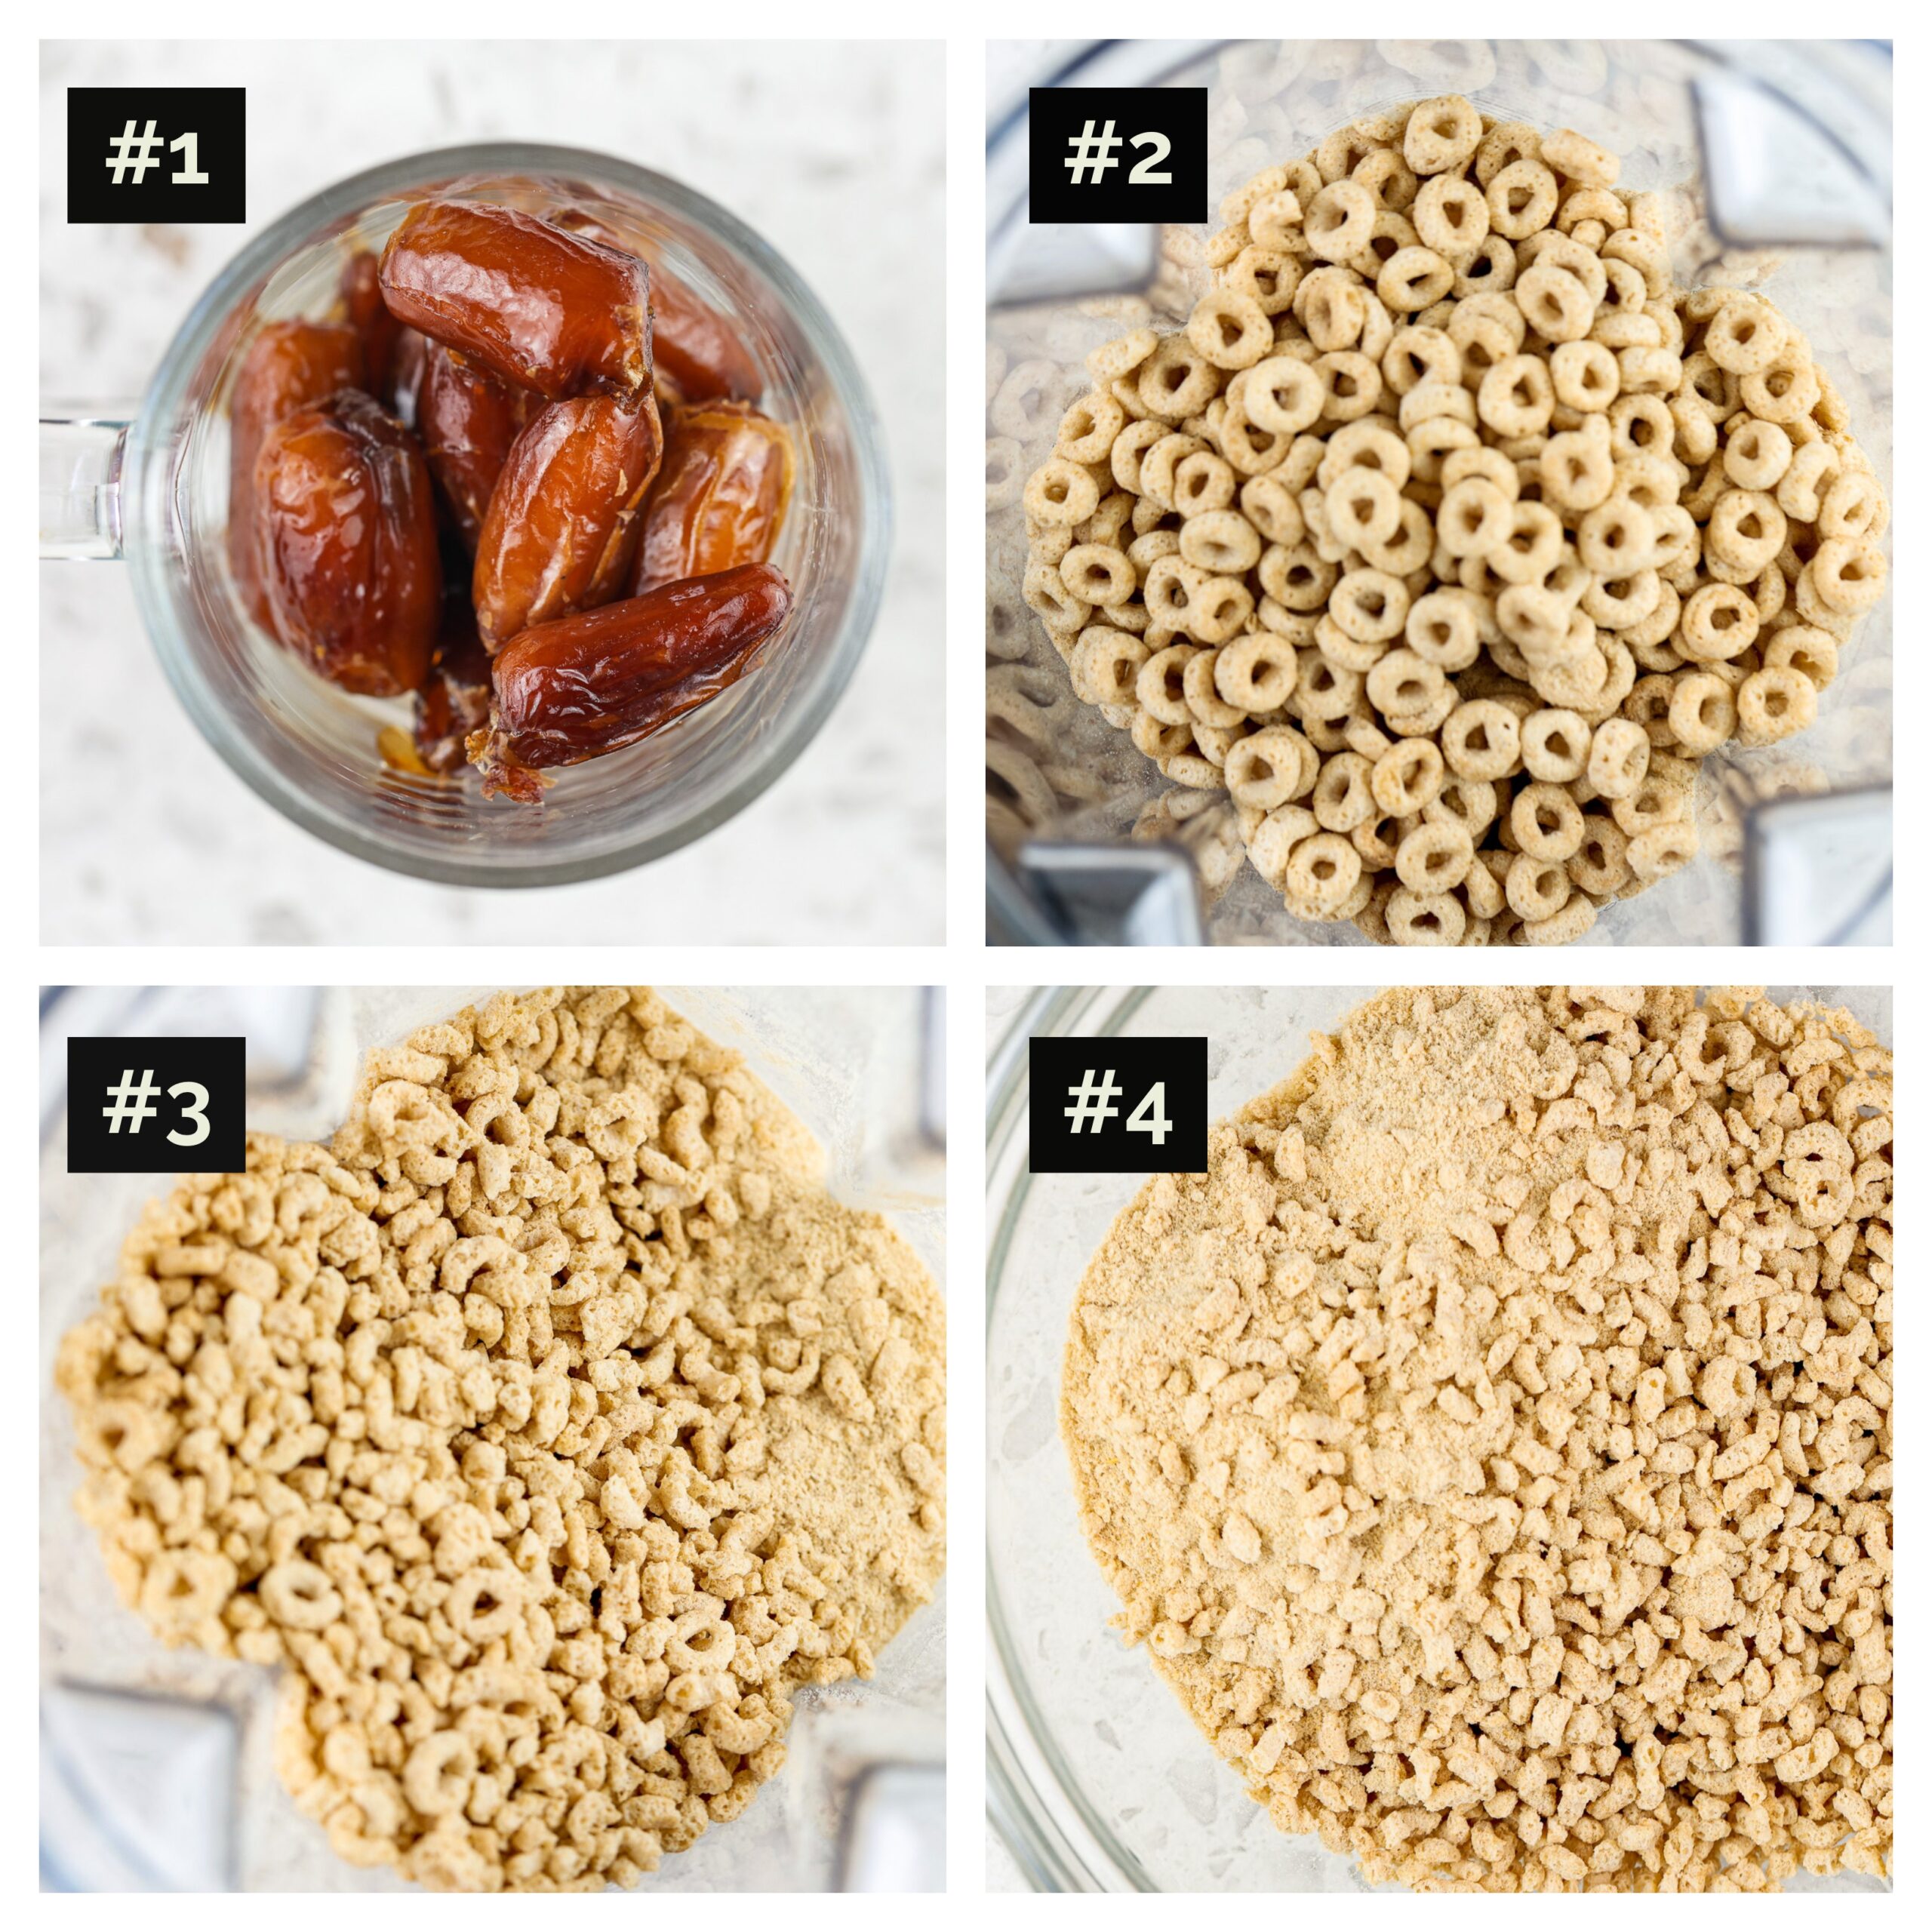
- Cereal Cake Pops
The best recipe because literally you don’t have to freak out when your kids eat this raw from the bowl! (For an adult, slightly higher sugar version, checkout my GF Chocolate Cake Pops!)

2. Strawberry Nice Cream
Again, love a recipe with a low mess clean up and that can be eaten raw (aka, avoiding the meltdown from a hangry toddler!)

3. Death by Chocolate Cake (aka Chocolate Zucchini Cake)
A fun way to sneak in a veggie (and fruit, hello avocado frosting!)

4. Chocolate Peanut Butter Cookies
Better than a Reece’s. Toss them in the freezer… you won’t regret this!

5. 3 Ingredient Cookie Cake
While not totally homemade, this swap is for my busy moms who want something fun! You can also use small cookie cutters and cut them out for a unique cake mix cookie!

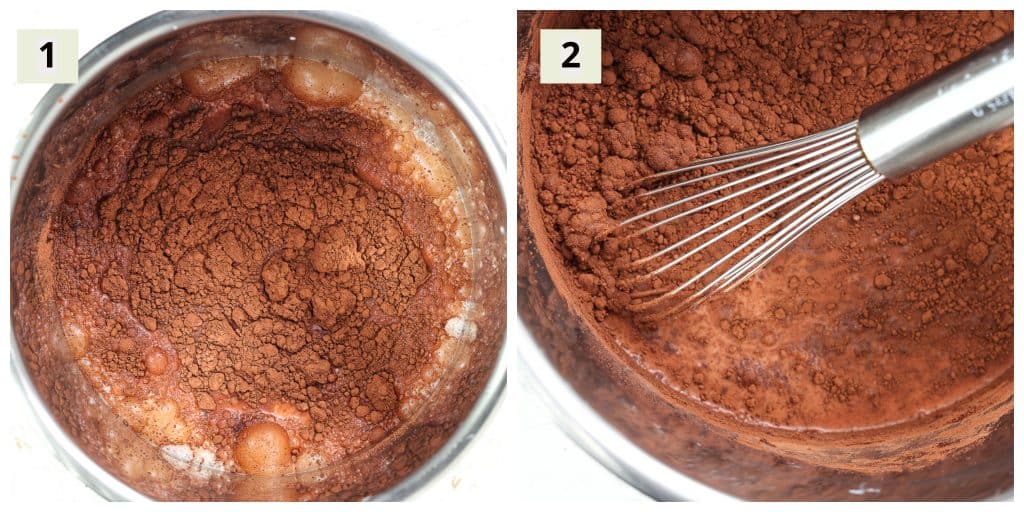
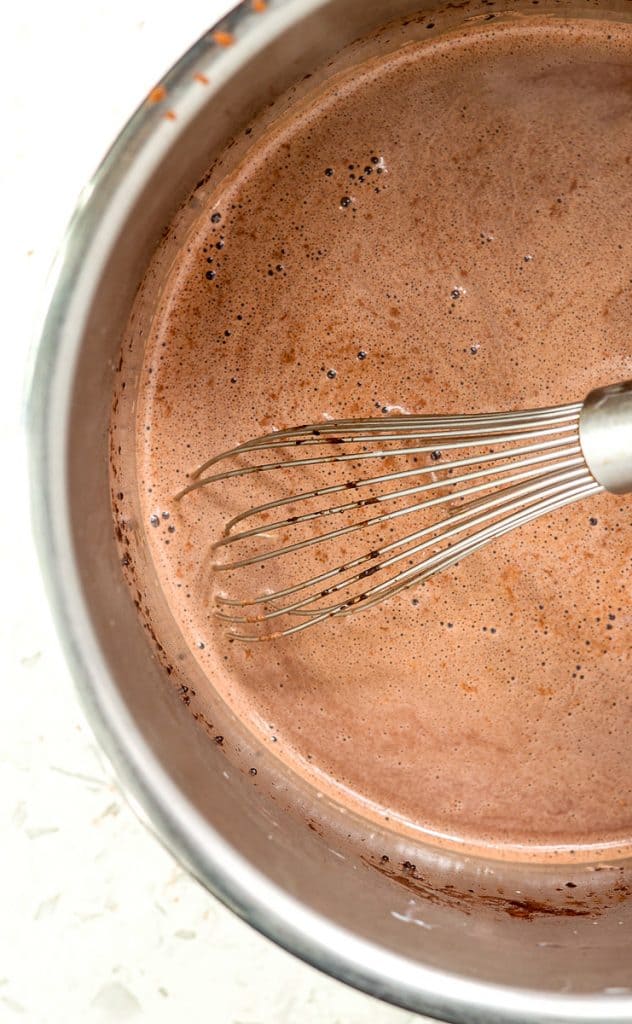
6. Homemade Chocolate Pudding
Put those dates to the test with this DIY pudding!


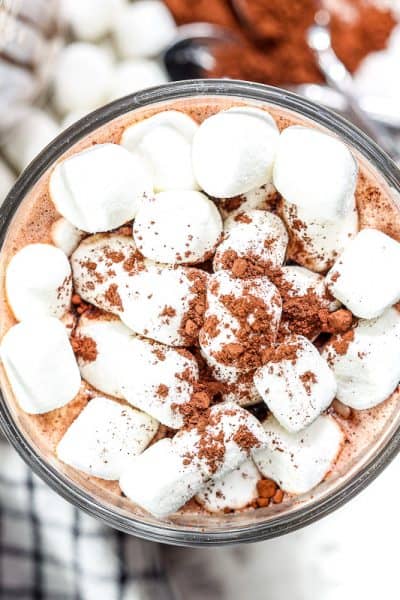
7. Hot Cocoa Dip
A better-for-you dip delight that will satisfy both adults and kids alike!

8. Sugar Free Chocolate Dip
They will never know what they don’t know… it’s that good!

9. Chickpea Cookie Dough
Again, a recipe that can be eaten raw! Plus, it makes an excellent freezer treat to reward during potty training too!

10. Sweet Chocolate Hummus
Hands down, make this! And then serve it with your favorite fruits.

Looking for more kid-friendly recipes? Then checkout some of my reader favorites below!
- Green Smoothie Popsicles for Kids
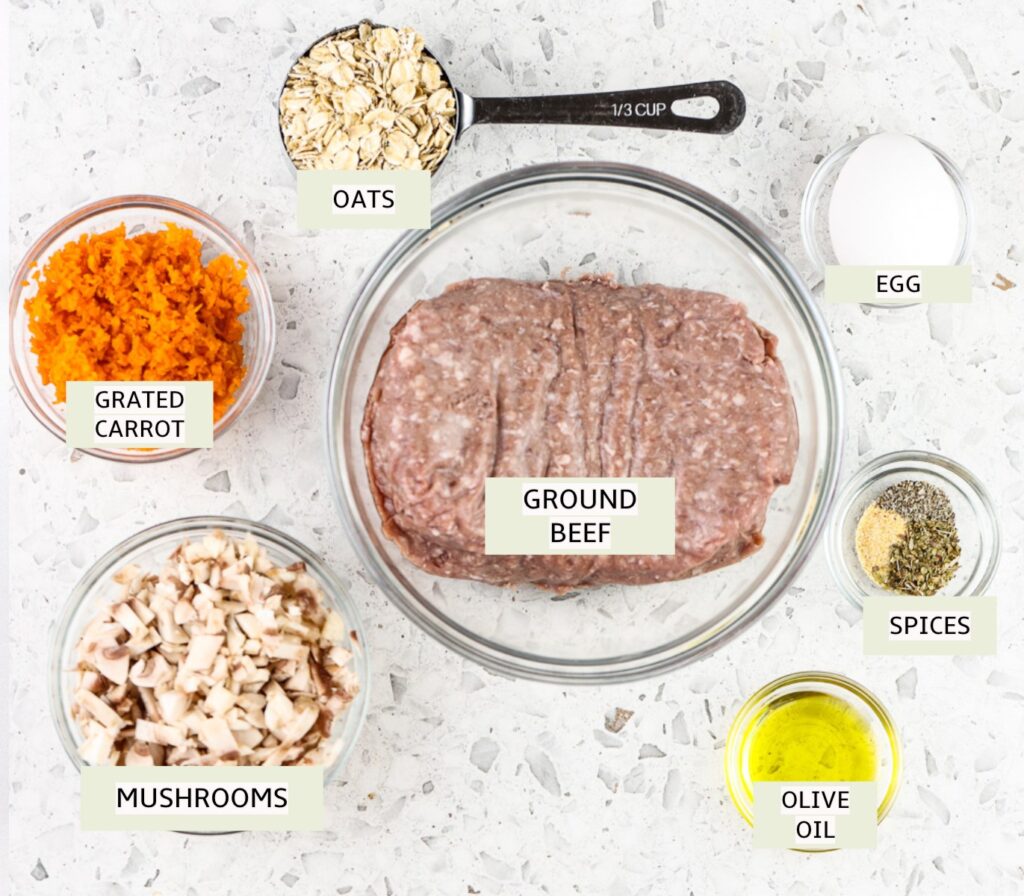
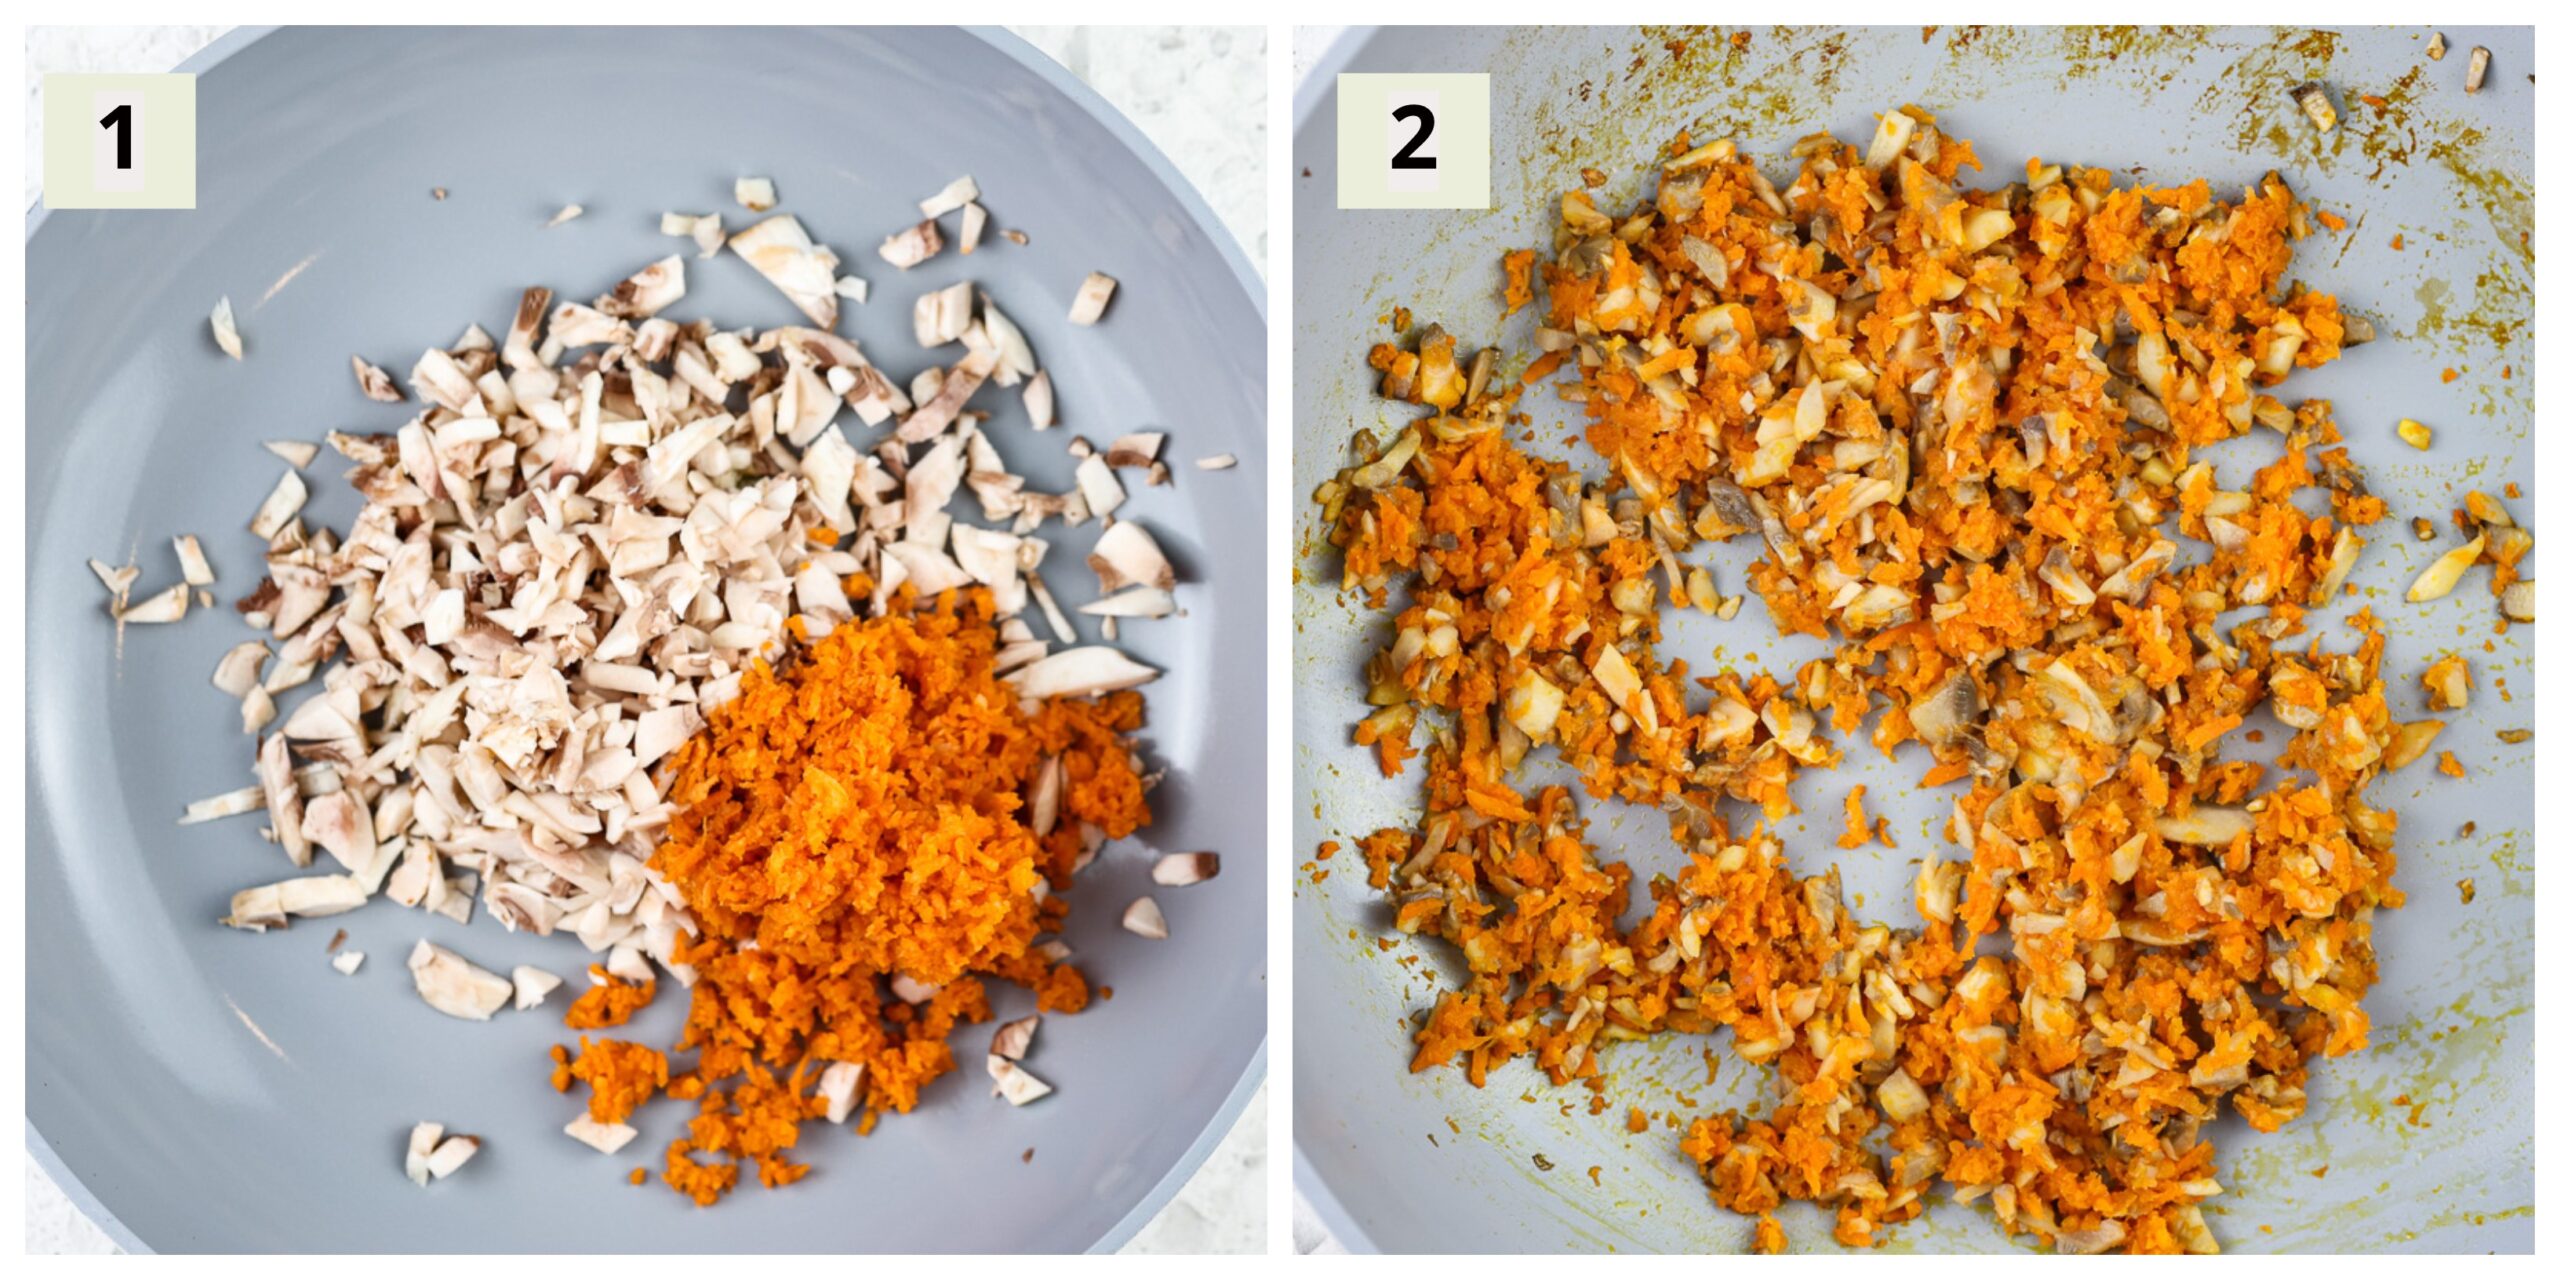
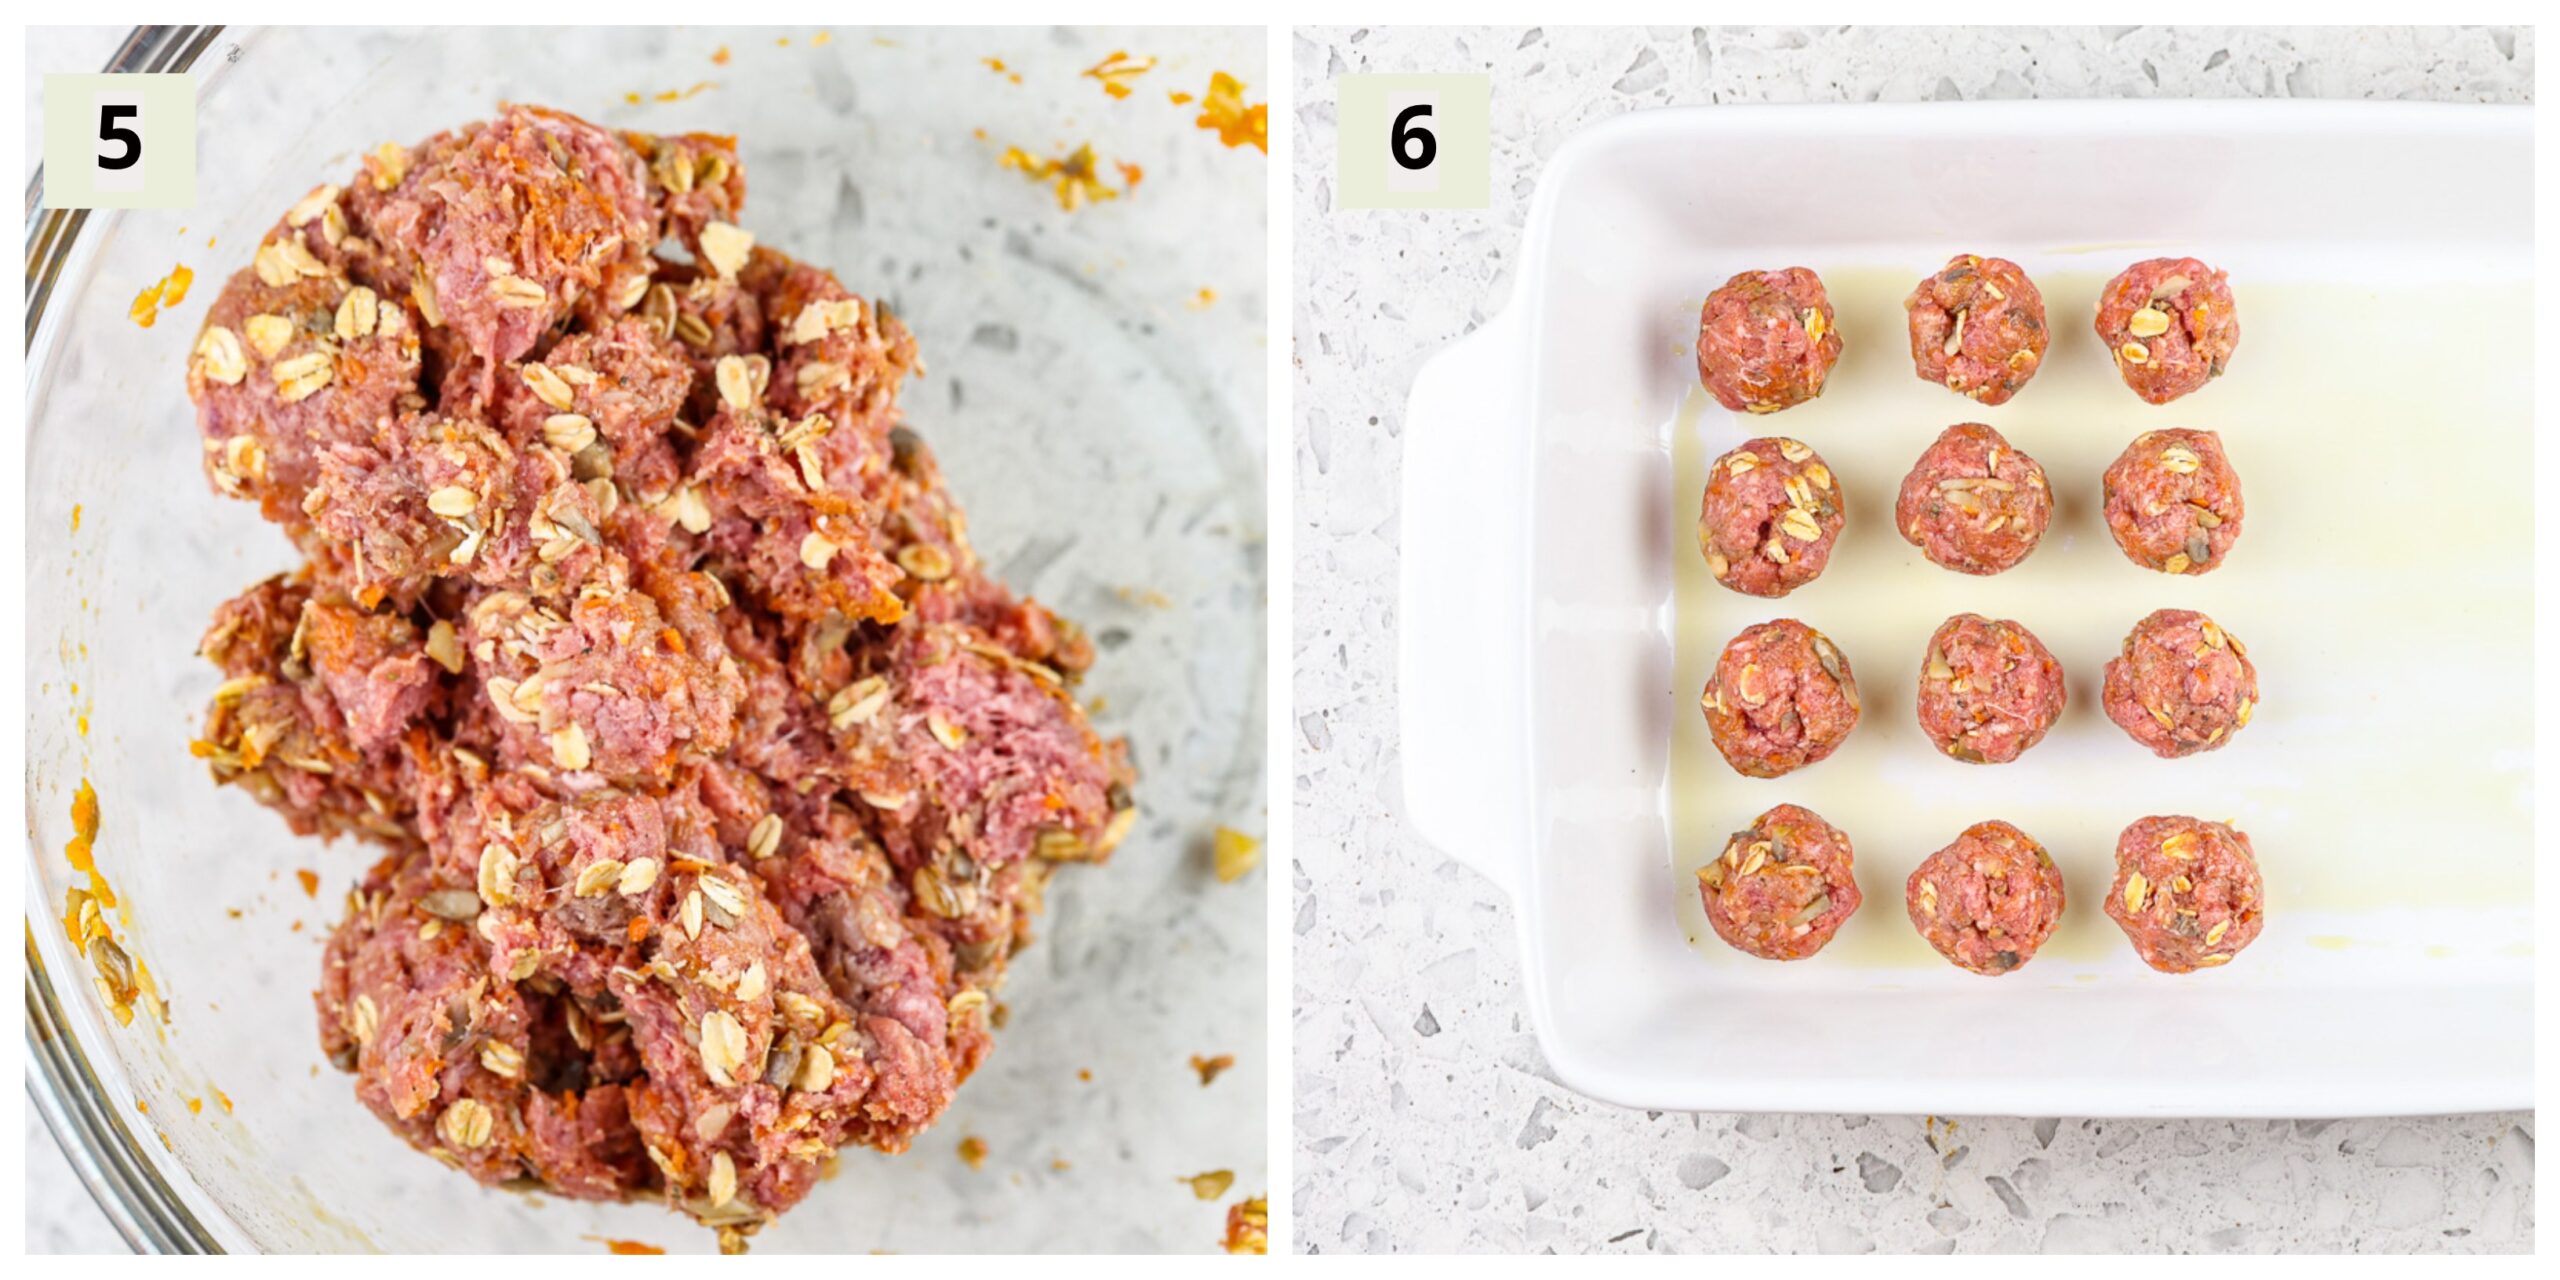
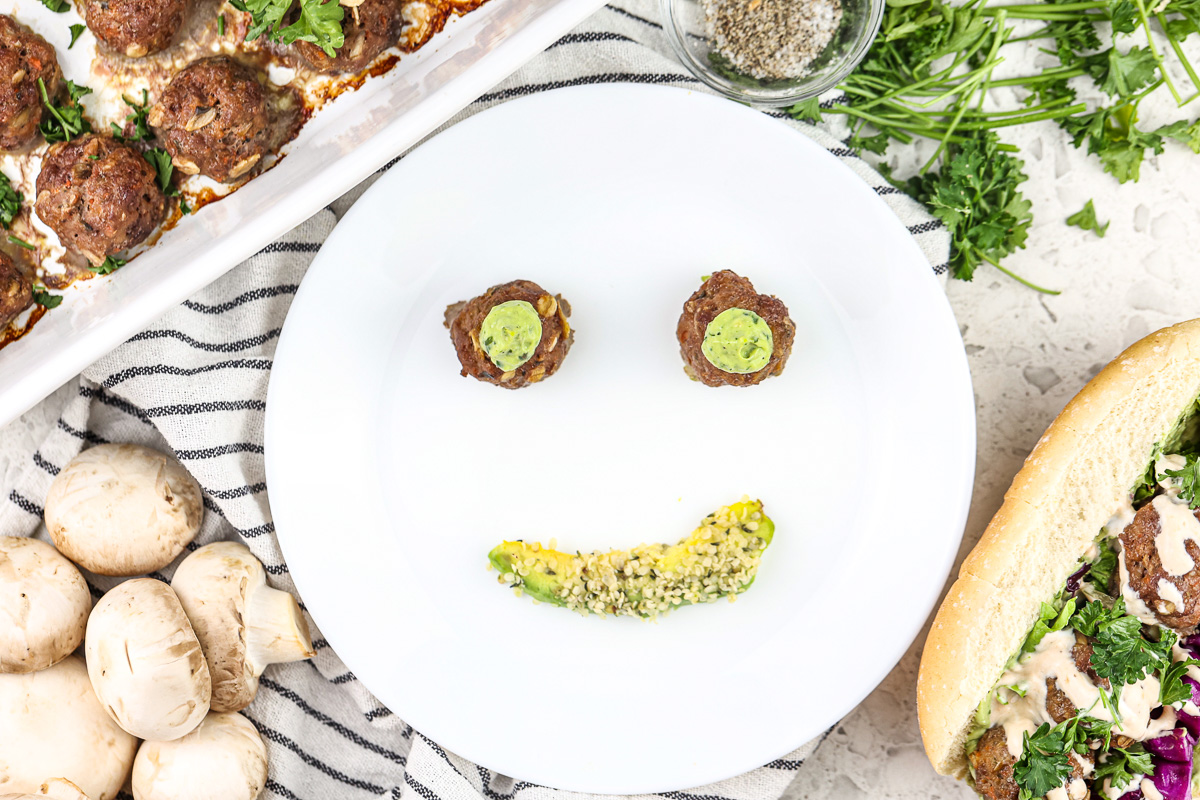
- Baby Meatballs
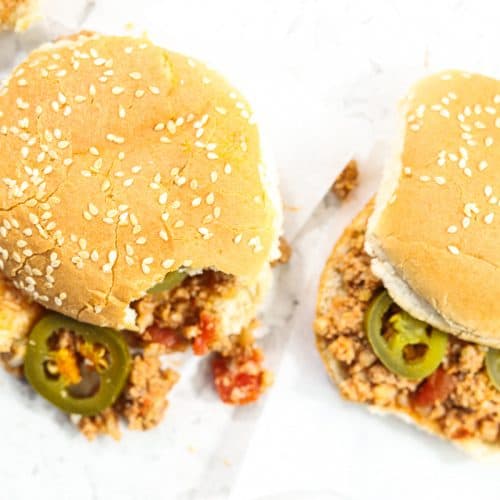
- Sloppy Joes
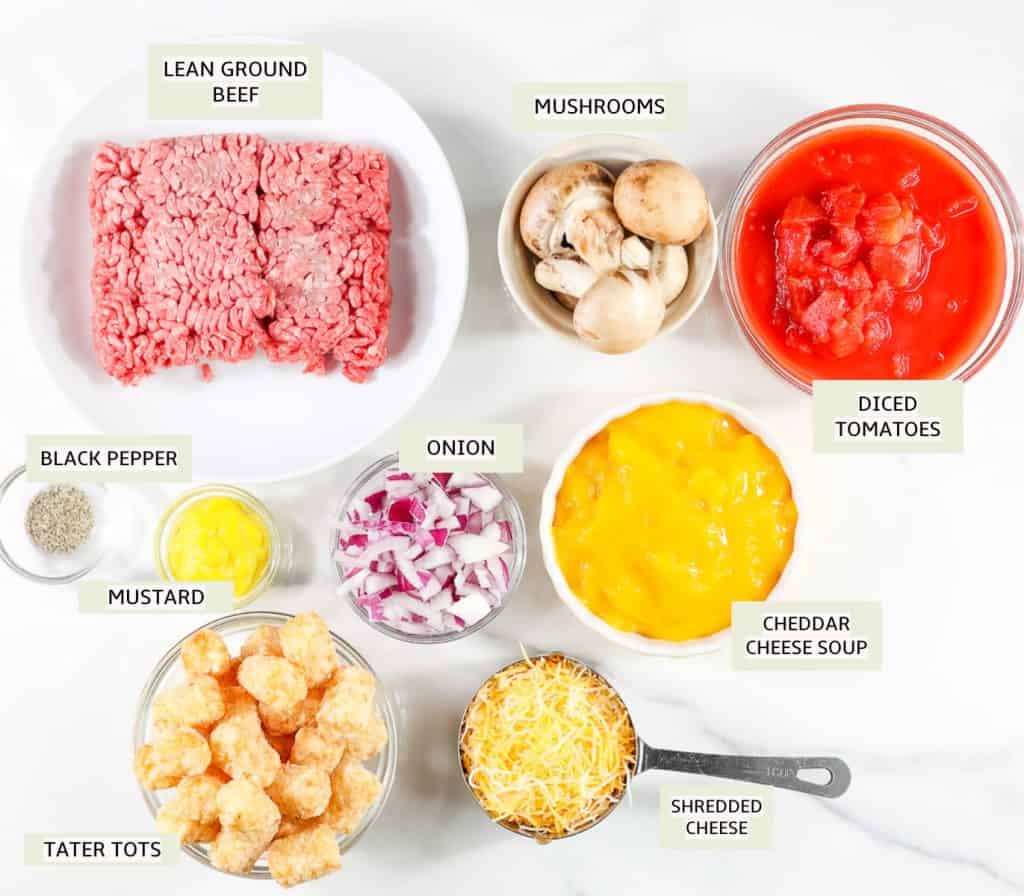
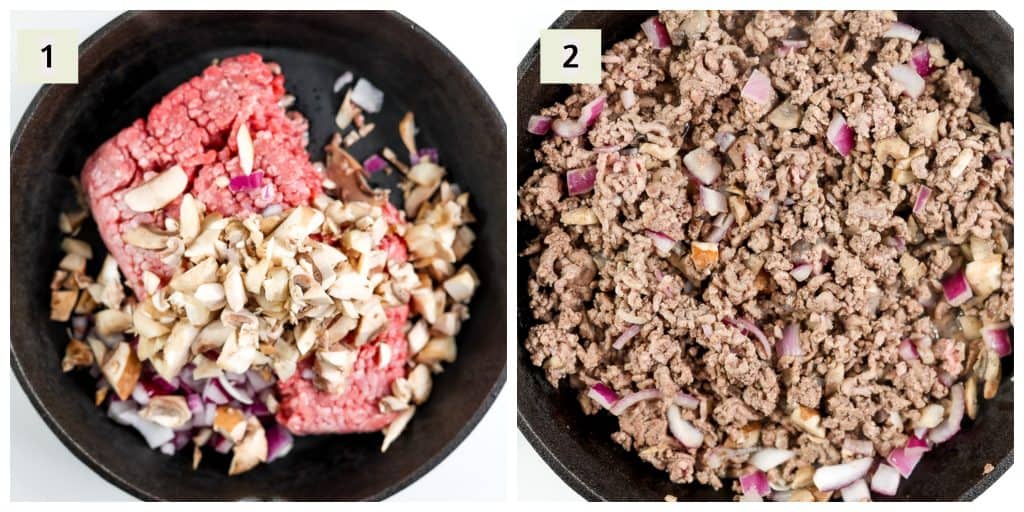
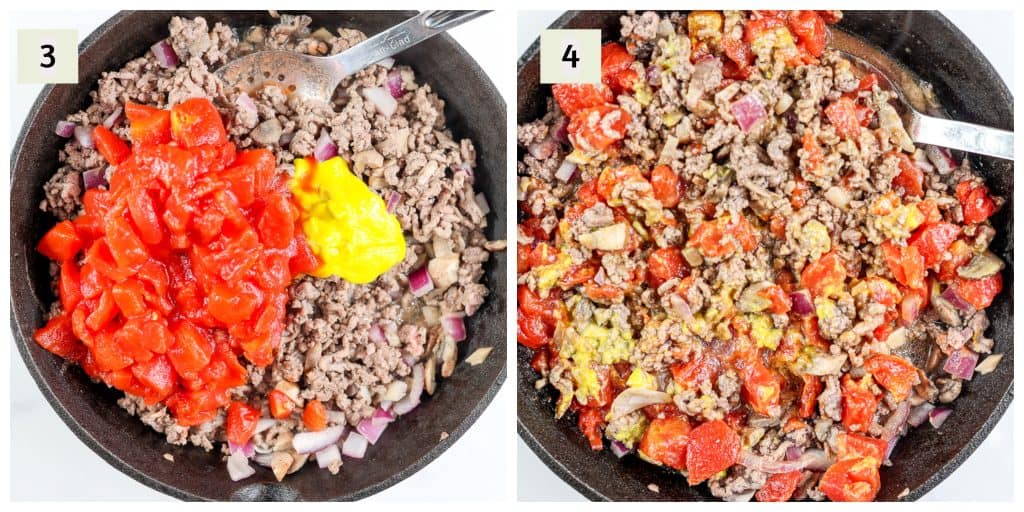
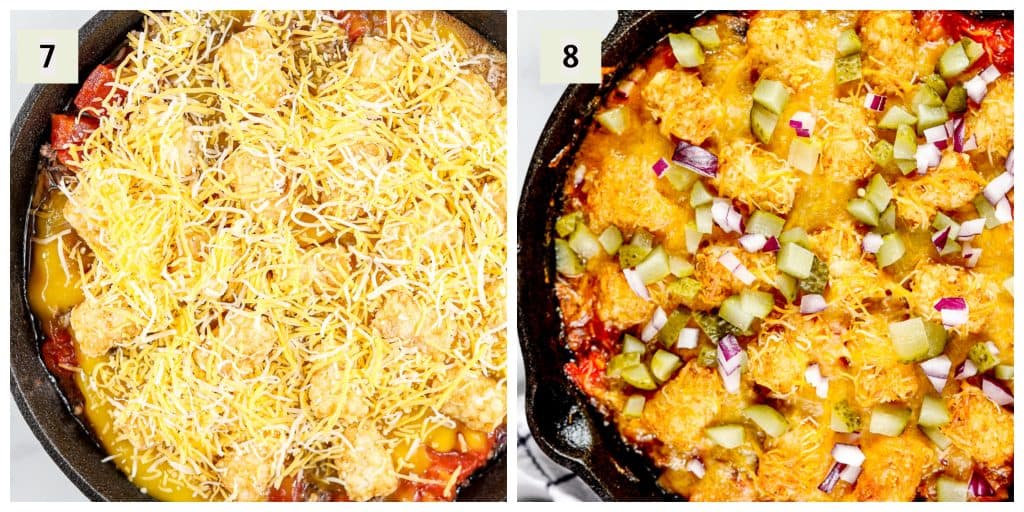
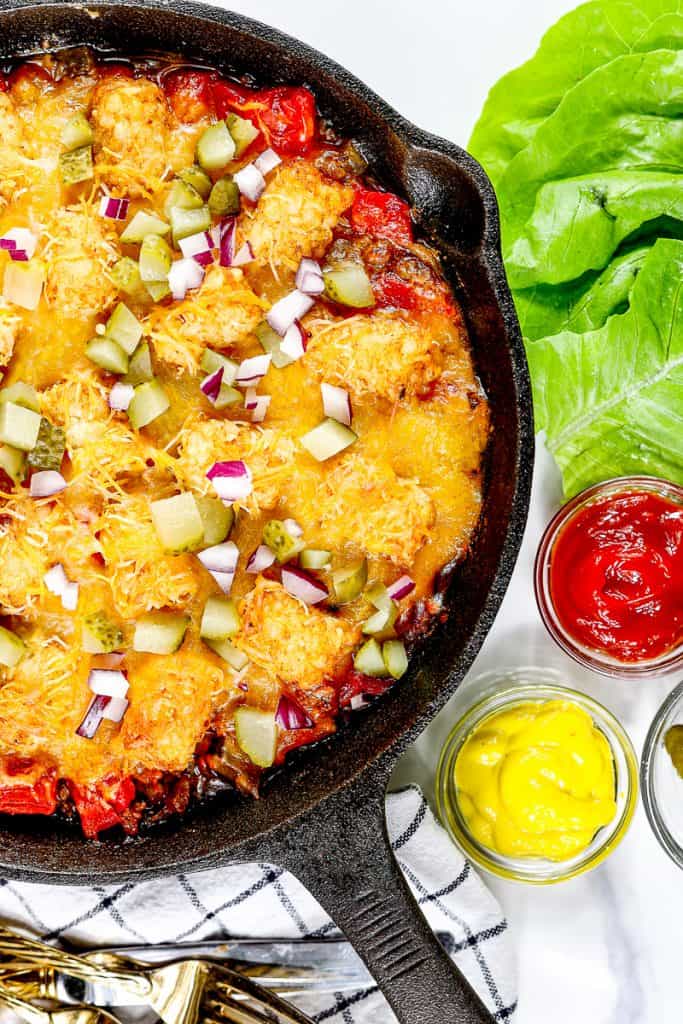
- Cheeseburger Tater Tot Casserole
- Applesauce Muffins
I’d love to hear what you think about this roundup! Comment below and tag me (@shawsimpleswaps) on Facebook, Instagram, or Pinterest if you make something. I’d love to reshare!