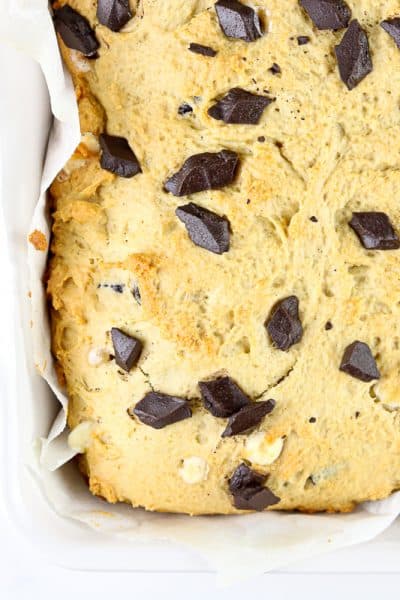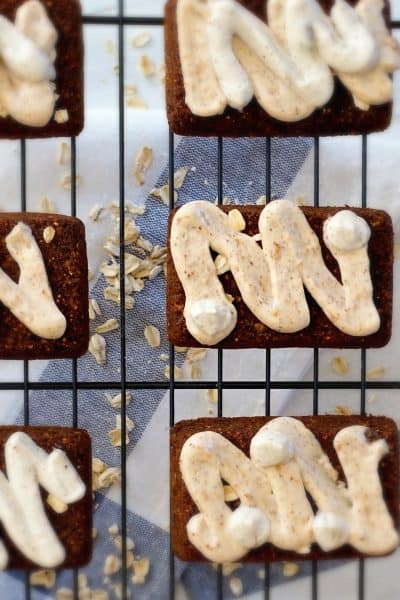

Warm, cozy and delightful! These Gluten Free Gingerbread Cookies are the best addition to your holiday cookie exchange this year! Made with simple ingredients and lightly sweetened with a date syrup and brown sugar blend, it’s a lower sugar option that is big on flavor!

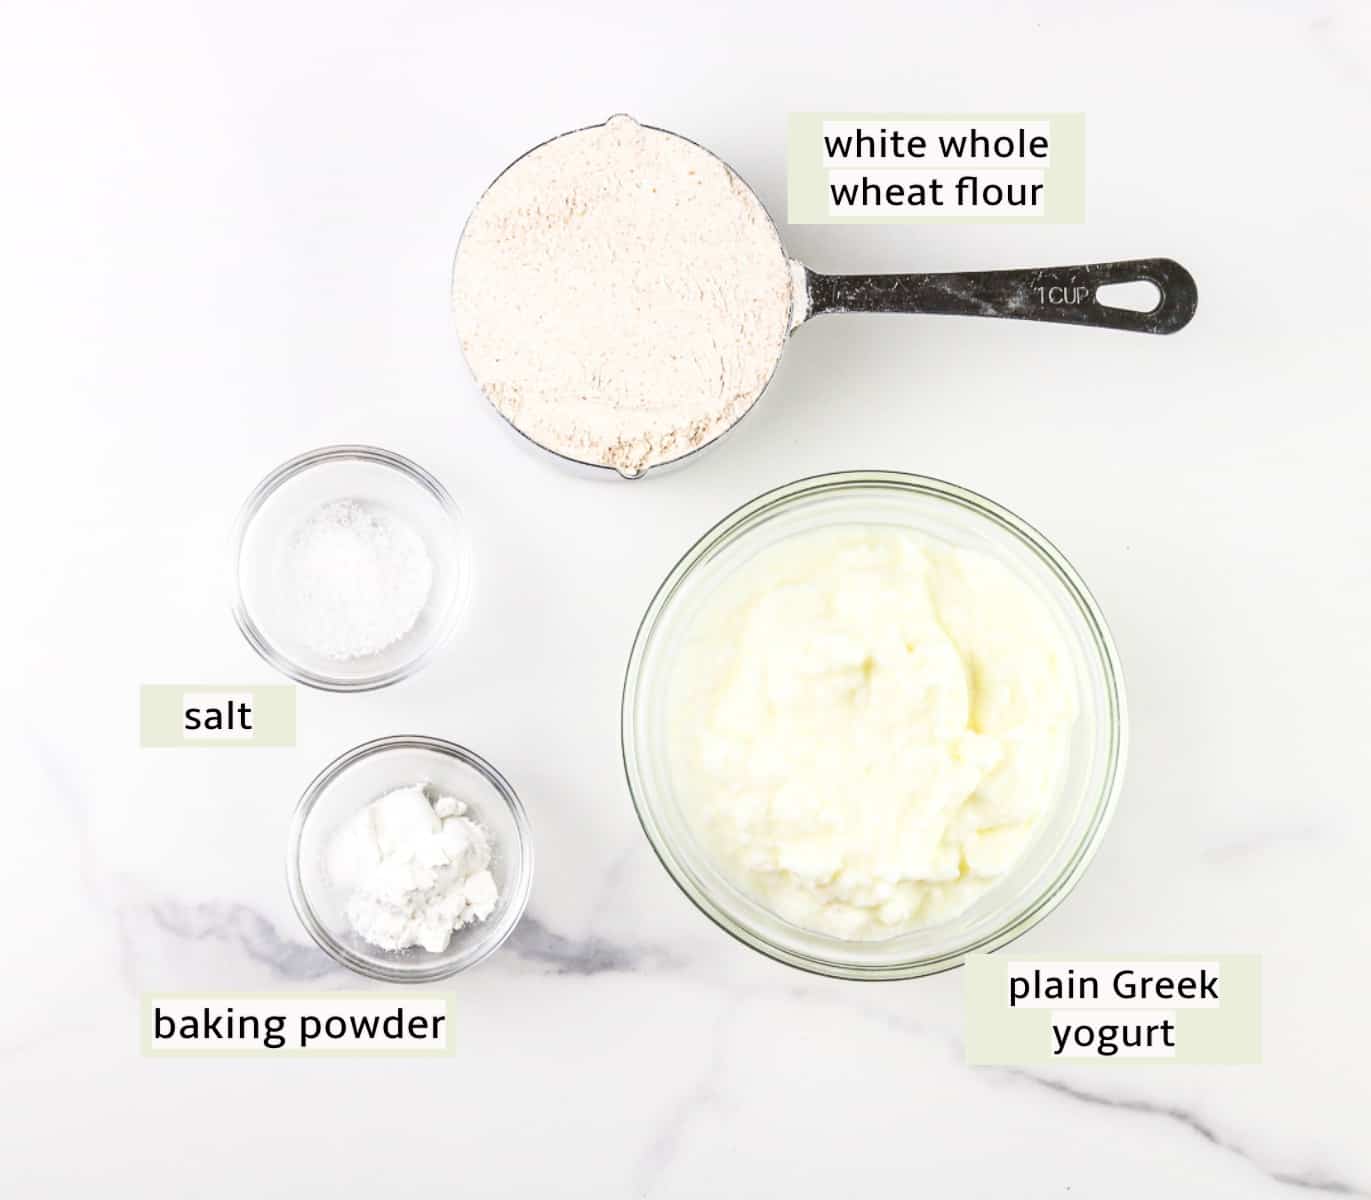
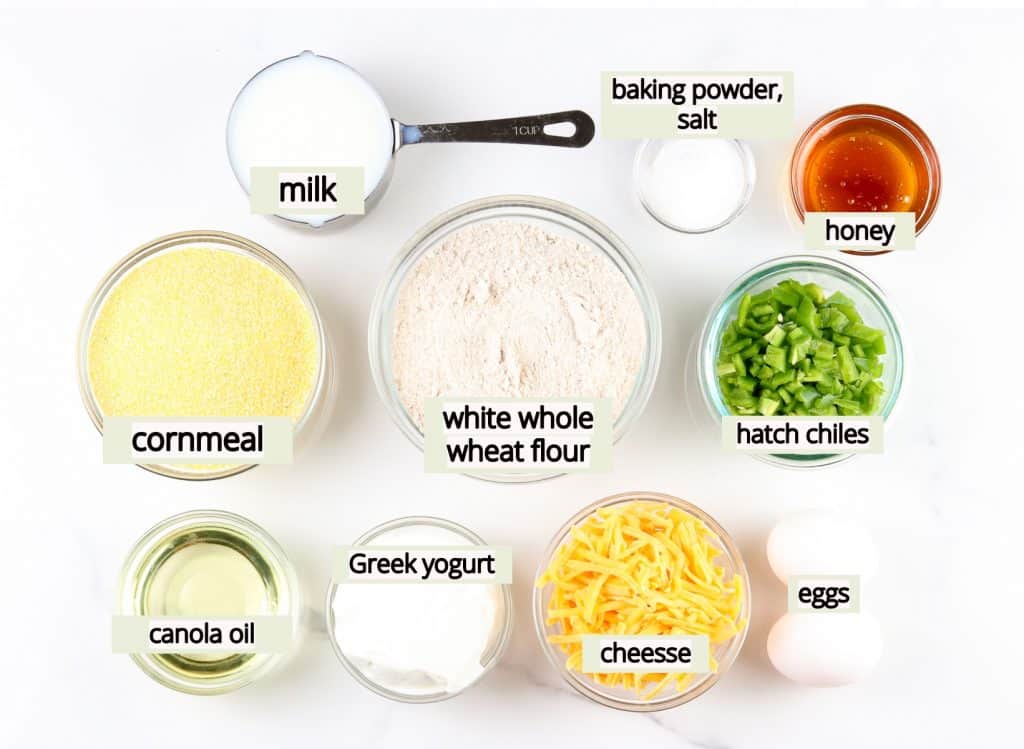
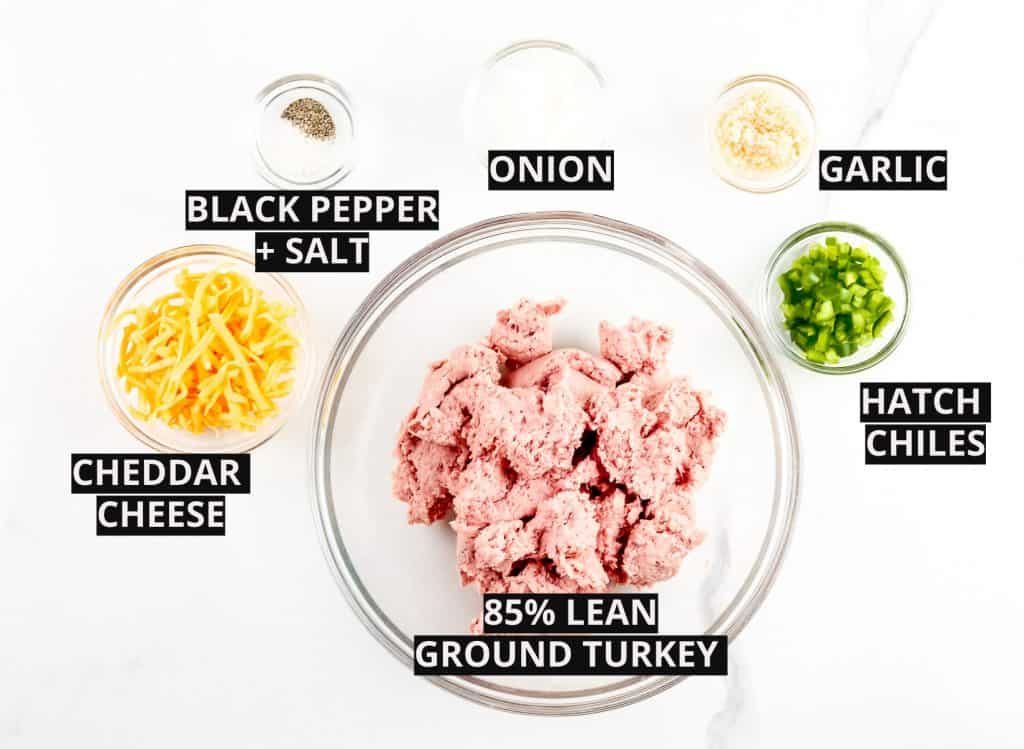
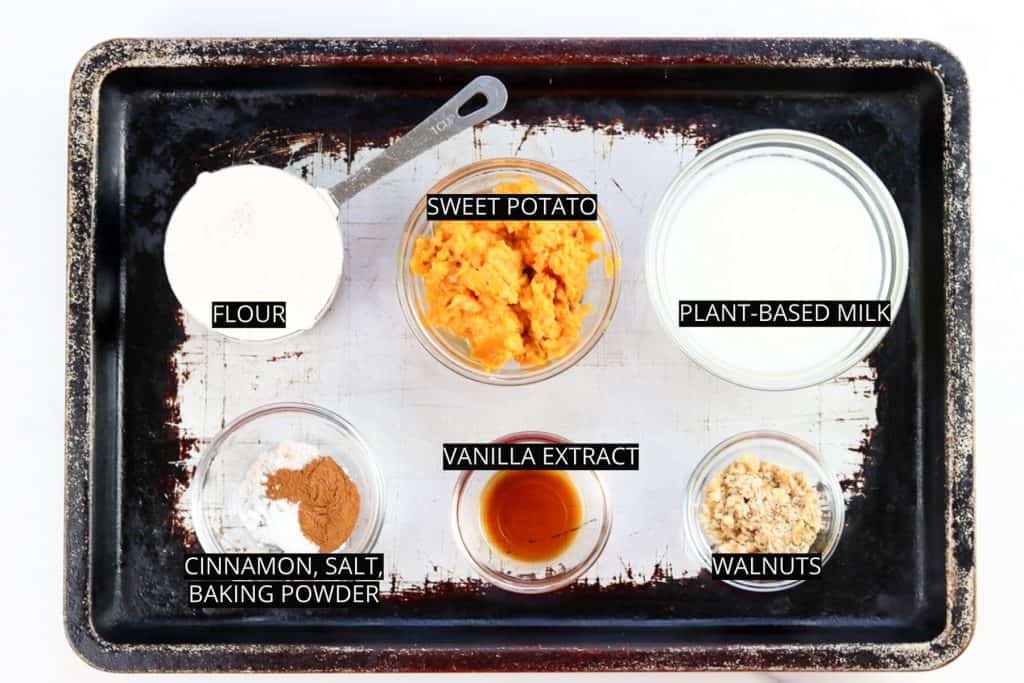
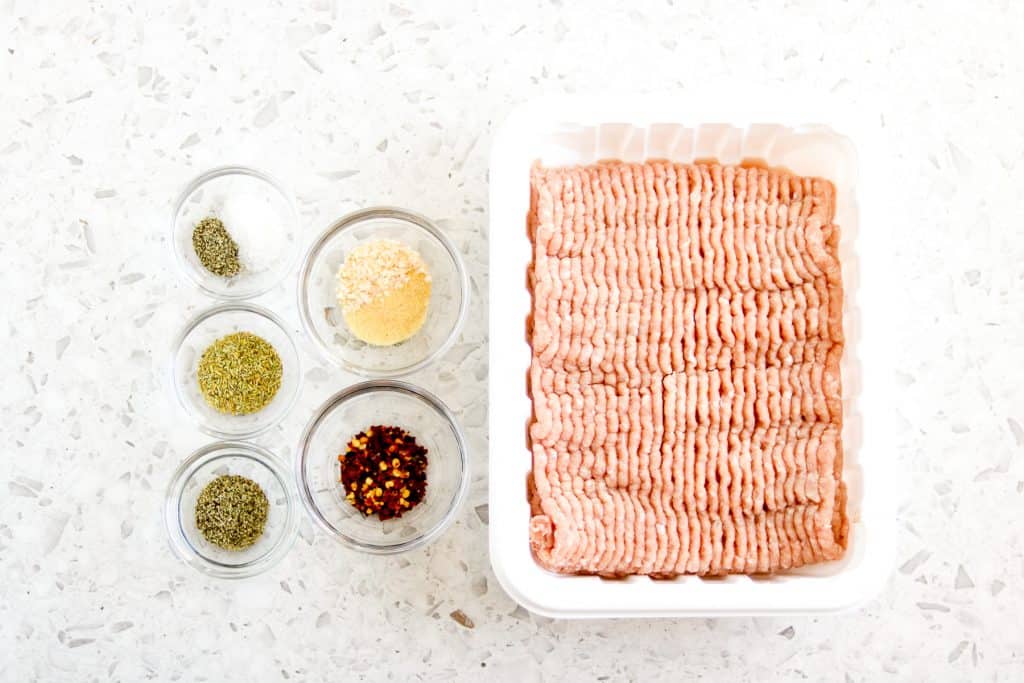
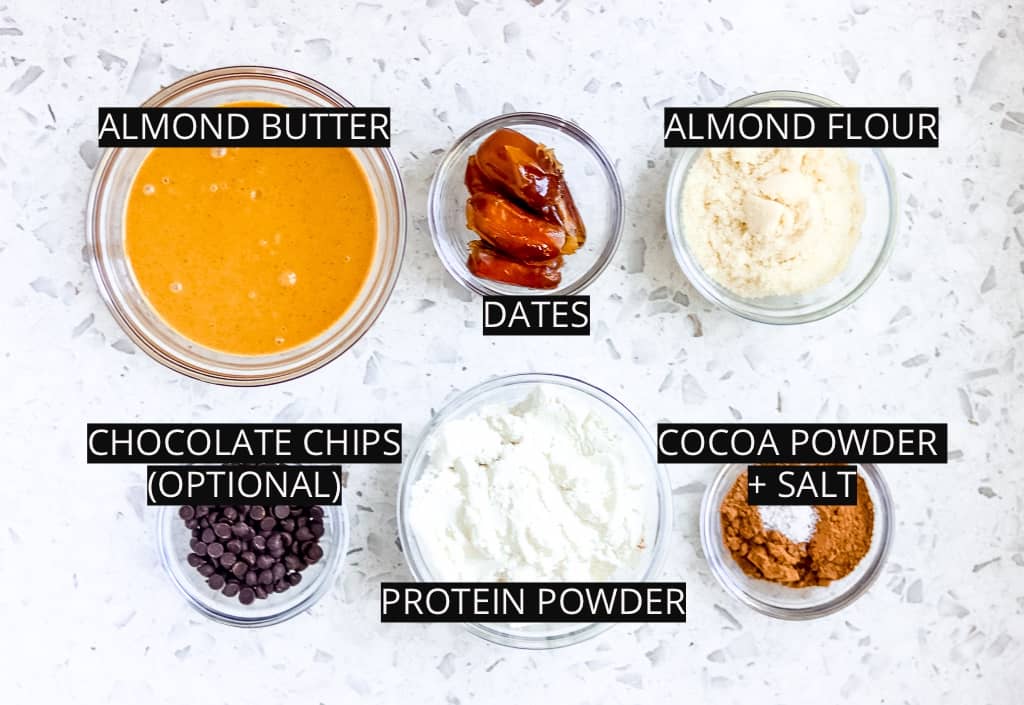
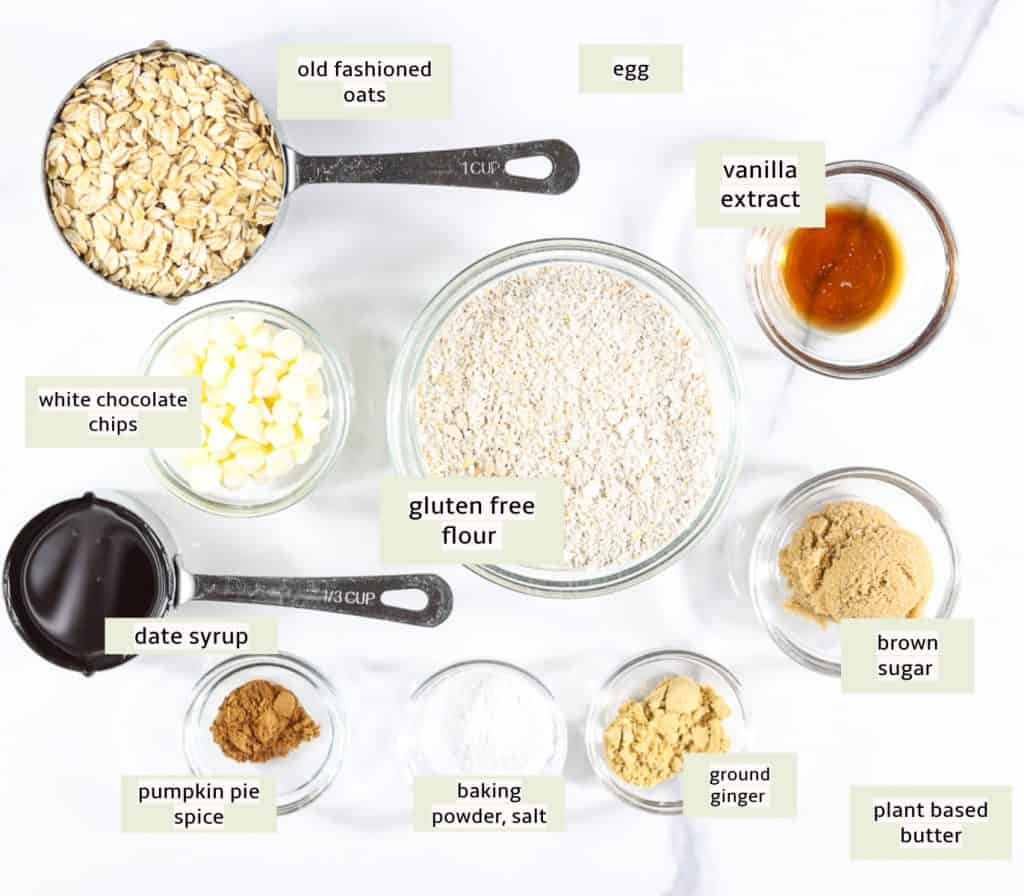
What You Need to Make this Recipe
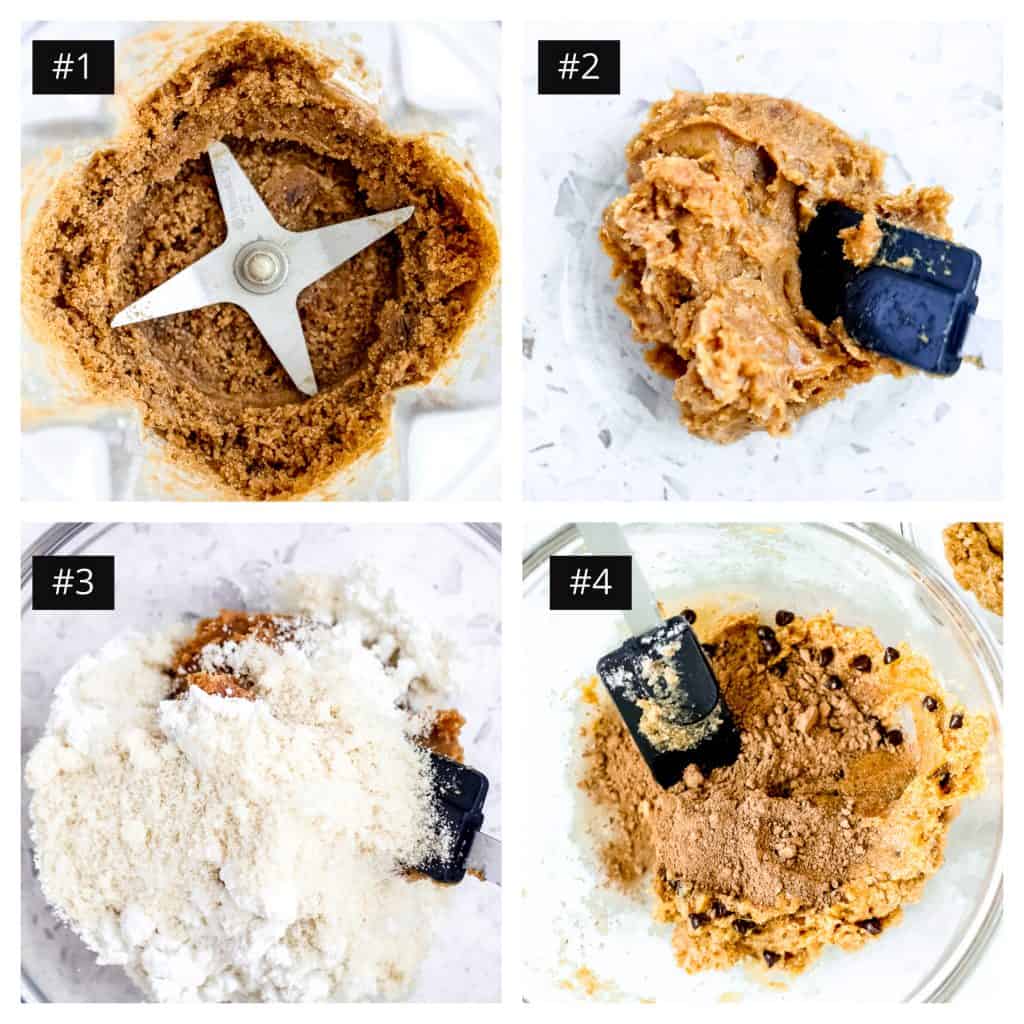
How to Make this Recipe
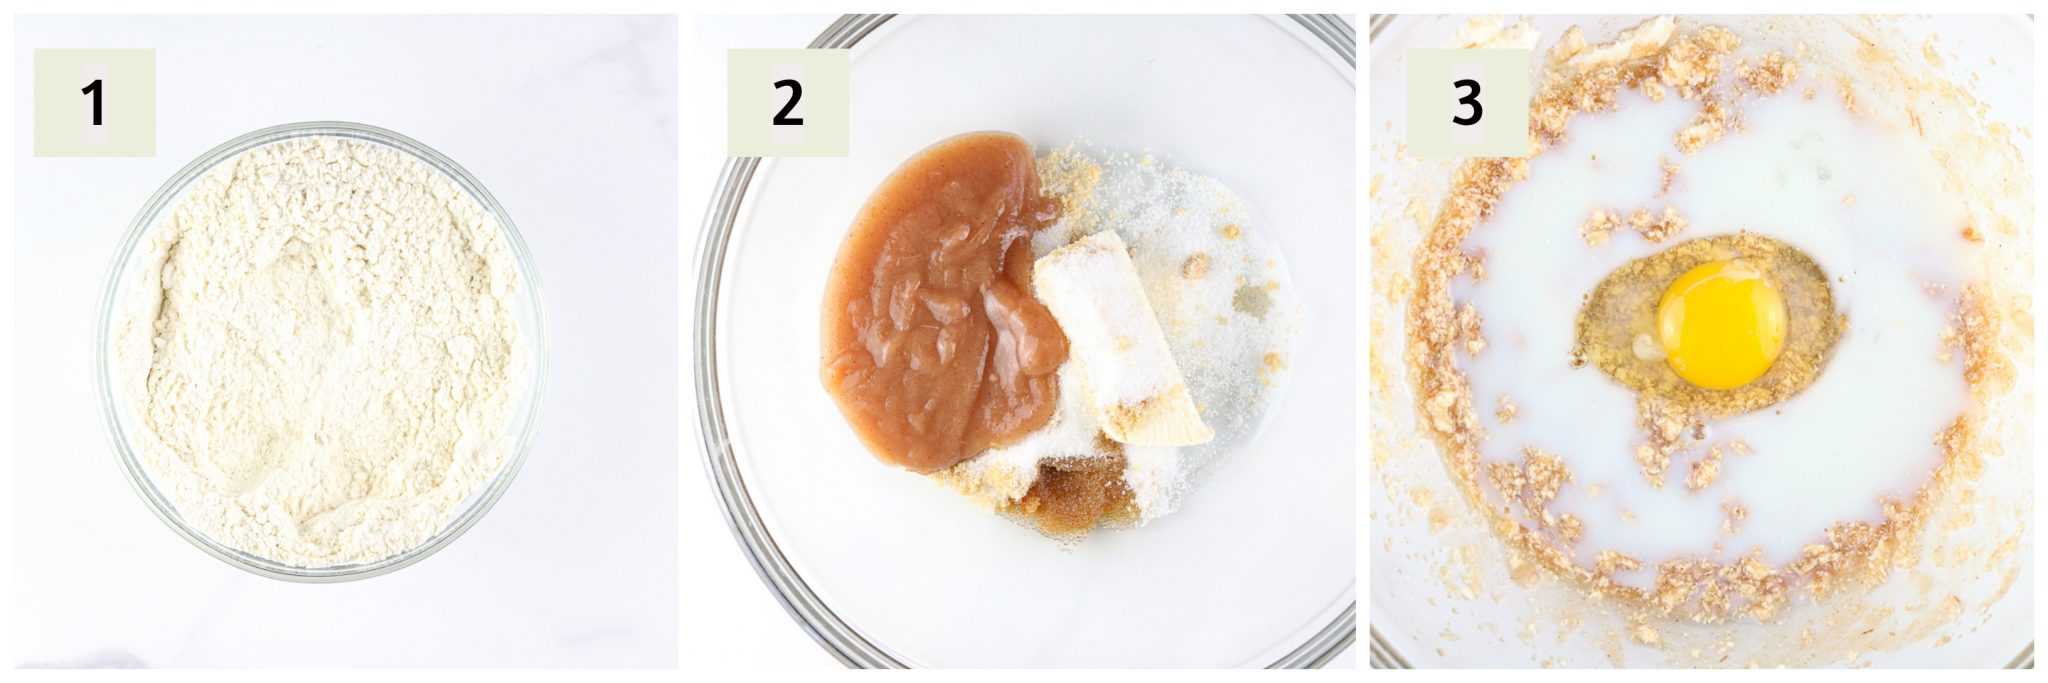
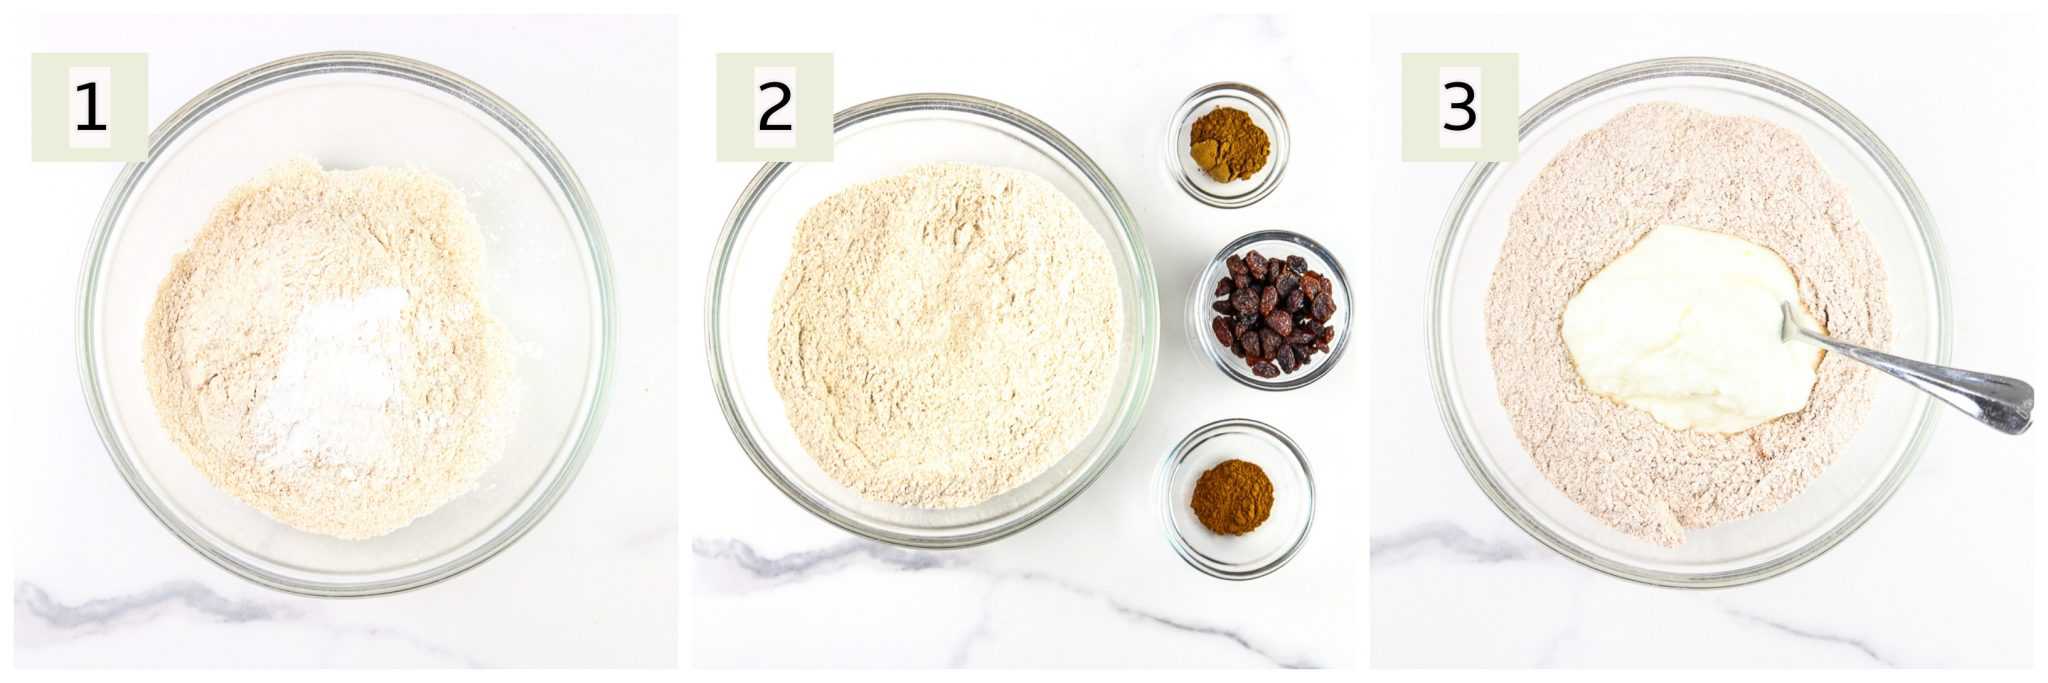
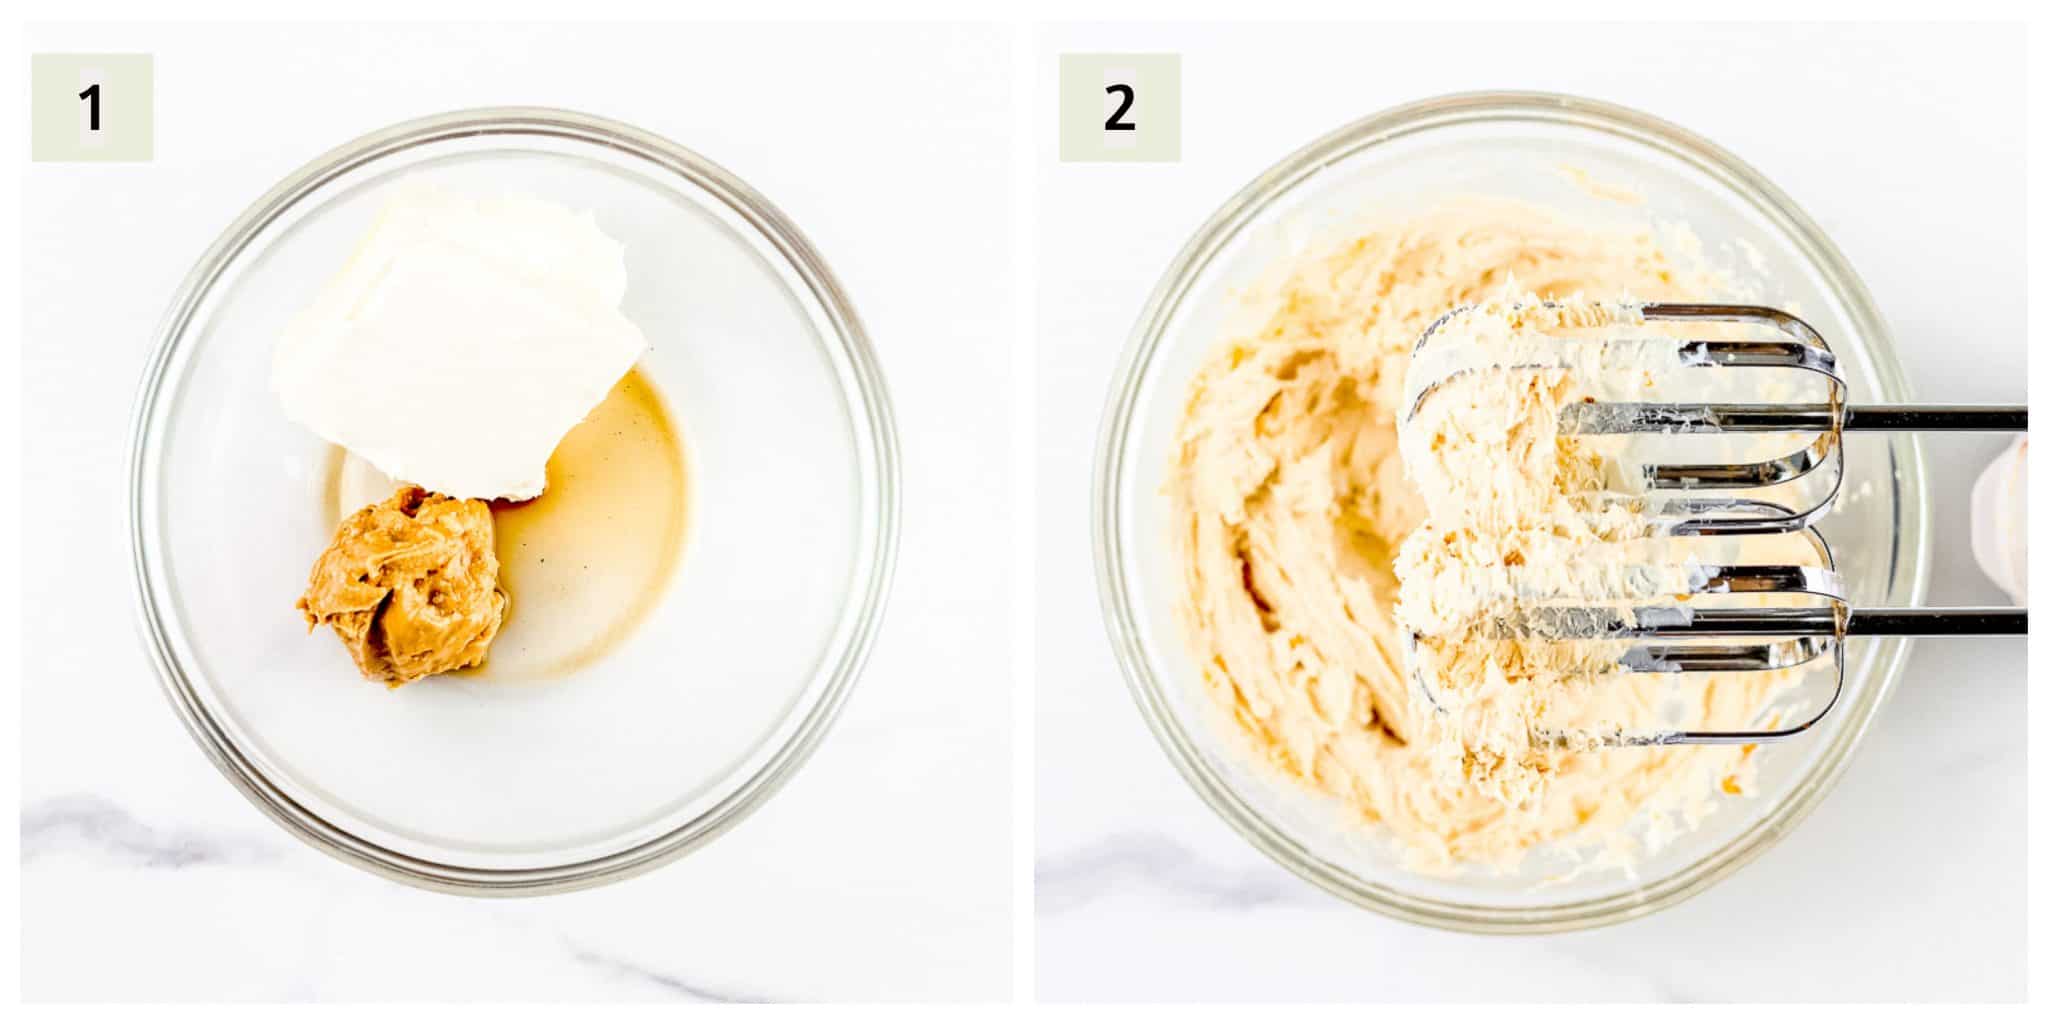
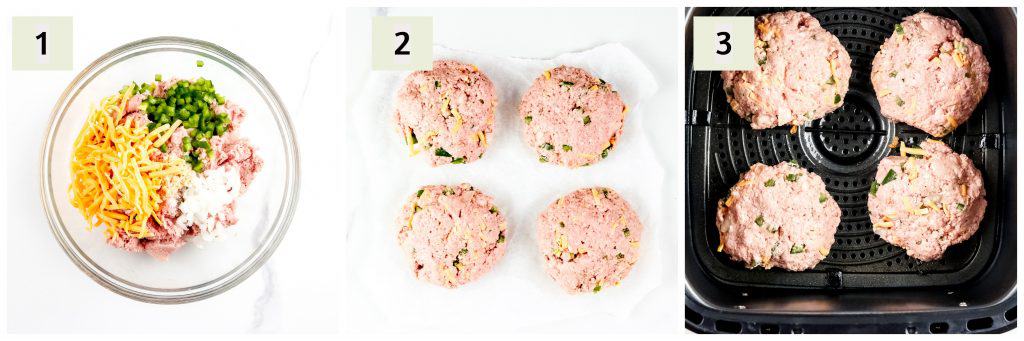
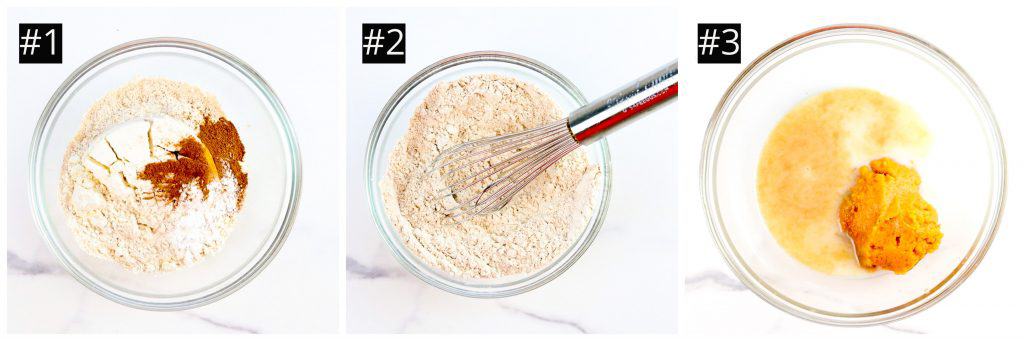
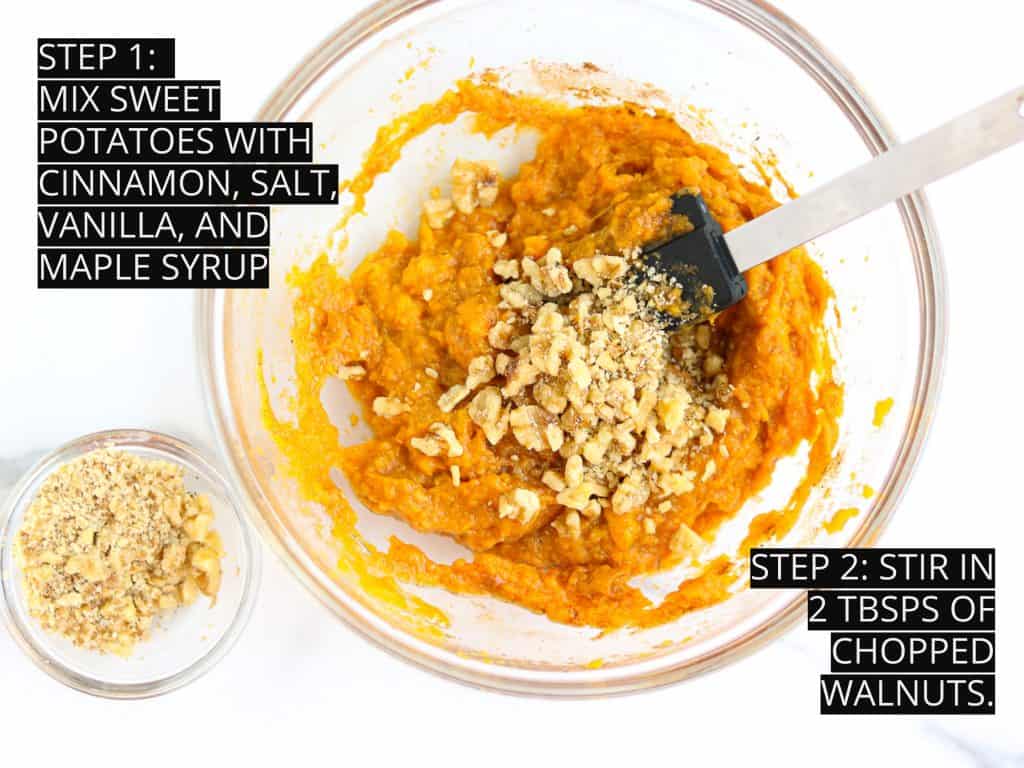
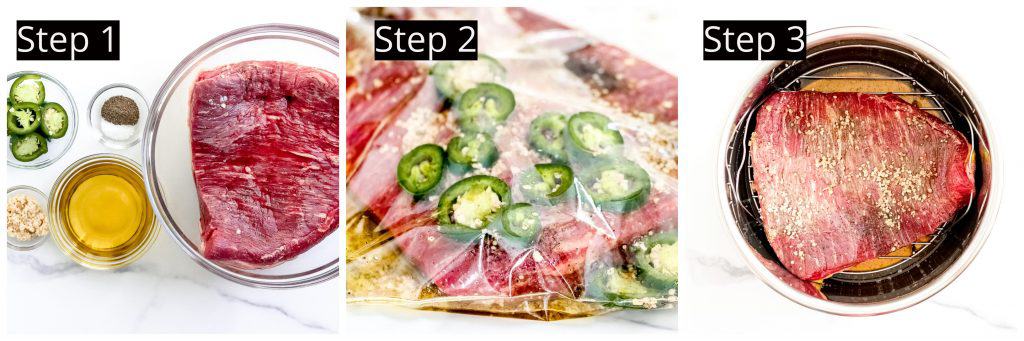
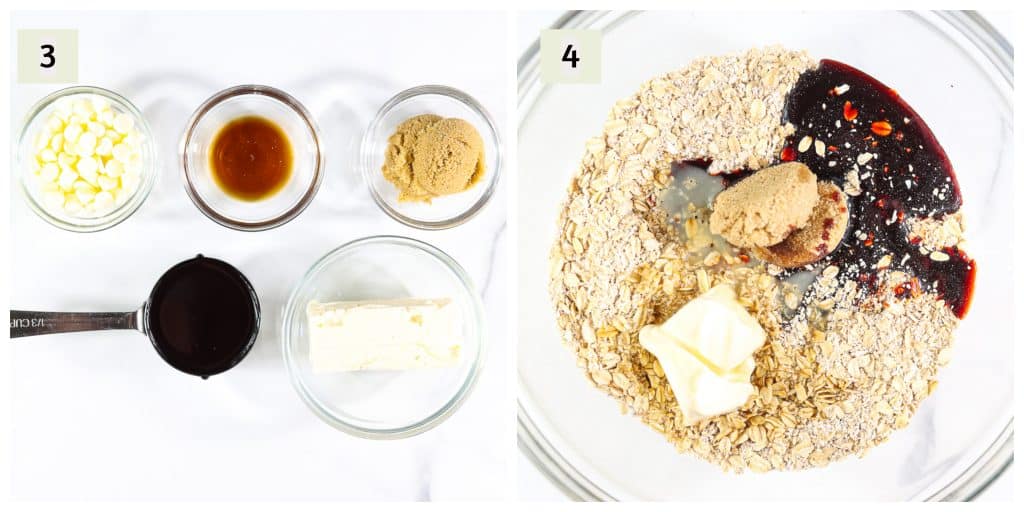
(1 + 2) Preheat oven to 350 degrees F and begin by mixing dry ingredients in a large bowl.

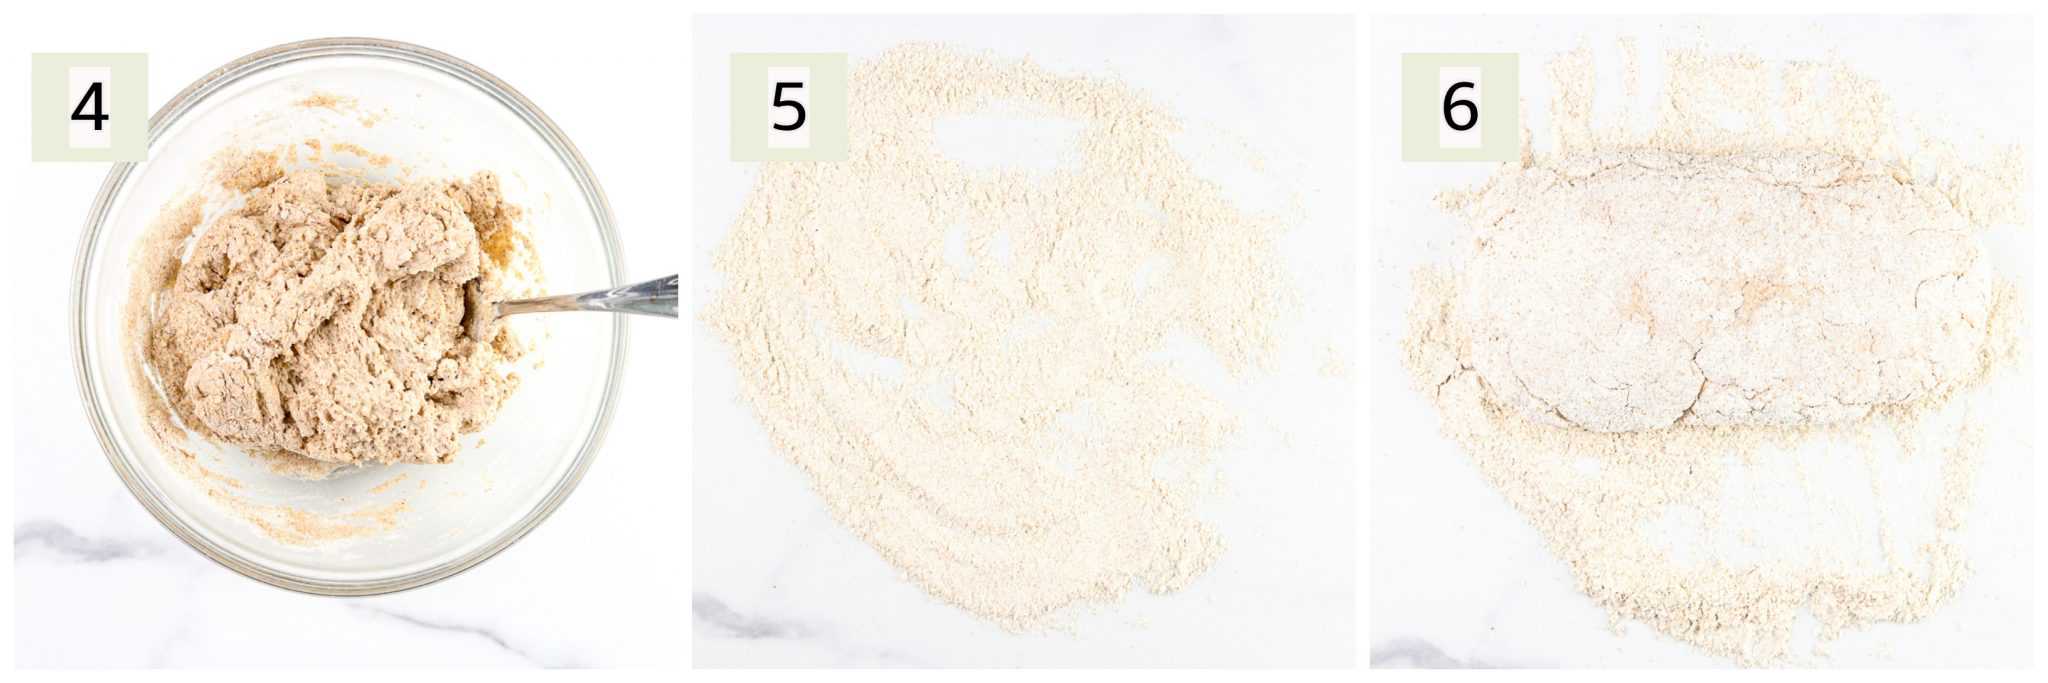
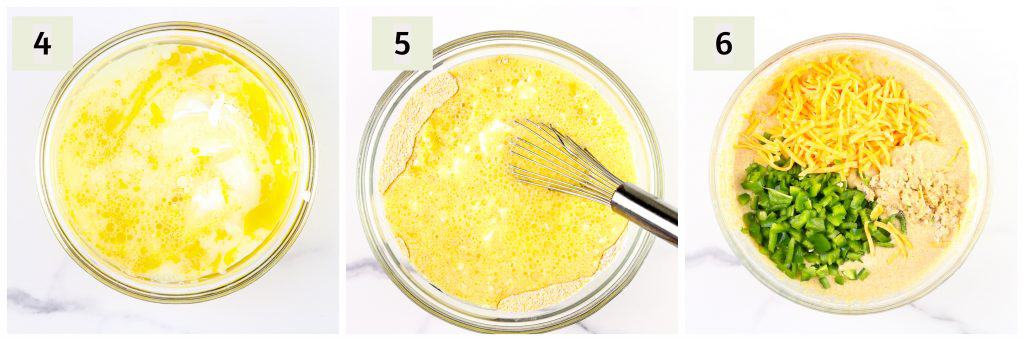
(3 + 4) Grab the softened butter and 1 large egg to mix into the dry ingredients here. Combine the remaining wet ingredients as well. You can use a hand mixer or spatula.
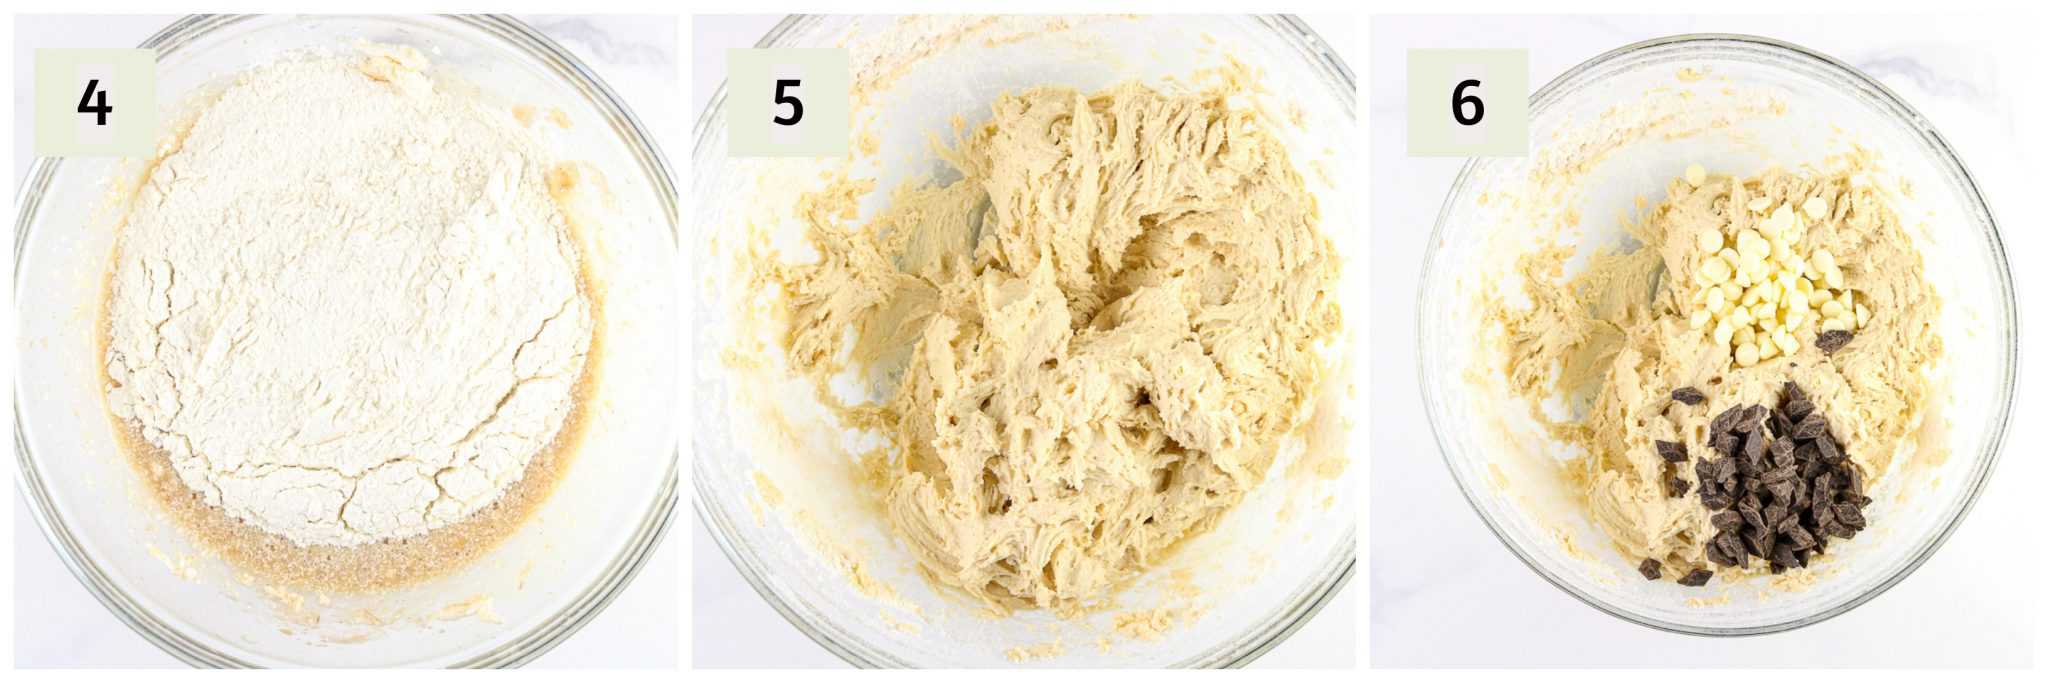
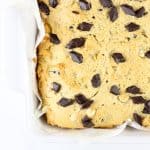
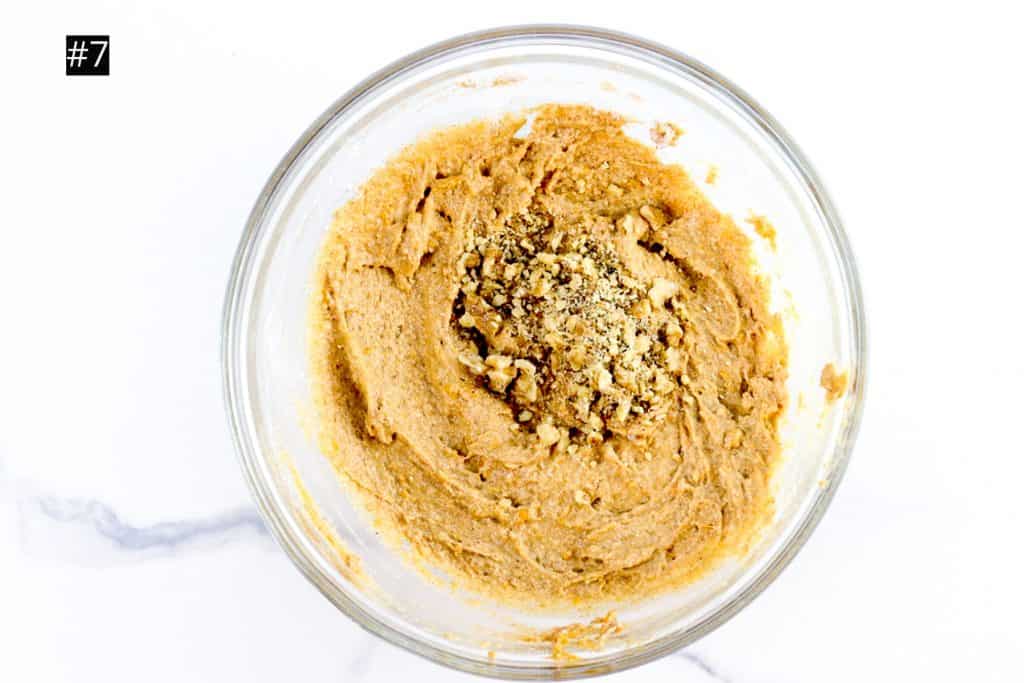
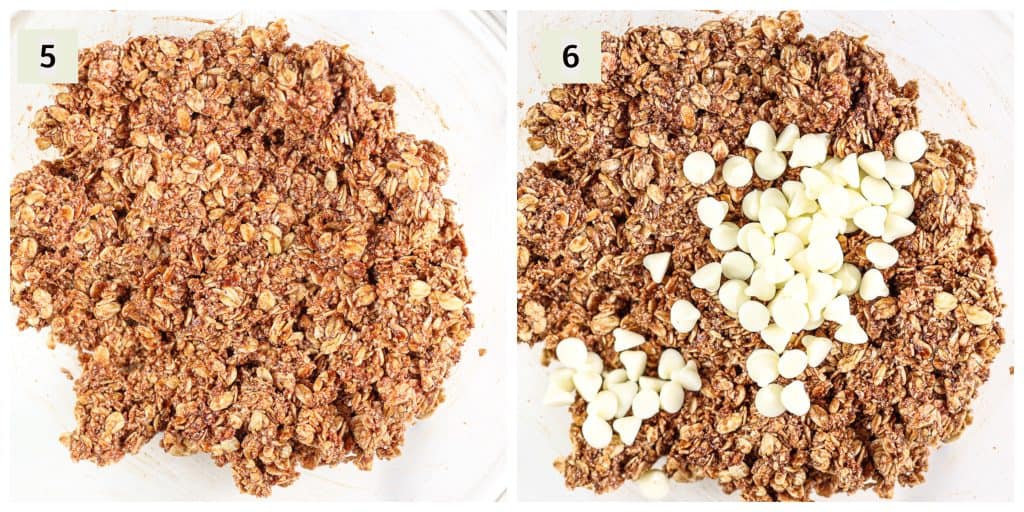
(5) The batter should look like this when combined.
(6) Add the chocolate chips.
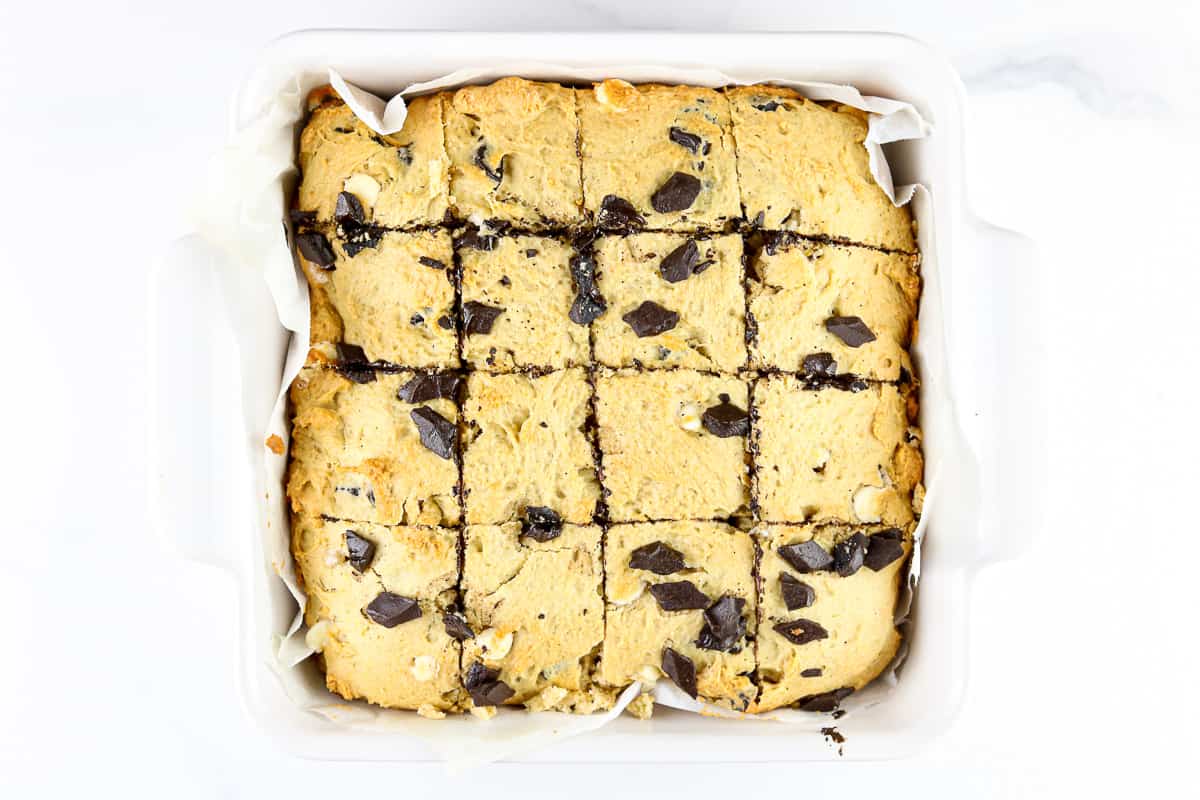
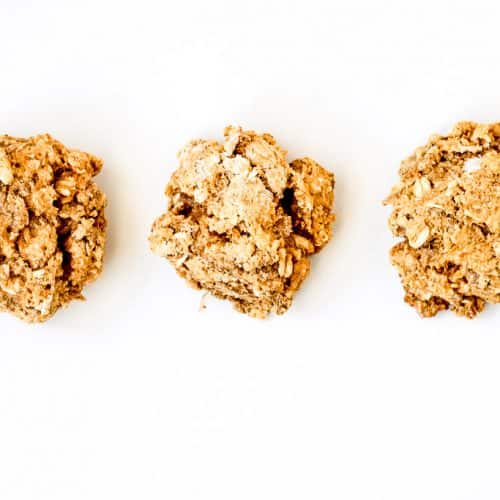
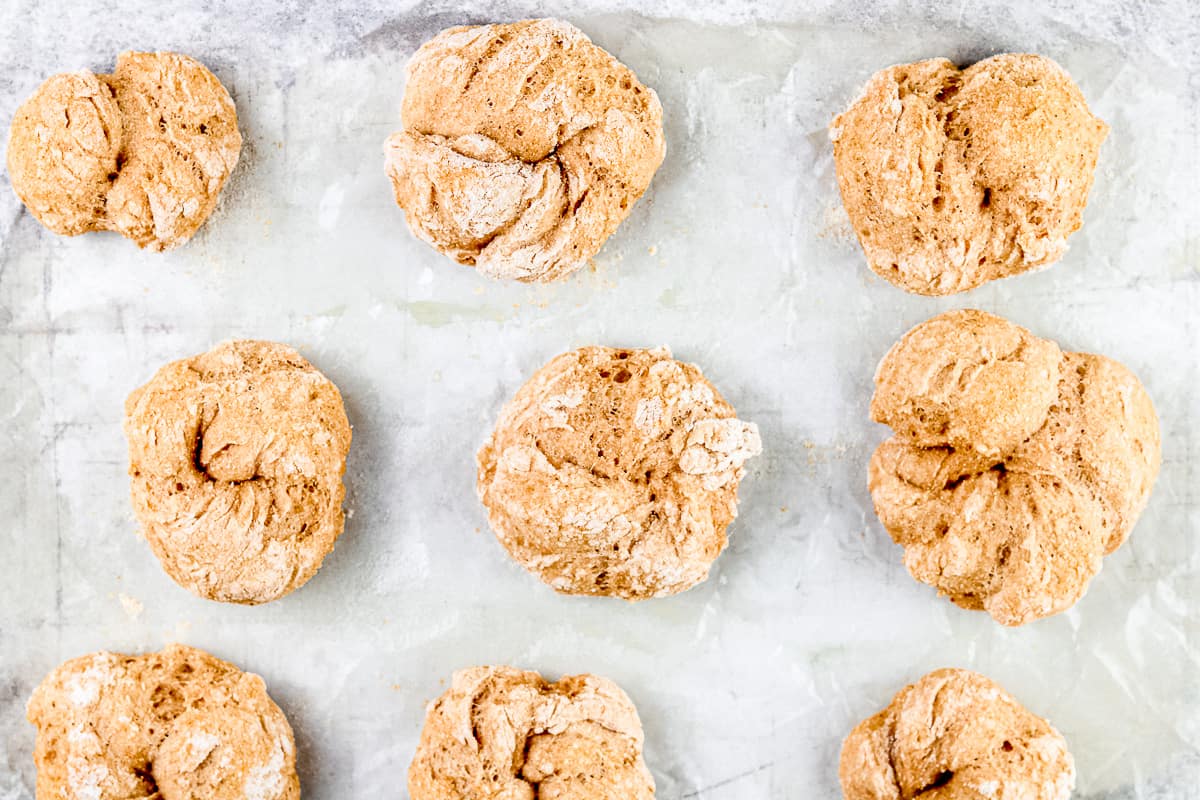
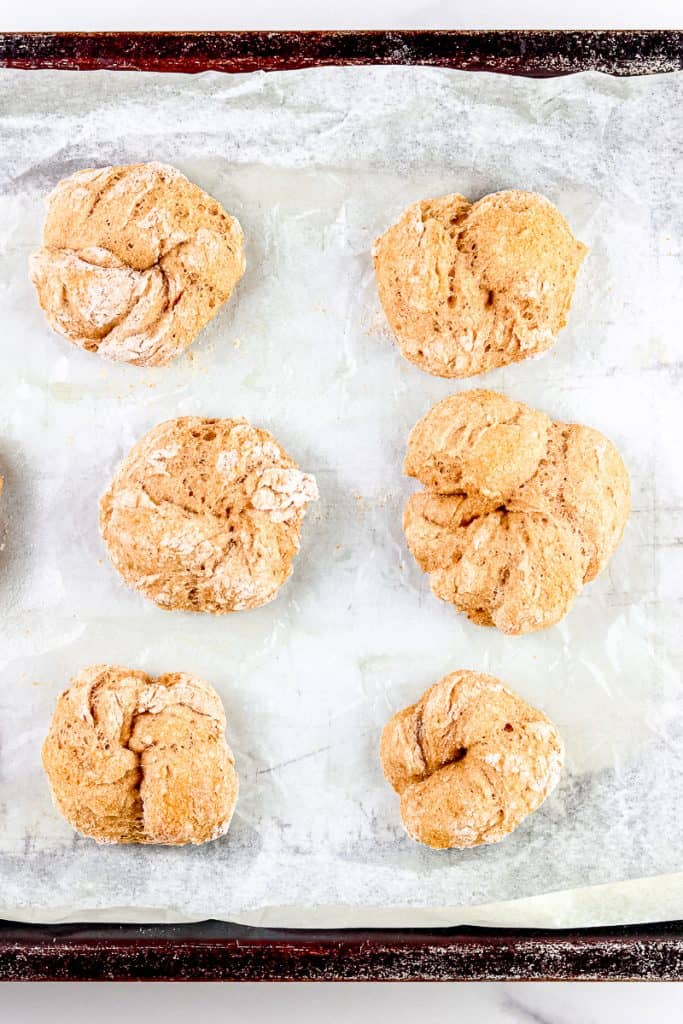
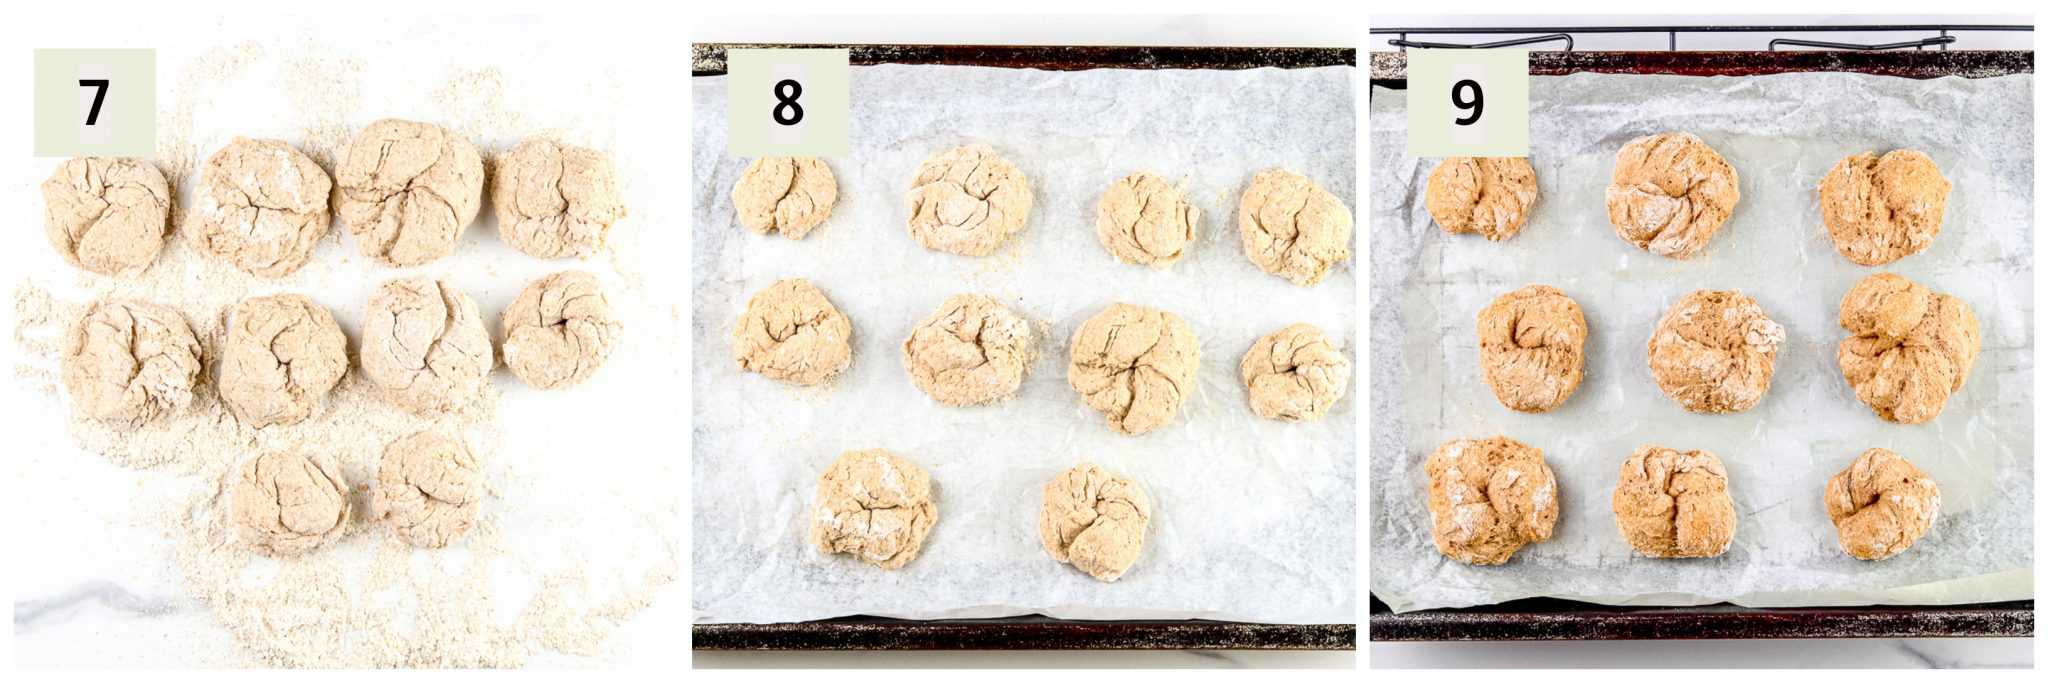
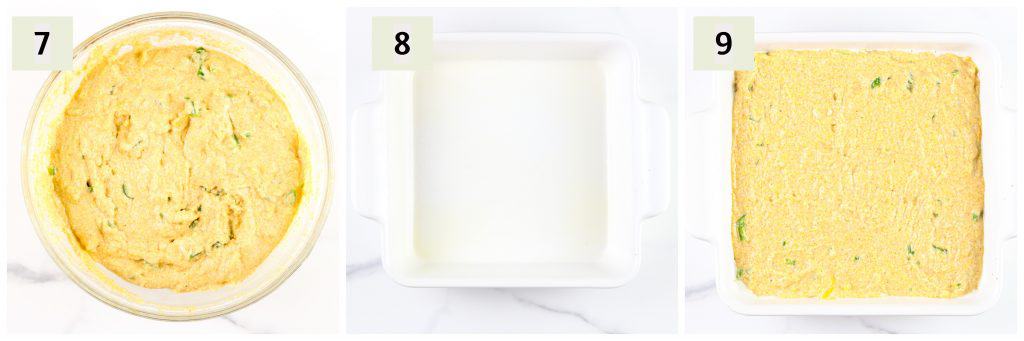
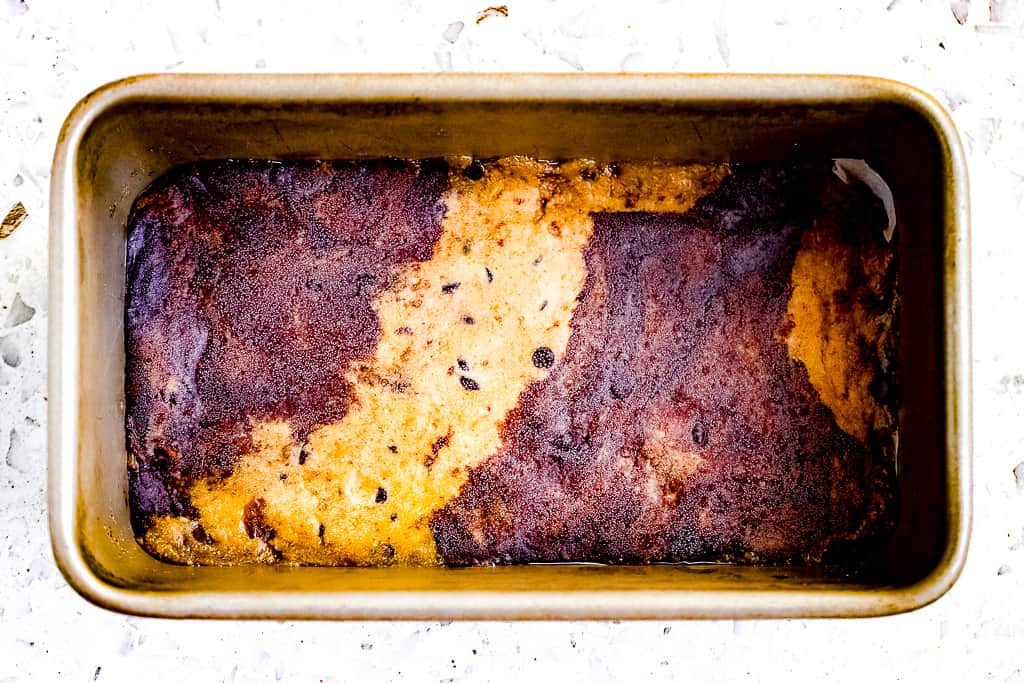
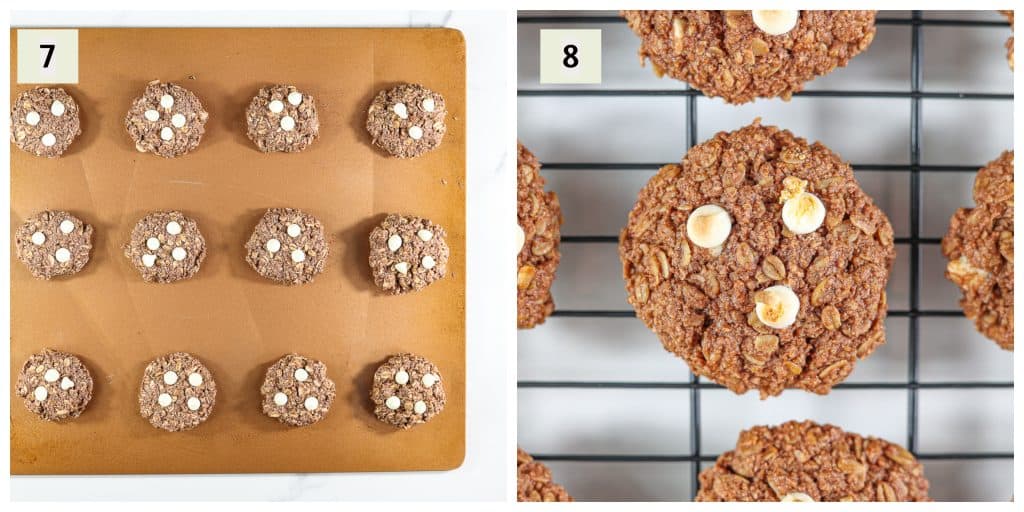
(7) Spray a baking sheet with cooking spray then evenly portion dough into 12 cookies. Bake for 12 minutes.
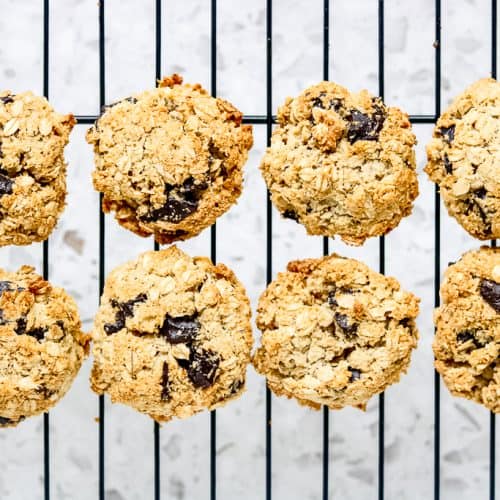
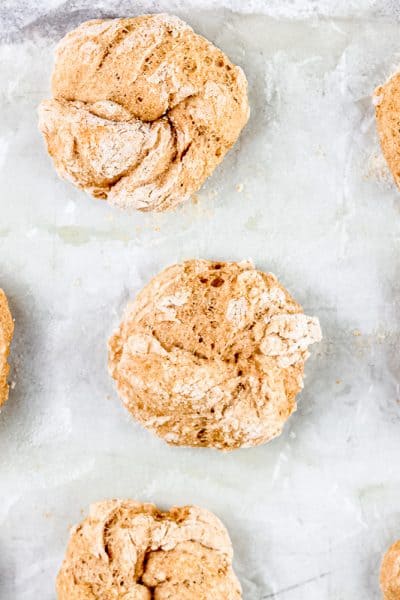
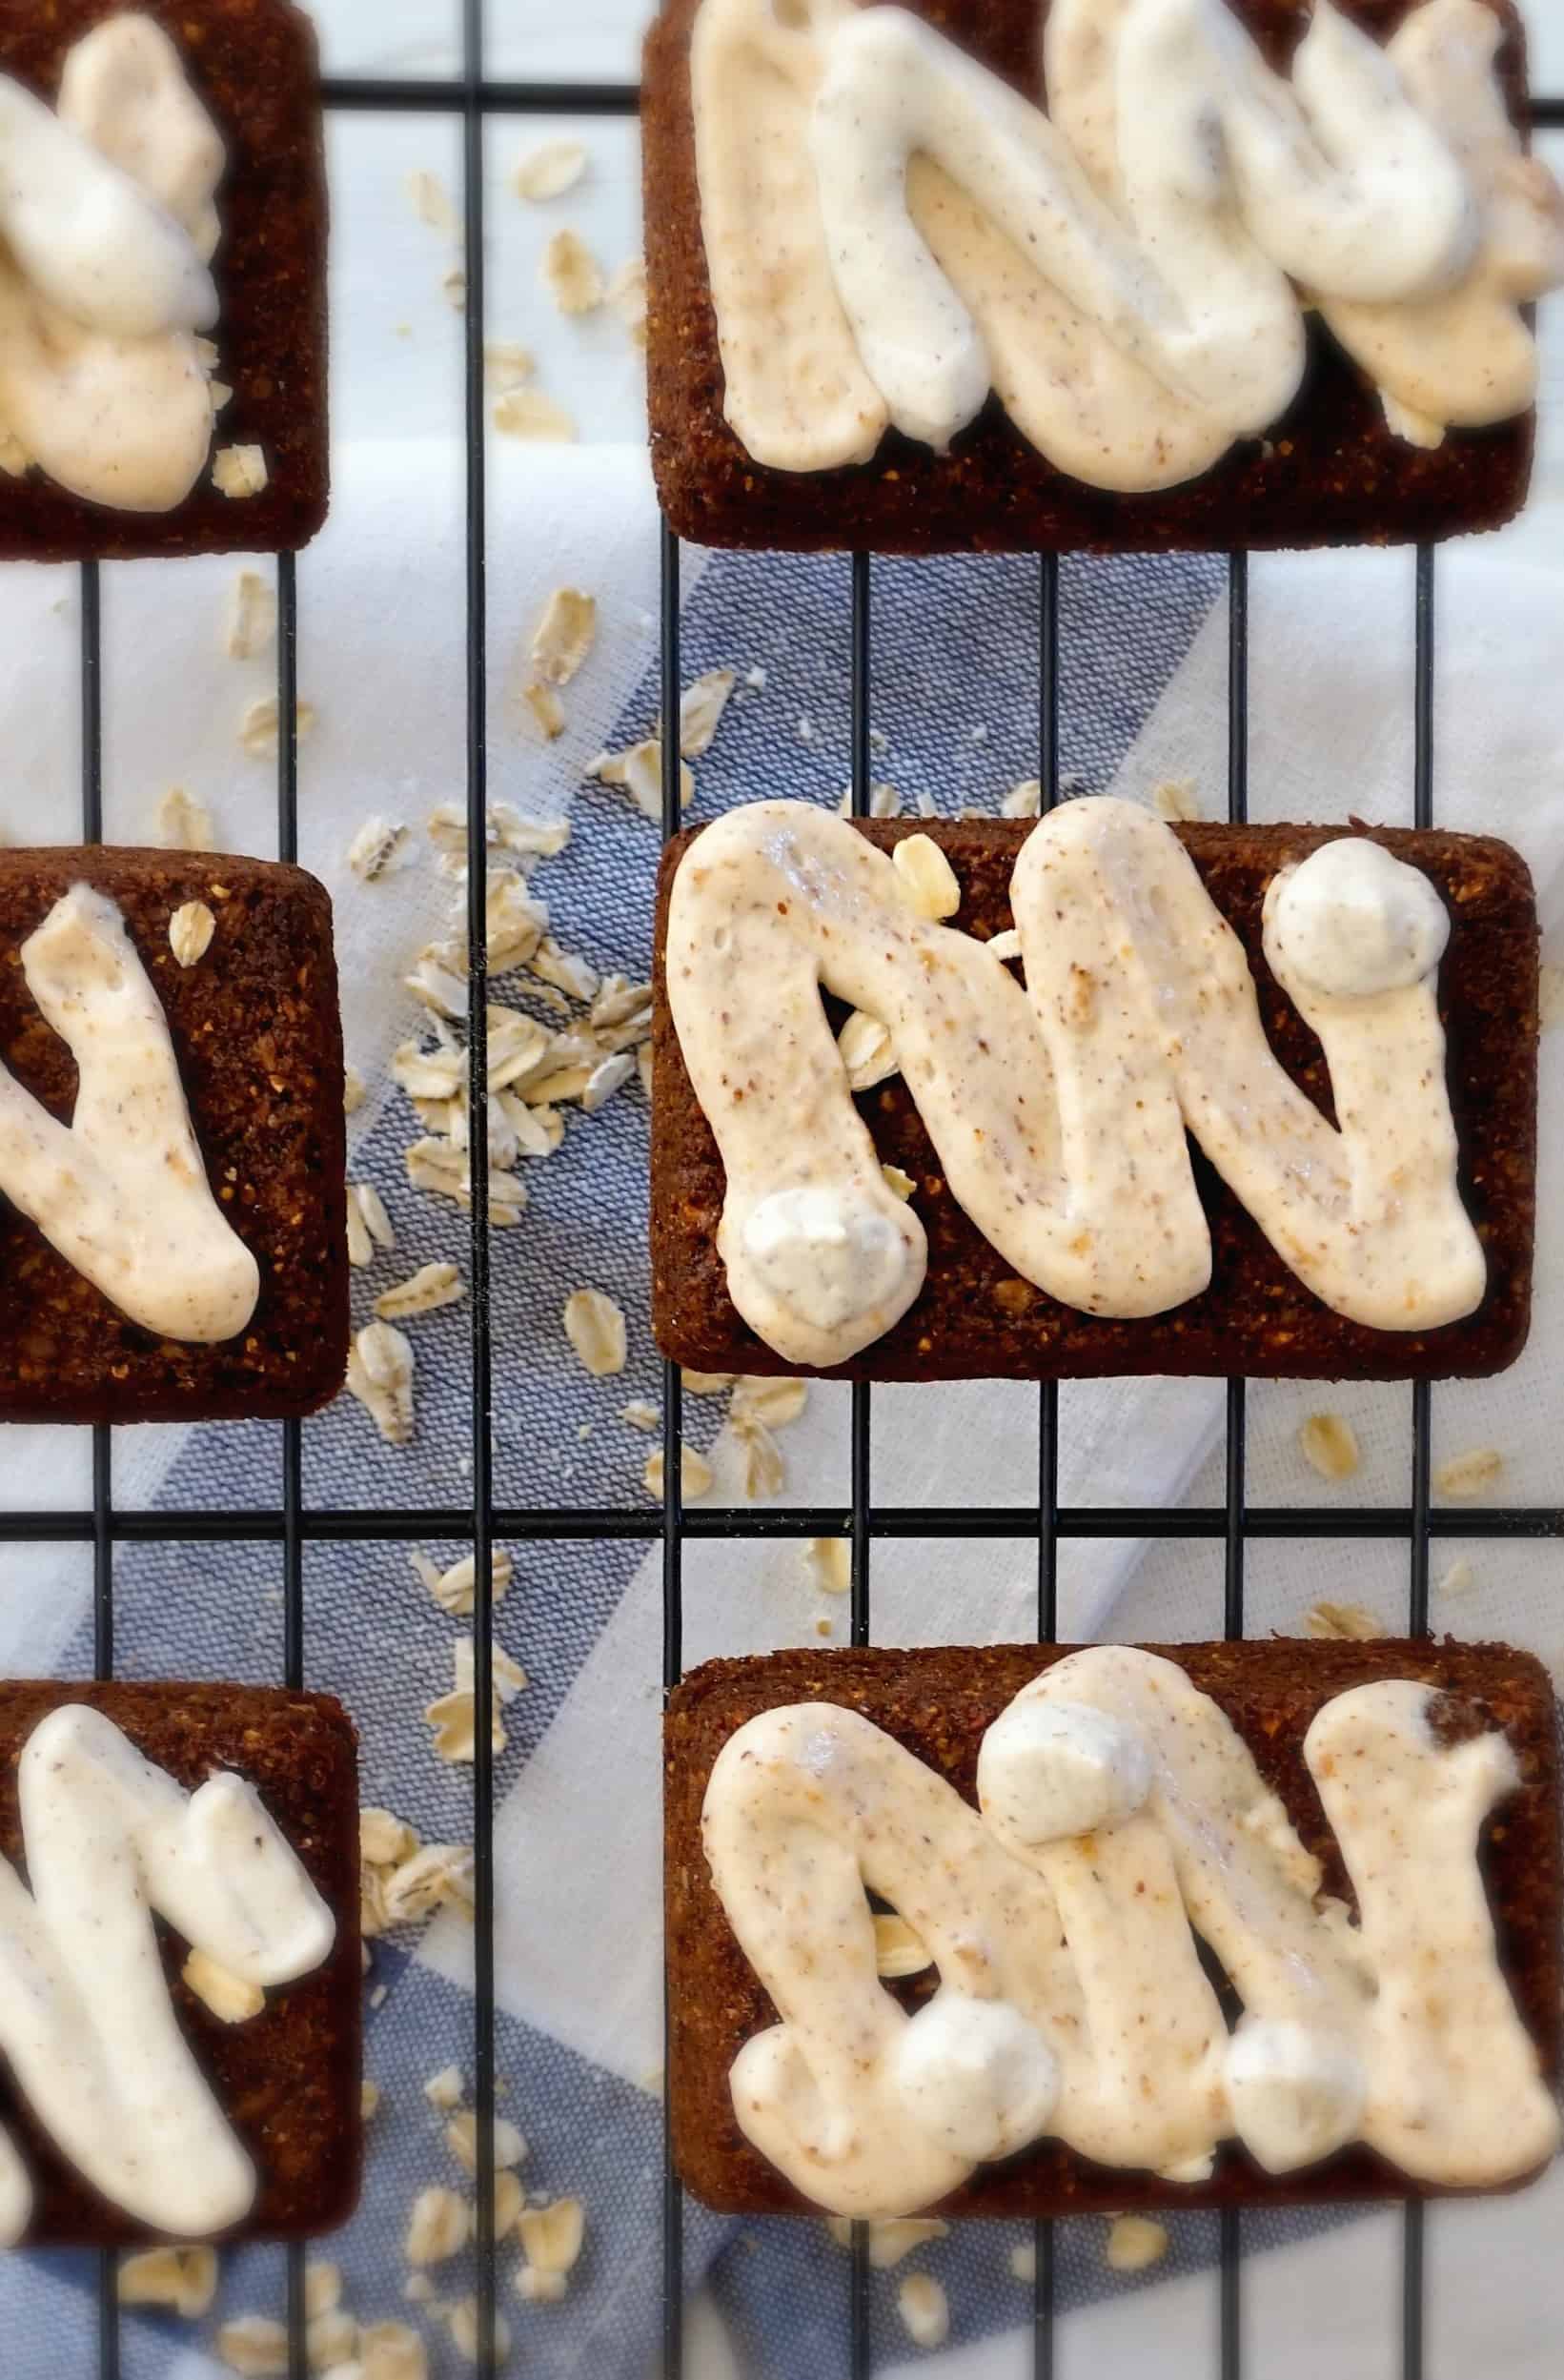
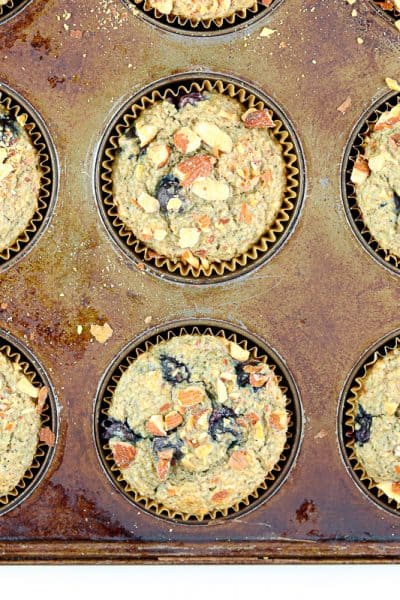
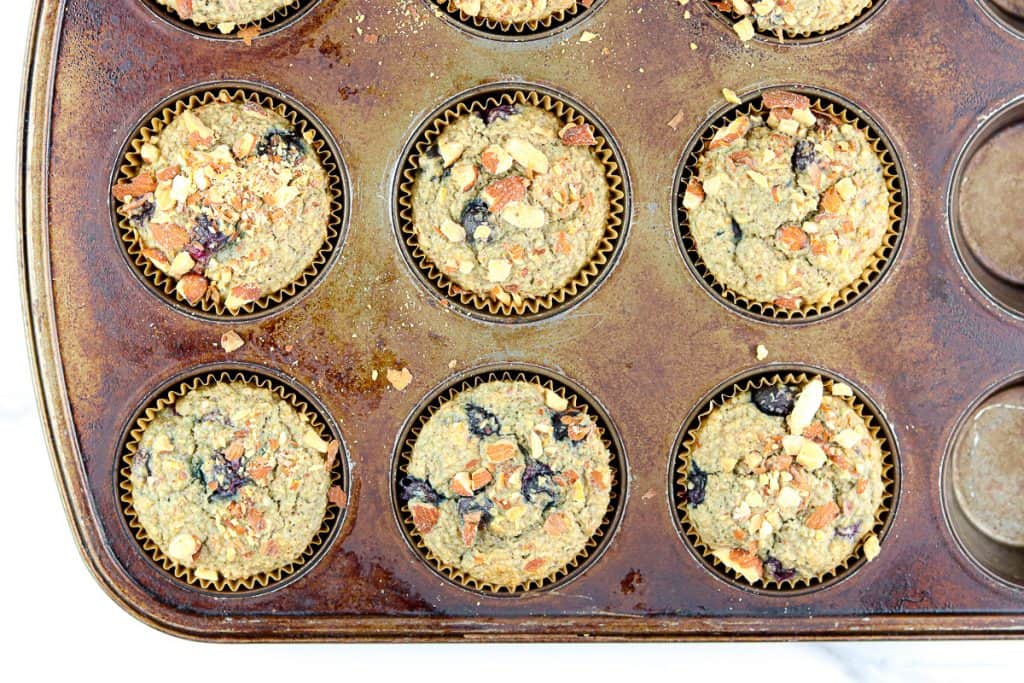
(8) Remove from oven and let cool on wire rack.
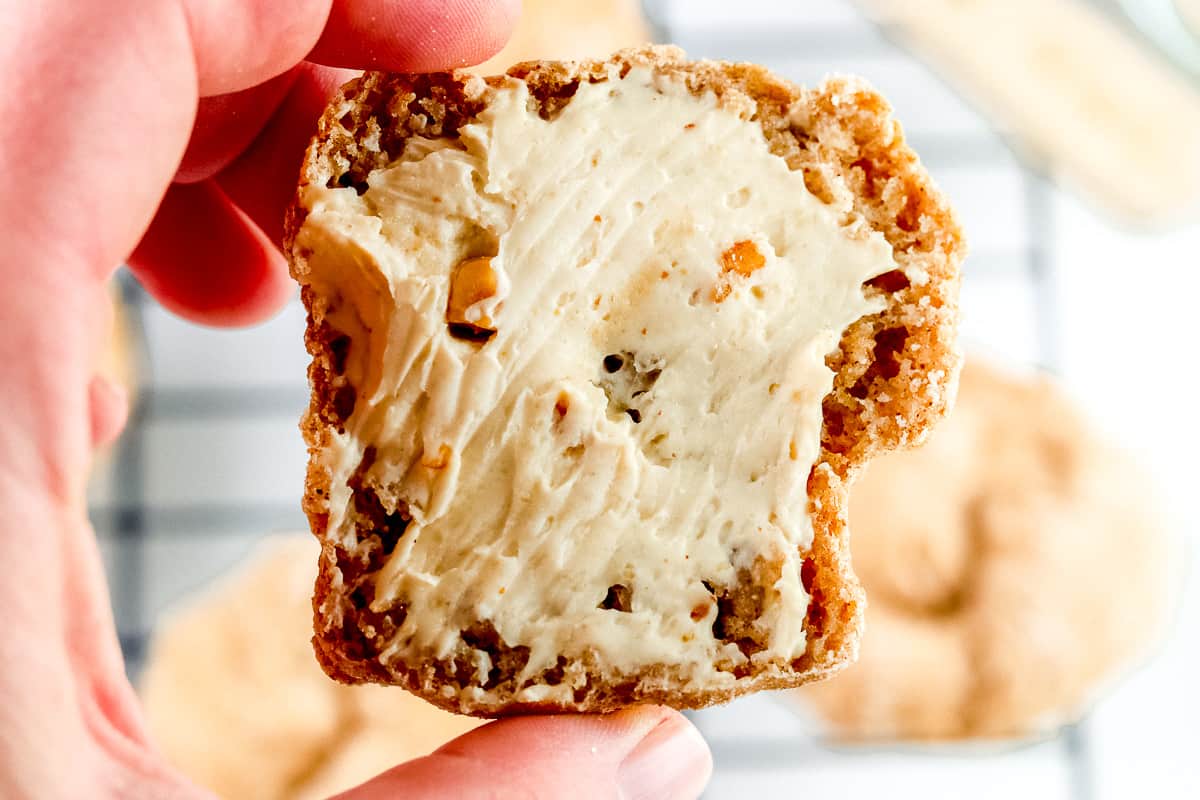
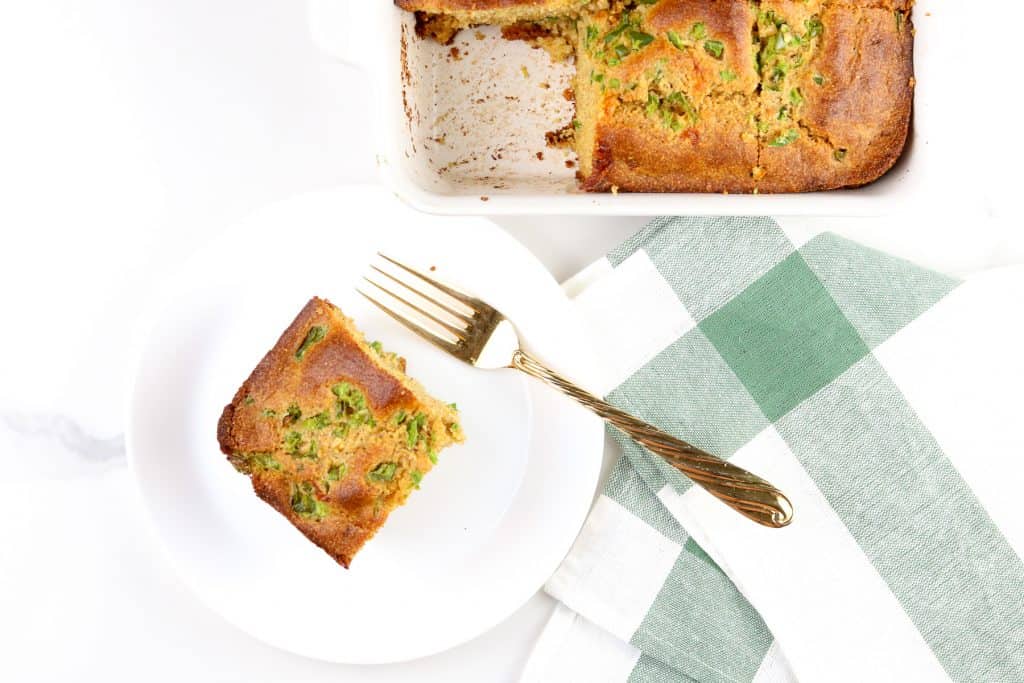
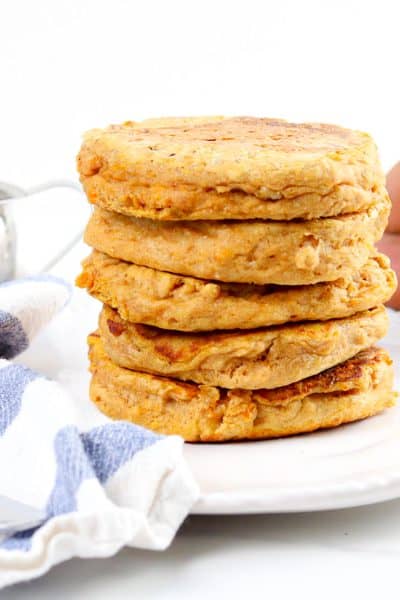
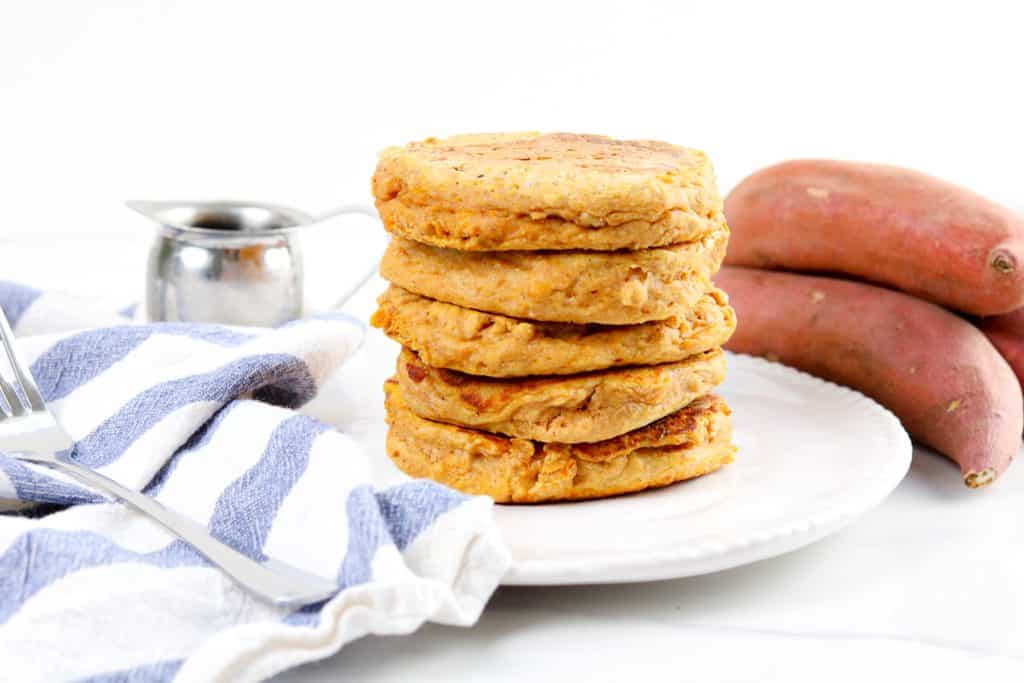
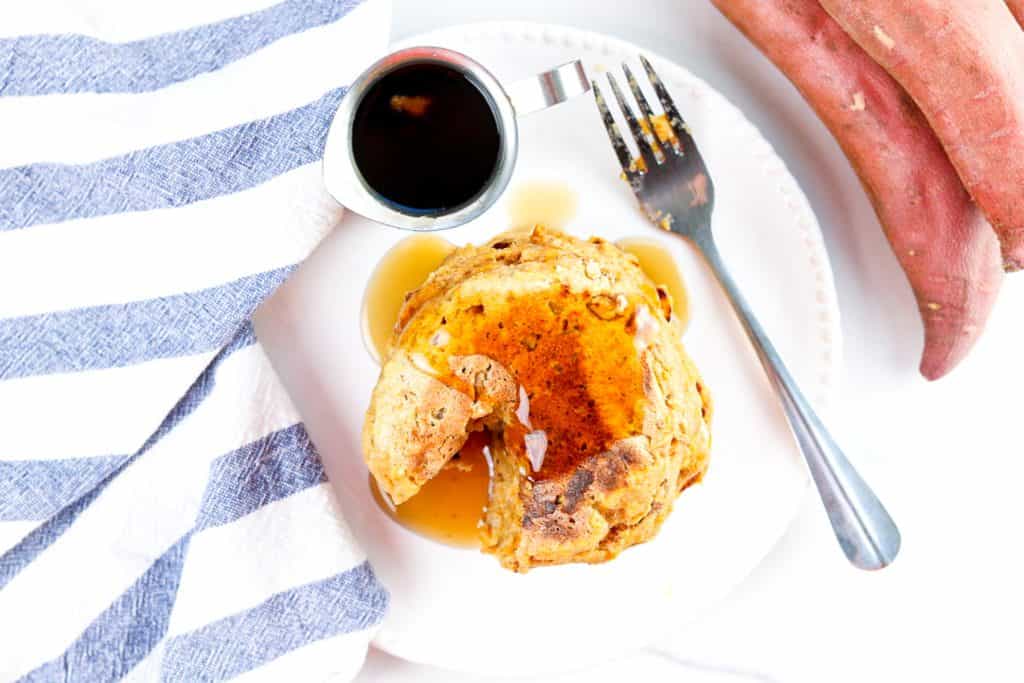
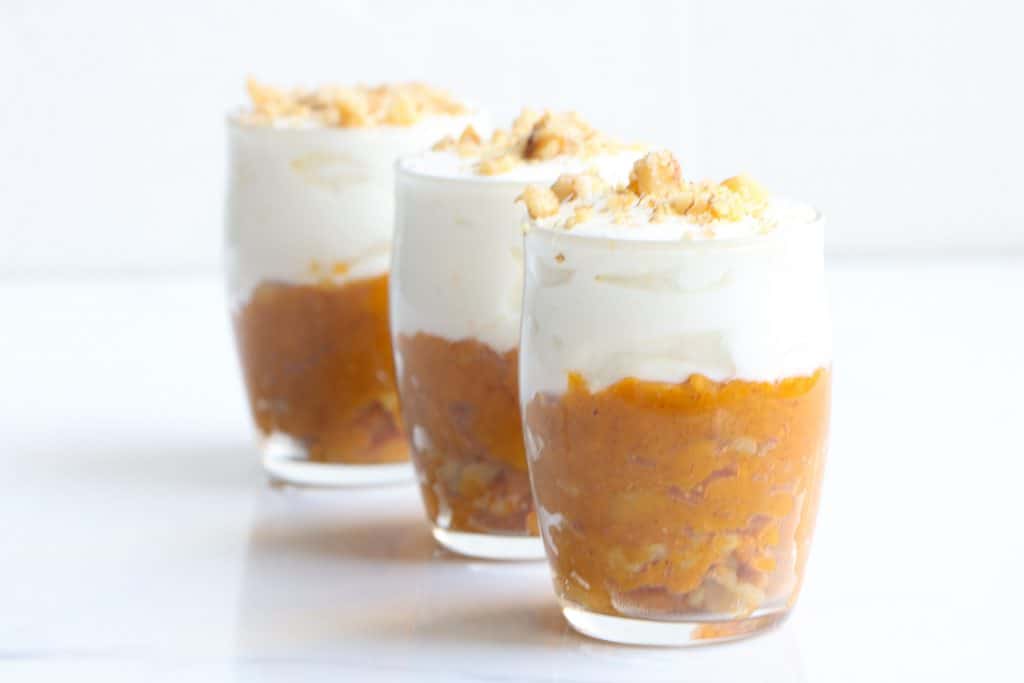
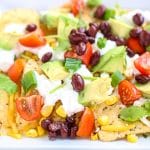
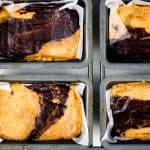
Once cooled, get ready to enjoy them!

They taste great on their own, but also wonderful with a warm cup of coffee or tea! Or, a cool glass of milk!

Recipe Notes
Here are a few tips to keep in mind when making this recipe:
- I’ve used a gluten free oat flour in this recipe, but you can also use a gluten free baking flour! Both work wonderful with only a slight taste difference.
- You can omit the egg if you’d like to keep these vegan and try a flax egg (see this recipe here for making your own flax egg). I’ve made them with and without (because I ran out of eggs!) and it turned out well. I just recommend using the gluten free baking flour if you don’t have eggs as the oat flour was a bit harder to get them to hold together since the egg is a binder.
- If you don’t have date syrup, you can substitute by using a 1/2 cup total of brown sugar. Note this will affect the added sugar content.
- White chocolate chips are optional, but I highly recommend them!

Other Recipes You May Enjoy
In the baking spirit after trying these Gluten Free Gingerbread Cookies? Then you have to try these reader favorites too!
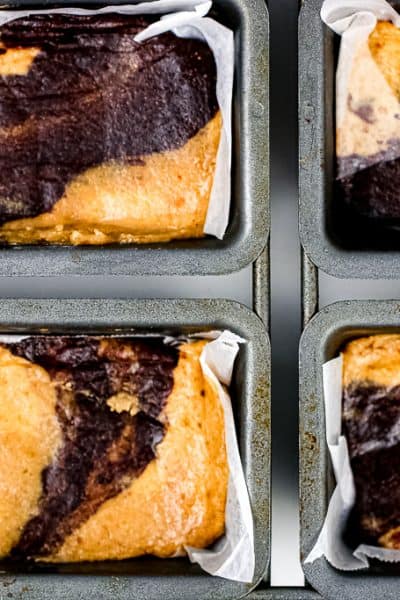
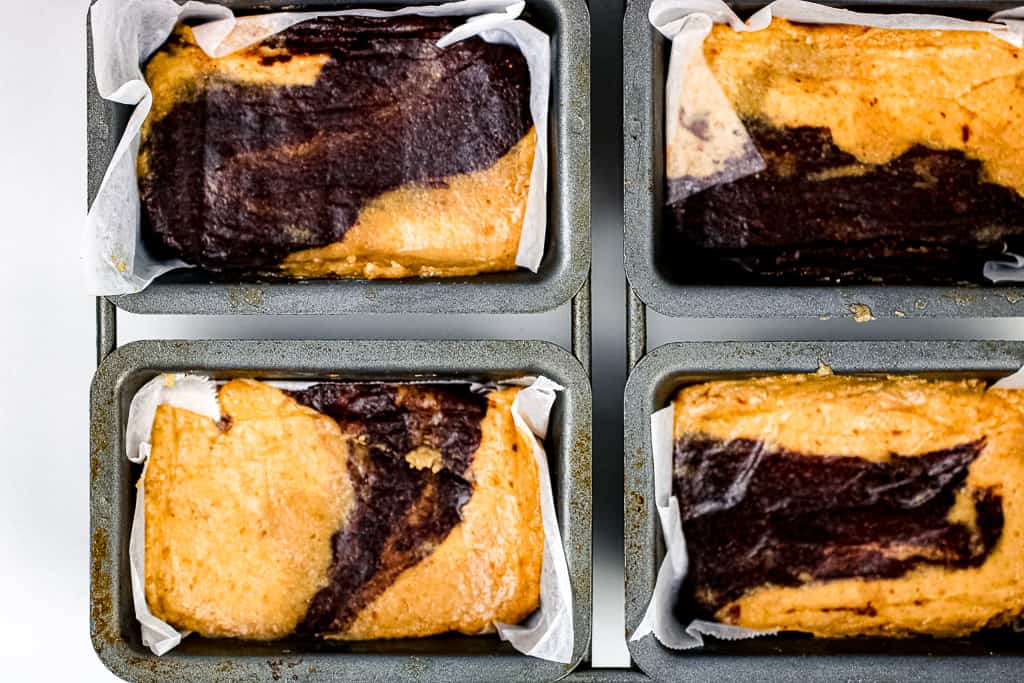
- Chocolate Chip Banana Bread Muffins
- White Chocolate Chestnut Cookie Sandwiches
- Chocolate Chunk Pumpkin Bread
- Gluten Free Chocolate Chunk Cookies
- Gluten Free Pumpkin Muffins

Gluten Free Gingerbread Cookies
Ingredients
- 1 cup old fashioned oats gluten free certified
- 1 1/2 cups gluten free baking flour
- 1 teaspoon baking powder
- 1 teaspoon ground ginger
- 1/2 teaspoon pumpkin pie spice
- 1/3 cup plant based butter melted
- 1/3 cup date syrup
- 1 teaspoon vanilla extract
- 1 large egg optional
- 2 tbsps brown sugar
- 1/4 cup white chocolate chips optional
Instructions
- Preheat oven to 350 degrees F.
- In a medium bowl, combine whole oats, gluten free baking flour, baking power, ginger, pumpkin pie spice, and salt.
- In a larger bowl, combine butter, vanilla, egg, date syrup and sugar. Mix with an electric mixer until smooth.
- Add dry into wet ingredients, folding together with a spatula until uniform consistency is achieved. Mix in white chocolate chips (if desired.)
- Spray baking sheet with cooking spray.
- Portion dough into 1-oz rounded spoonfuls and place on baking sheet.
- Bake for 12 minutes.
- Remove and let cool on a wire rack if available.
- Enjoy warm.