This quick and easy Pesto Breakfast Sandwich is a delicious way to start your day (or enjoy for a simple lunch or dinner too!) Packed with protein and healthy fats, it’s the perfect simple swap to satisfy your McMuffin craving!

Why You Need to Make this Healthy Breakfast Sandwich
I have a BIG obsession with sandwiches. Whether it’s my Deluxe Veggie Sandwich or a burger, I never turn down a sandwich. Enter, the need to make this Pesto Breakfast Sandwich!
This breakfast egg sandwich checks my most important boxes for a well-rounded meal: it includes healthy fats, protein, and carbohydrates, while also providing fiber and plenty of vitamins and minerals in a delicious package! Not to mention it’s super portable and quick to put together. Win-wins all around!
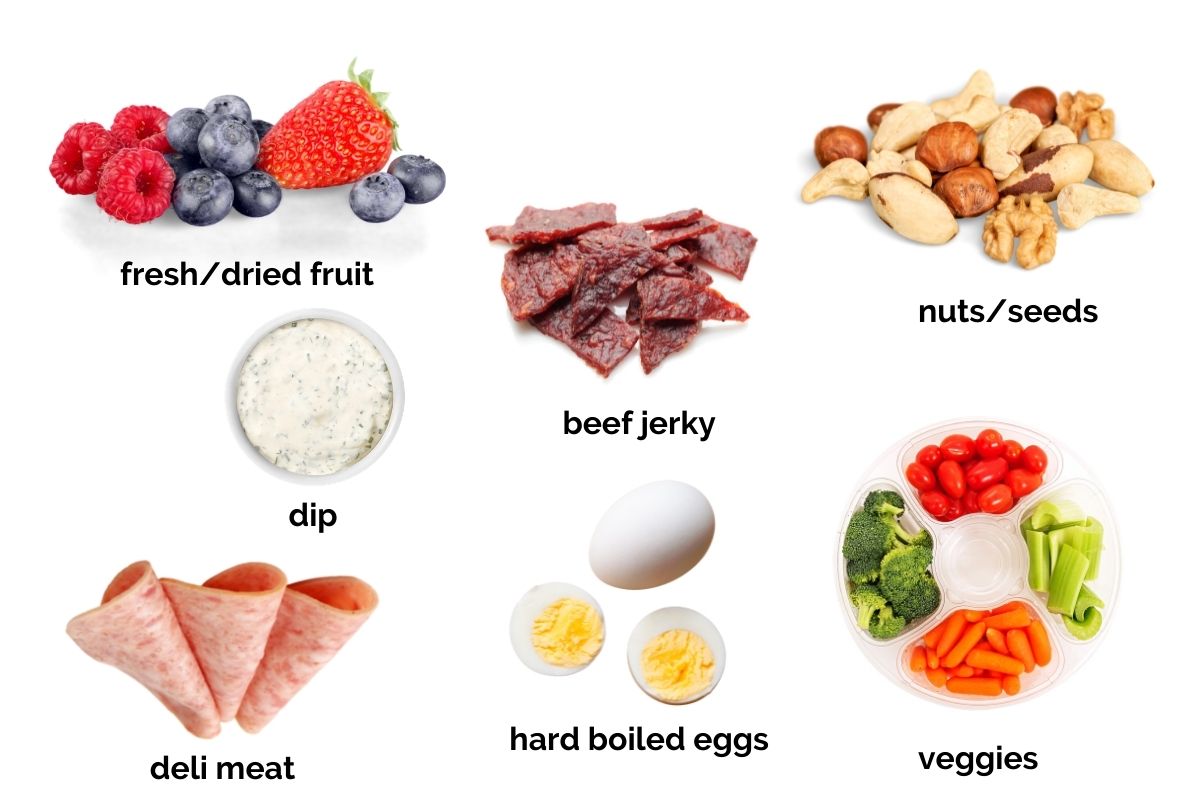
What You Need to Make this Breakfast Sandwich Recipe
Ingredient Tips
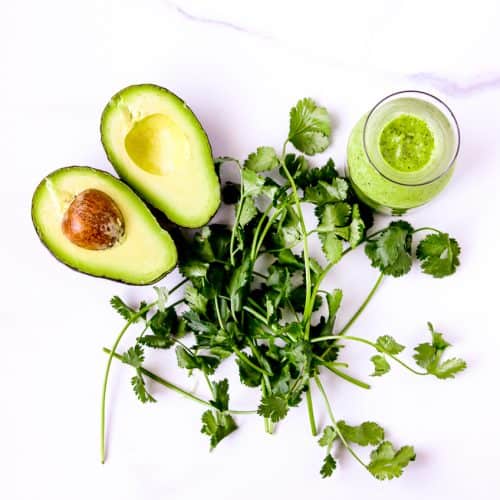
- Avocado: I highly recommend my Avocado Pesto on this! But you can also use avocado slices, or even a fun twist with my Walnut Pesto!
- Turkey: You can sub in any protein for the deli turkey! Remember if consuming during pregnancy, to reheat any deli meats to steaming hot (or 165 degrees Fahrenheit) before consuming. My Whole 30 Sausage is an excellent addition or if you’re more inclined towards bacon, this would be a great vessel for a low sodium bacon, egg, and cheese sandwich!
- Customize: Not listed here are any number of ingredients you can add to make this breakfast egg sandwich your own! Sautéed greens, onions, peppers, or sliced tomatoes are perfect options for making your breakfast healthier by including lots of veggies!
Ingredient Swaps
- English Muffin: Feel free to swap the whole wheat English muffin for your preferred bread of choice. Some good options would be a whole wheat bagel breakfast sandwich or breakfast sandwich on sourdough slices!
- Cheese: Add your favorite cheese: Cheddar, Muenster, or mozzarella would be yummy alternatives!
How to Make a Breakfast Sandwich
Start by microwaving your egg in a microwave safe dish in 15-second intervals. I also recommend covering it with a paper towel to prevent the egg from exploding (a.k.a., you having to clean!)

Once it’s done, grab that toasted muffin and build your sandwich with desired toppings (suggested ones included in the recipe below!)
You can enjoy this open faced, but I prefer to eat it as a sandwich! Plus, for busy people, the one handed meals are CRUCIAL!

Recipe Notes + Expert Tips
- Be patient with the microwave! Going in 15-second intervals prevents you from having to clean your microwave from the egg explosion!
- The avocado pesto will hold for about 3 days in the refrigerator with the lemon juice and vinegar it contains keeping it from browning, but I would definitely make it and consume as soon as possible as it’ll be it’s most delicious when fresh!
- If looking to prepare in advance and have frozen breakfast sandwiches at the ready for an even quicker option, you can prep the sandwich with toasted English muffin, cooked egg, deli meat, cheese and pesto (and cooked veggies if including), then wrap in paper towel and store in a sealed bag or container in the freezer for up to 2 weeks, for best quality. When ready to eat, pop the whole sandwich (with paper towel) in the microwave until steaming hot all the way through, 1-2 minutes. Then you can add some of your raw veggies and you’re ready to go!

This recipe was inspired by my beautiful friend Lauren’s latest book, The Protein-Packed Breakfast Club!
Click here to order your copy if you want to grab more ideas to boost your protein at breakfast, too!
FAQs for this High Protein Breakfast Recipe
“Breakfast is the most important meal of the day” is an American saying for a reason! Breaking the overnight fast is the first chance your body has to get your metabolism going. If you choose to skip breakfast, your metabolism may remain sluggish until you get your first meal in. Also, research indicates that if we can alter our eating behaviors to have more filling and nutrient dense meals earlier in the day, it may help prevent overeating at later meals. Furthermore, if you’re exercising a few times a week and/or have higher energy needs (hello pregnancy and breastfeeding!) breakfast is another opportunity to consume those additional calories, nutrients, and fiber! So if you’re a chronic breakfast-skipper, give this sammy a try and ease yourself into a new morning routine!
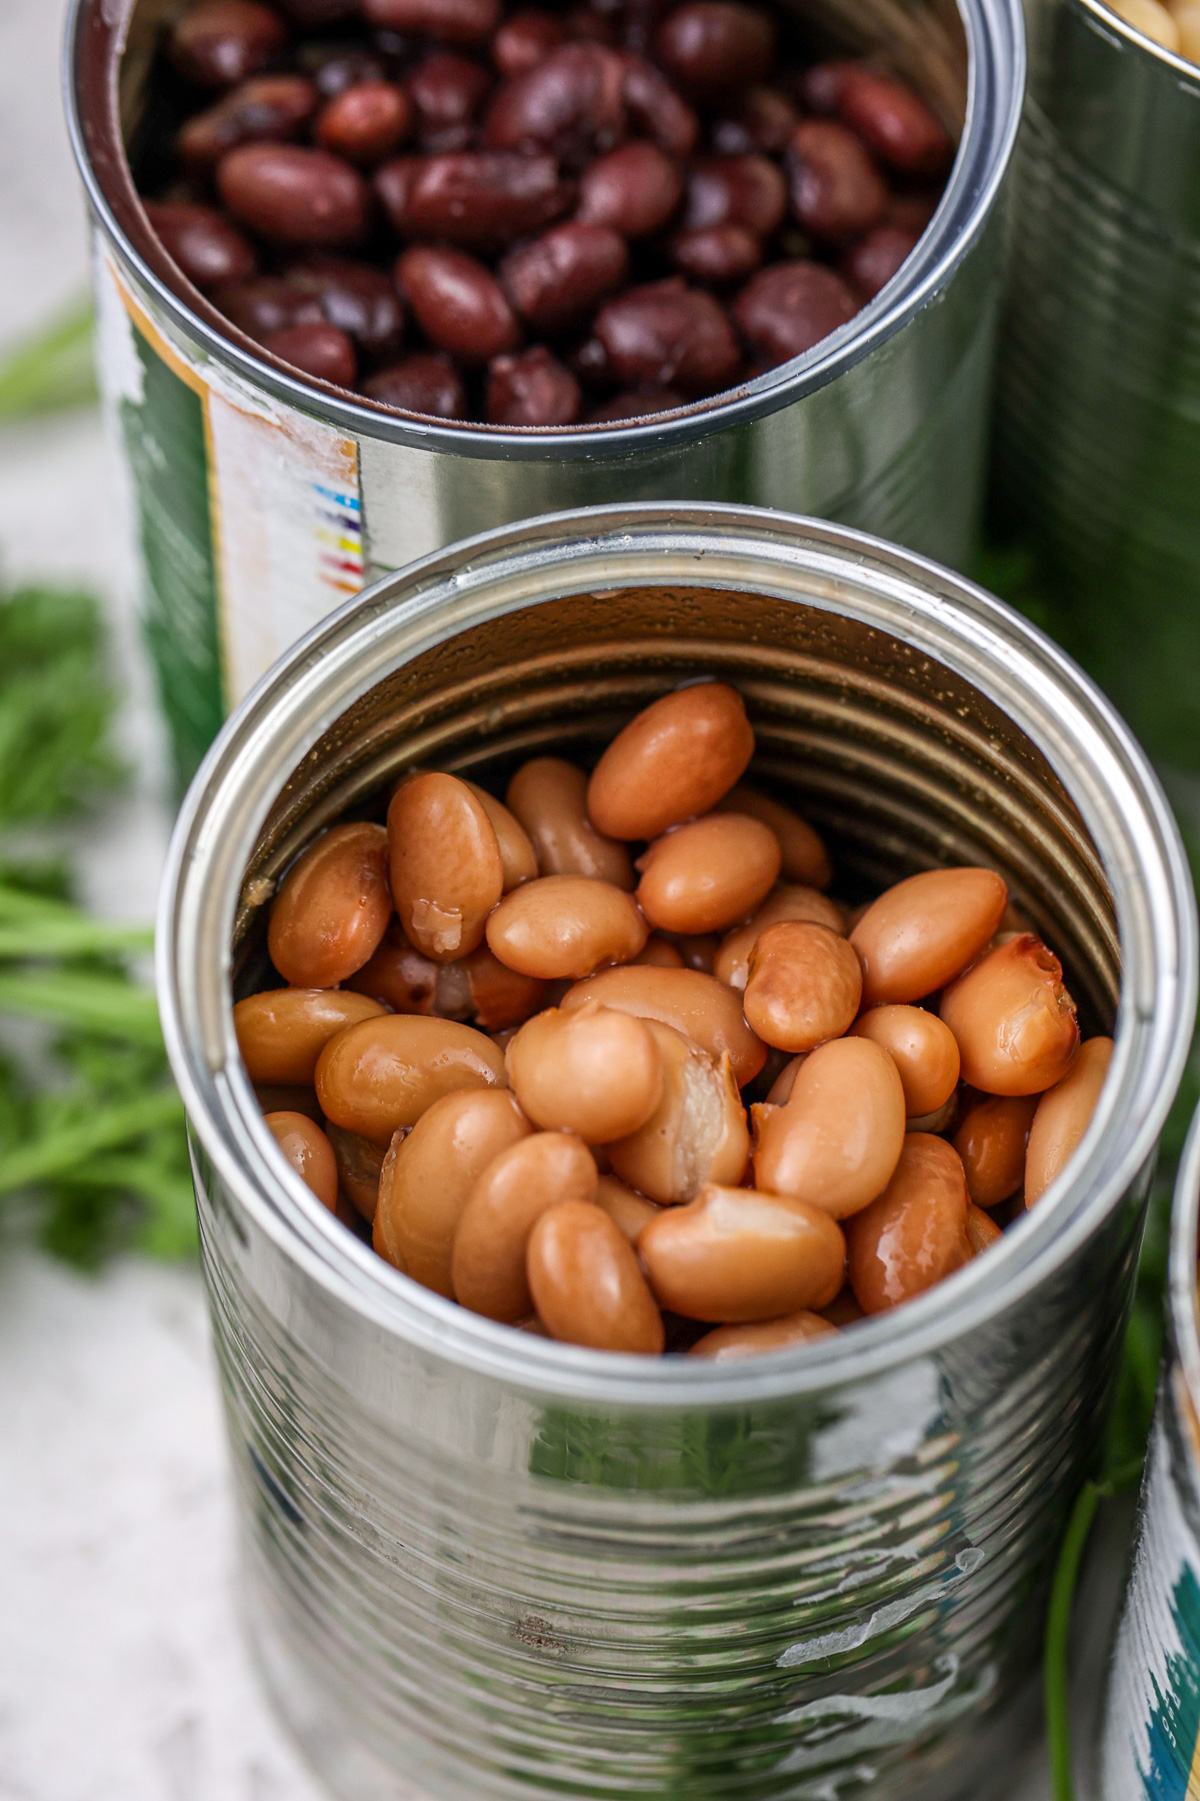
I do love bread and carbohydrates, specifically whole wheat versions since they have a lower glycemic load than refined flour products (and I believe they can, and should, be part of a well-rounded diet). However, if you’re looking to swap out the bread in this particular meal, or go for a gluten free option that’s not a GF bread, a few good options would be corn tortillas, cauliflower tortillas, or a fun twist could be turning this sandwich into a breakfast bowl by starting with some black beans, layering sautéed veggies, chopped deli meat/bacon/sausage, cooked egg, and topping off with the avocado pesto!
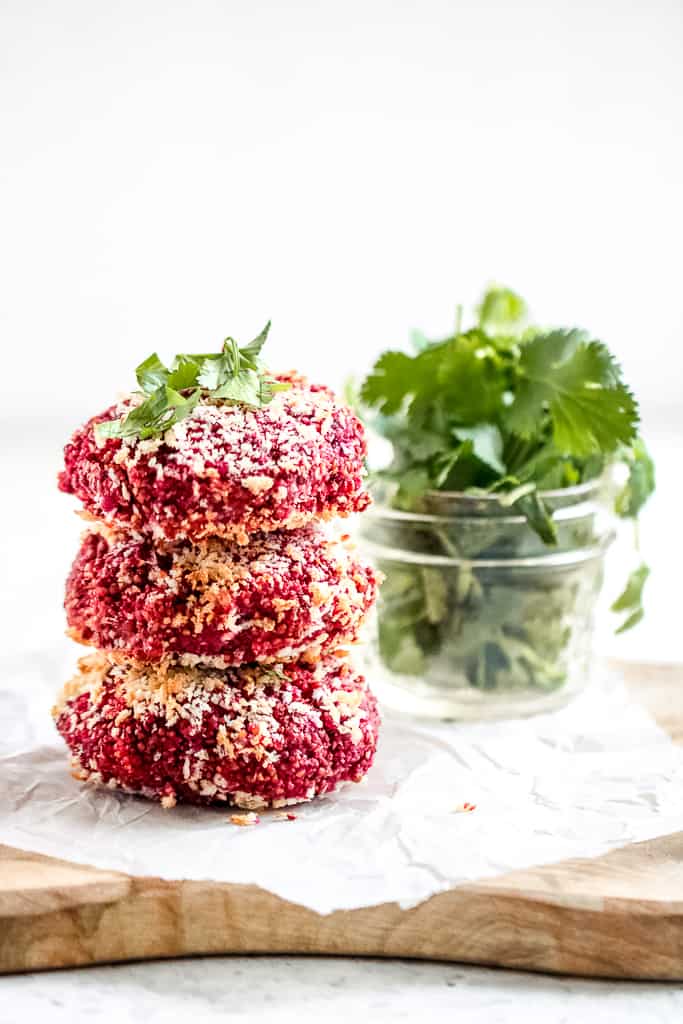
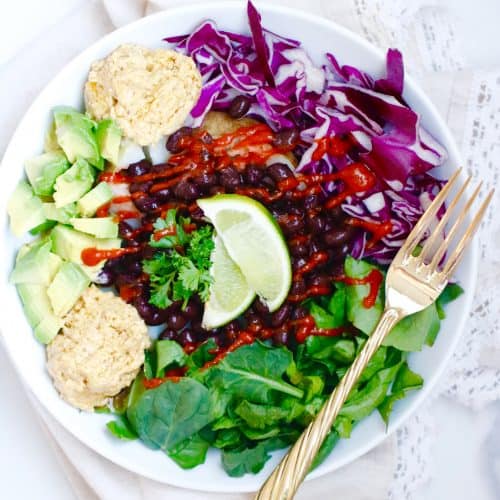
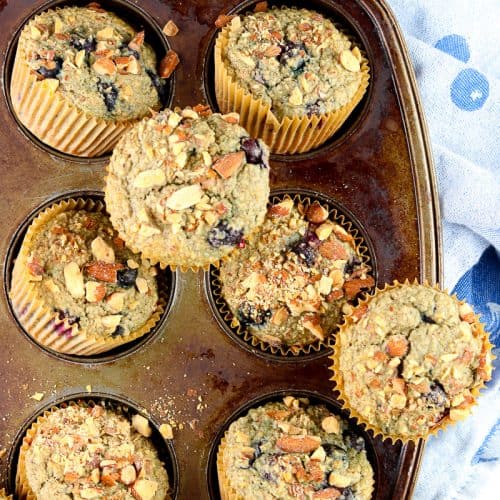
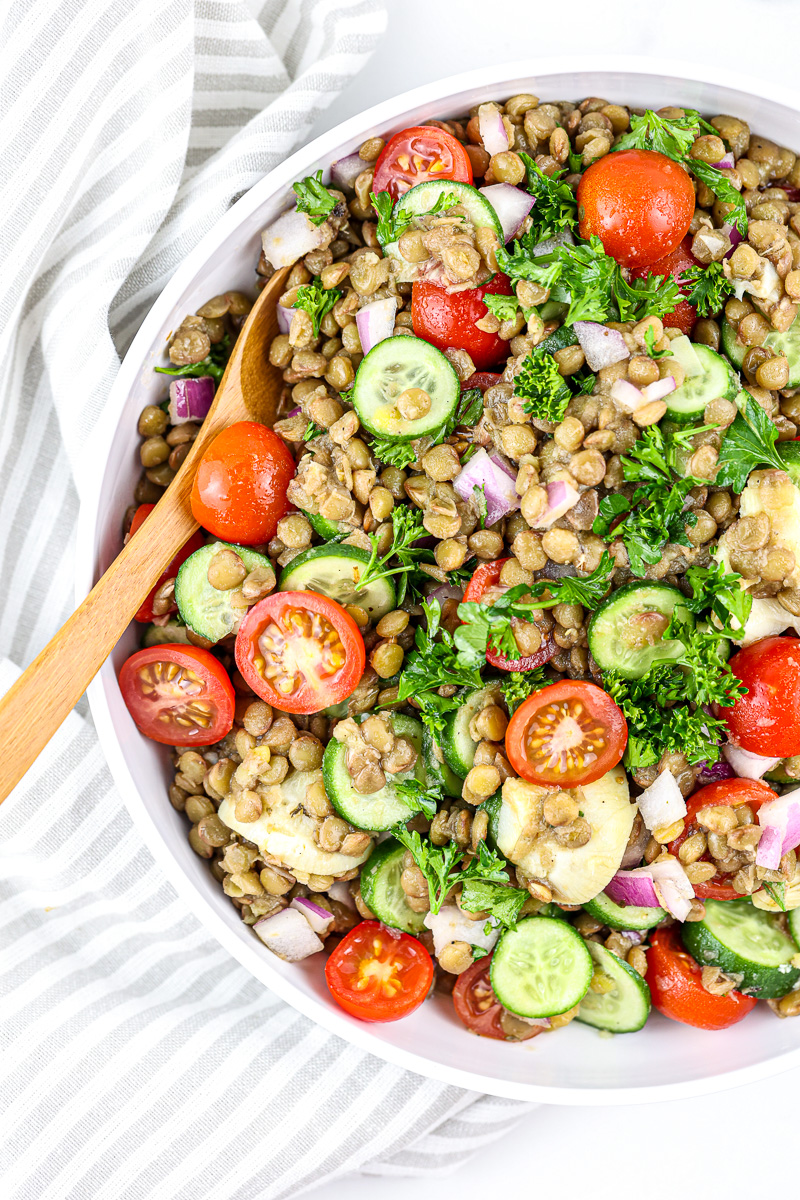
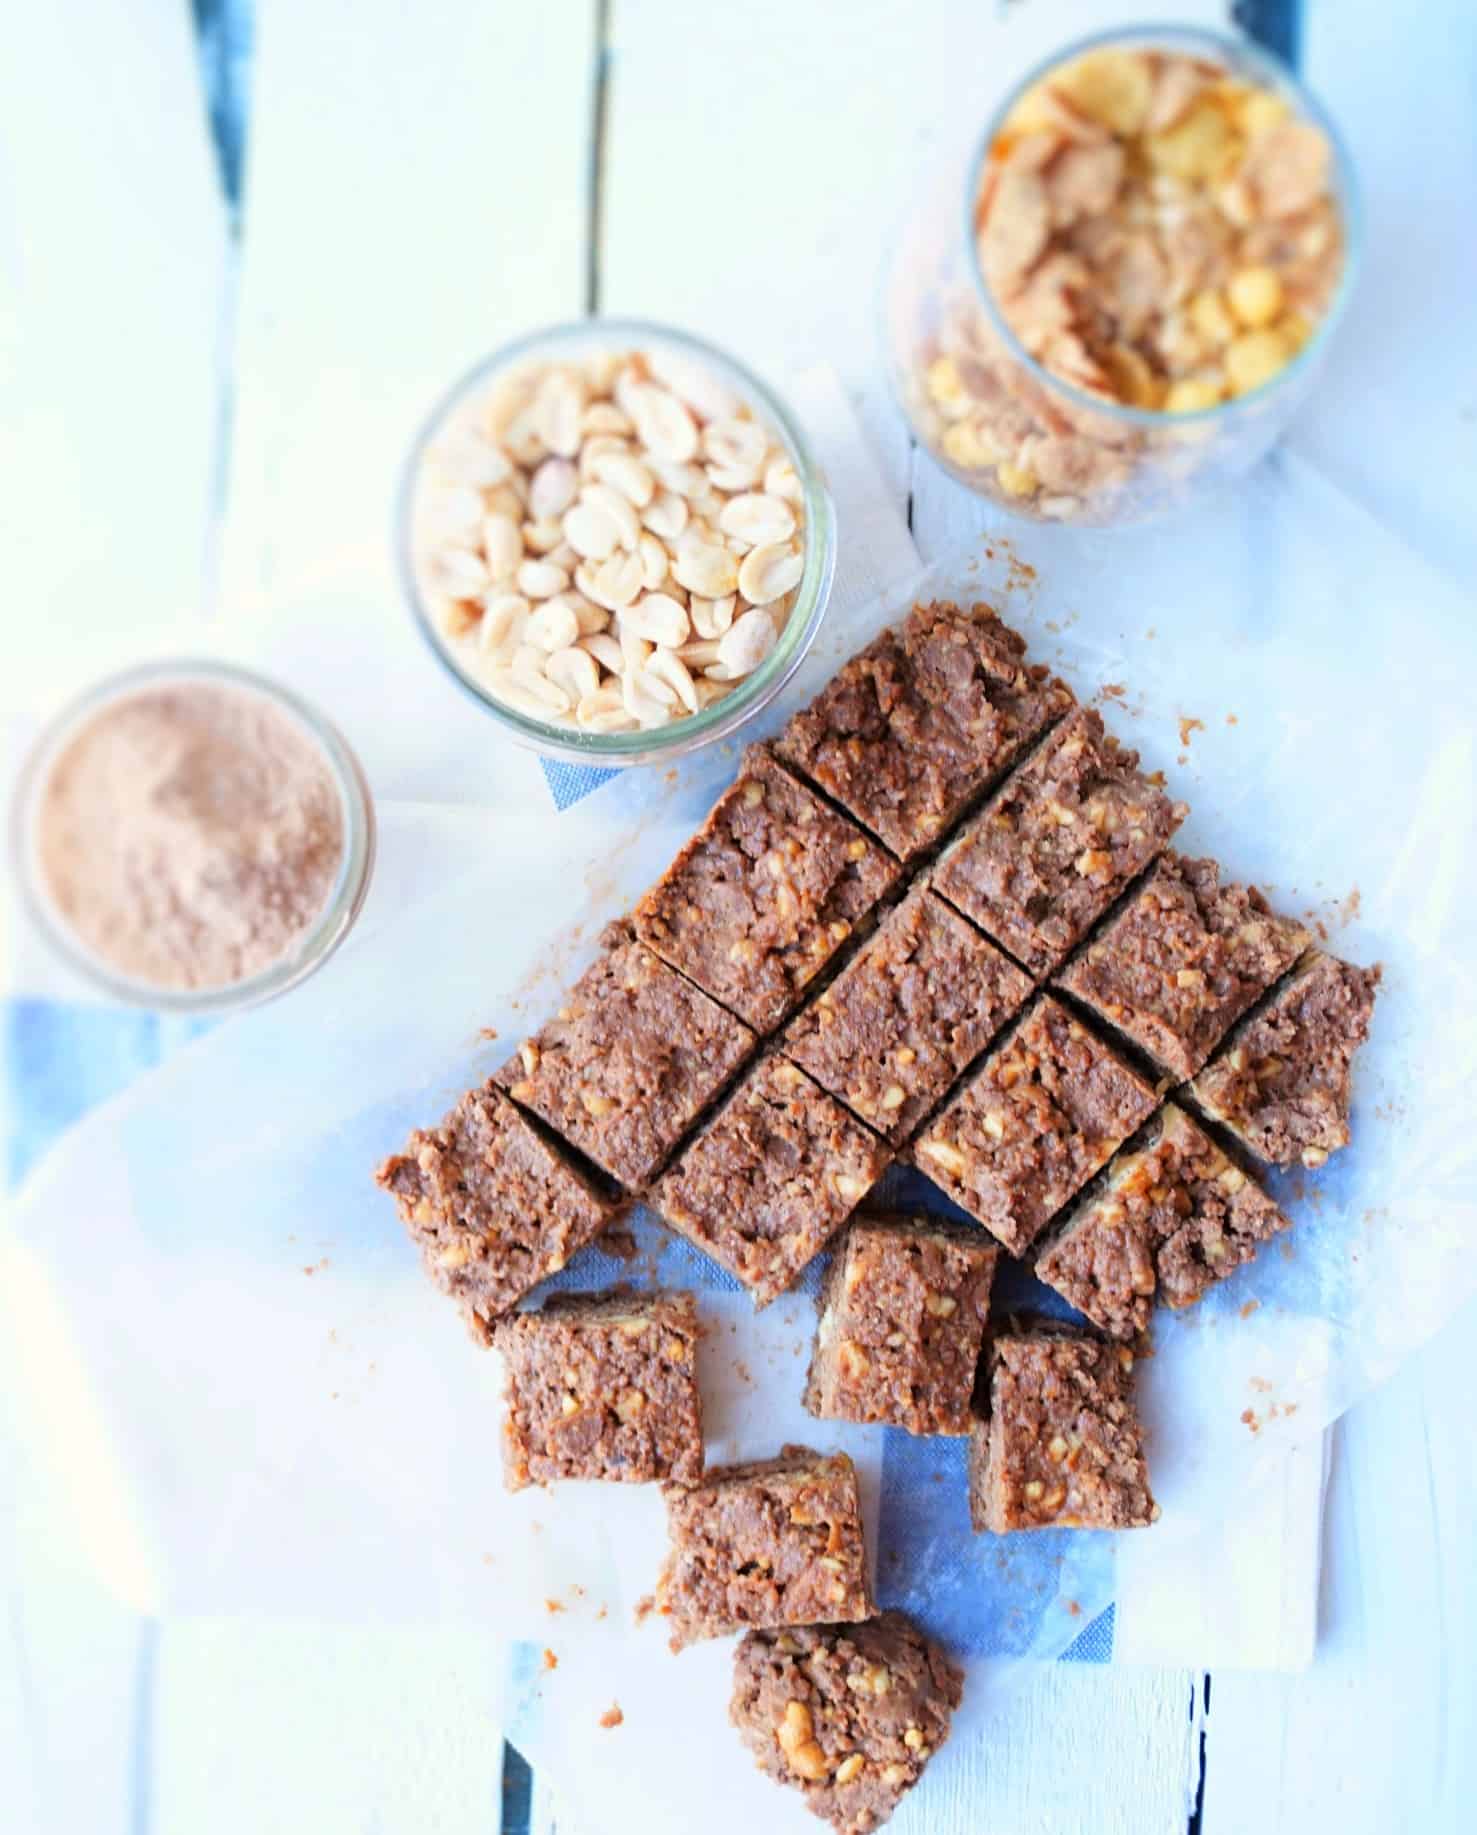
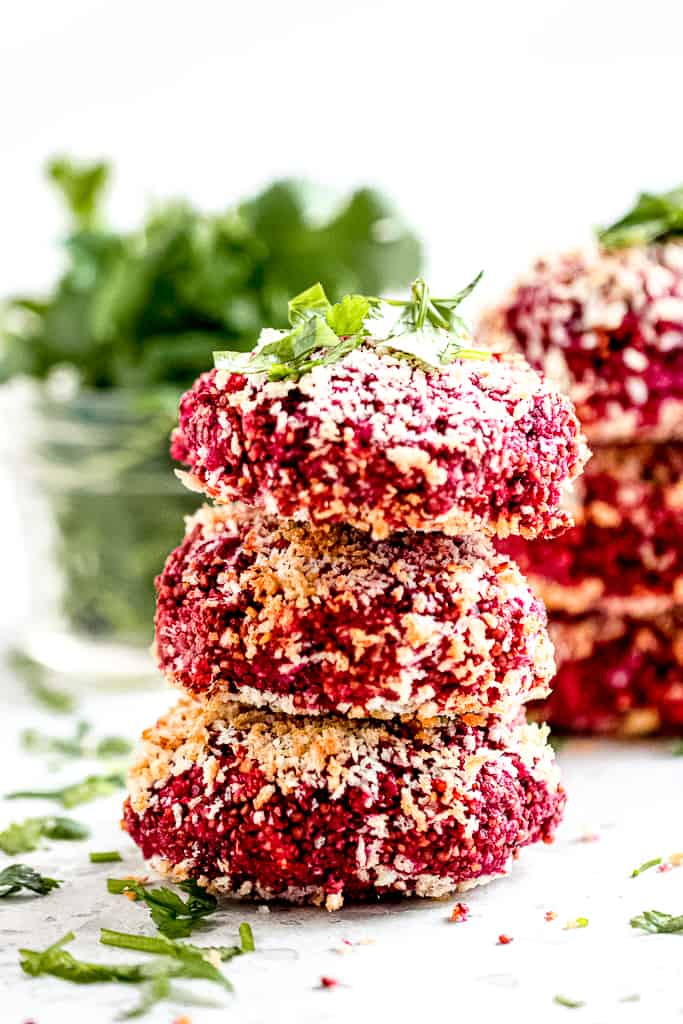
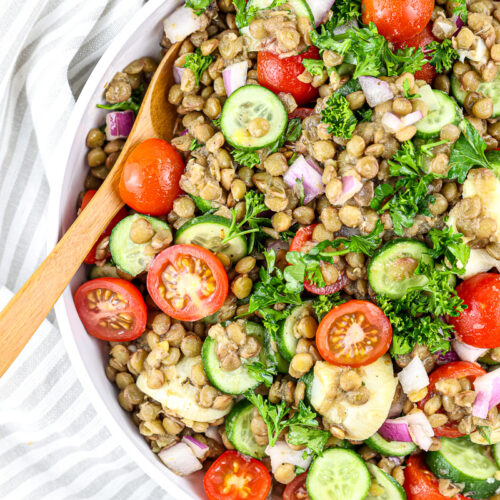
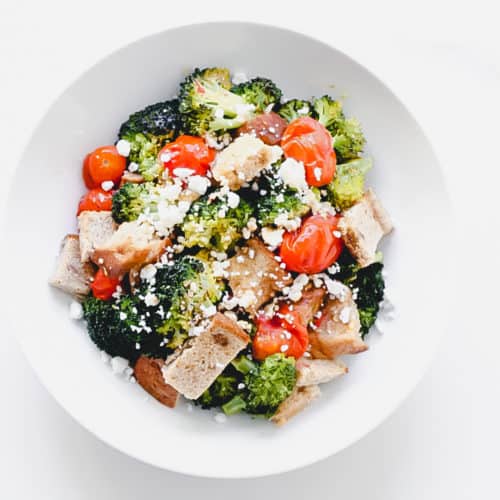
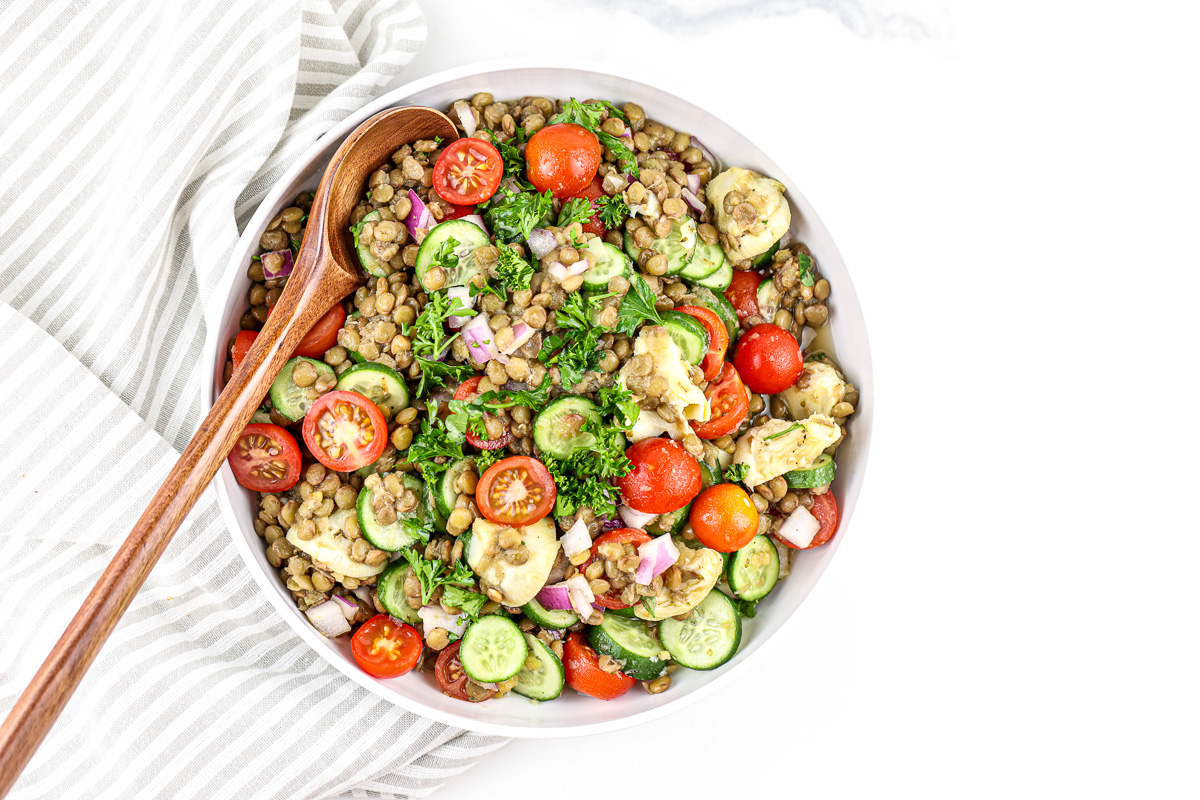
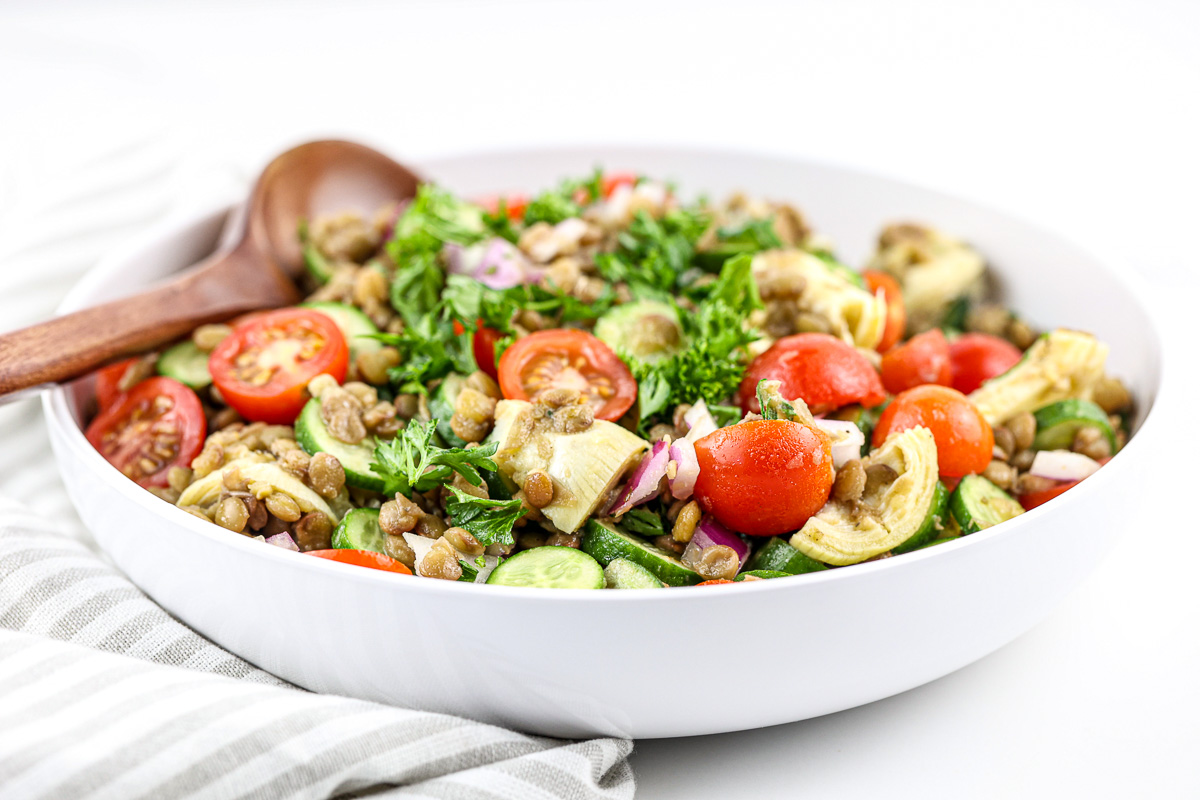
Other Healthy Breakfast Recipes You May Enjoy


If you try this recipe, would you please do me a favor and leave a star rating in the recipe box and/or comment below! This helps immensely in Google to continue delivering high quality content to you. And please be sure to tag and share what you made with me on social, I love seeing your creations! You can find me here: Instagram – Facebook – Pinterest!

Pesto Breakfast Sandwich
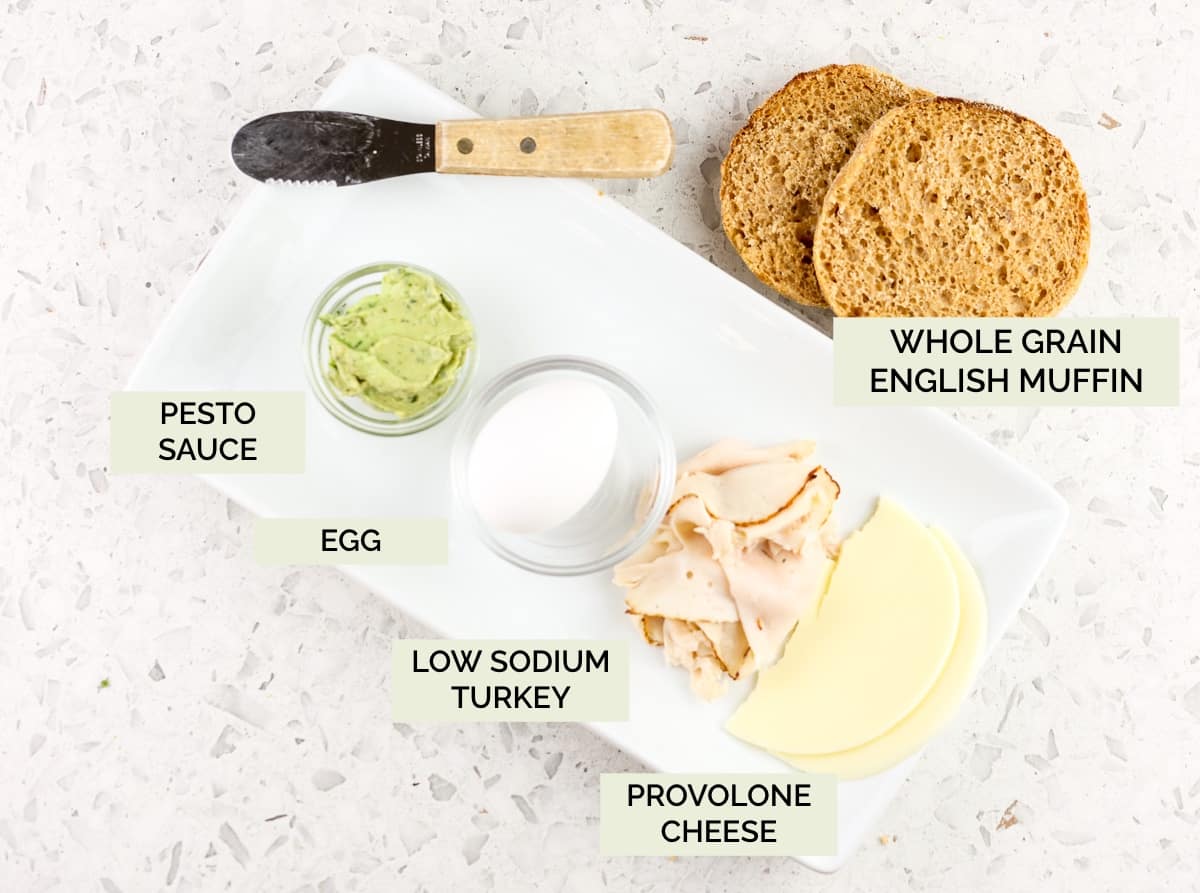
Ingredients
- 1 large egg cooked
- 1 whole grain English muffin
- 2 tablespoons Avocado Pesto
- 1 slice provolone cheese
- 2 ounces low sodium deli turkey
- 1 slice tomato
Instructions
- Scramble one large egg in a microwave safe 2-inch bowl. Cover with a paper towel and microwave in 15 second intervals until cooked (usually about 45 to 60 seconds total.)
- Meanwhile, place English muffin in a toaster.
- Spread 1 tablespoon of avocado pesto spread evenly over both sides.
- Top one side of the English muffin with a slice of cheese and the cooked egg. Top the other side with the deli turkey and sliced tomato. Layer the turkey side on top of the egg then enjoy! Or, feel free to eat open faced, whatever you prefer.
- Serve immediately.
Notes
- Be patient with the microwave! Going in 15-second intervals prevents you from having to clean your microwave from the egg explosion!
- Avocado: I highly recommend my Avocado Pesto on this! But you can also use avocado slices, or even a fun twist with my Walnut Pesto!
- Turkey: You can sub in any protein for the deli turkey!
- English Muffin: Feel free to swap the whole wheat English muffin for your preferred bread of choice. Some good options would be a whole wheat bagel breakfast sandwich or breakfast sandwich on sourdough slices!
- Cheese: Add your favorite cheese: Cheddar, Muenster, or mozzarella would be yummy alternatives!
- Customize: Not listed here are any number of ingredients you can add to make this breakfast egg sandwich your own! Sautéed greens, onions, peppers, or sliced tomatoes are perfect options for making your breakfast healthier by including lots of veggies!
- If looking to prepare in advance and have frozen breakfast sandwiches at the ready for an even quicker option, you can prep the sandwich with toasted English muffin, cooked egg, deli meat, cheese and pesto (and cooked veggies if including), then wrap in paper towel and store in a sealed bag or container in the freezer for up to 2 weeks, for best quality. When ready to eat, pop the whole sandwich (with paper towel) in the microwave until steaming hot all the way through, 1-2 minutes. Then you can add some of your raw veggies and you’re ready to go!
Nutrition
Want more Shaw Kitchen recipes? Then sign up here for my 5 Day Stress-Free Meal Plan delivered straight to your inbox!