Tired of making green juices that end up in the trash! Then this recipe is for you! As a newly converted green smoothie fan, I promise you this Green Smoothie For Kids is one that the entire family will enjoy… pink promise!
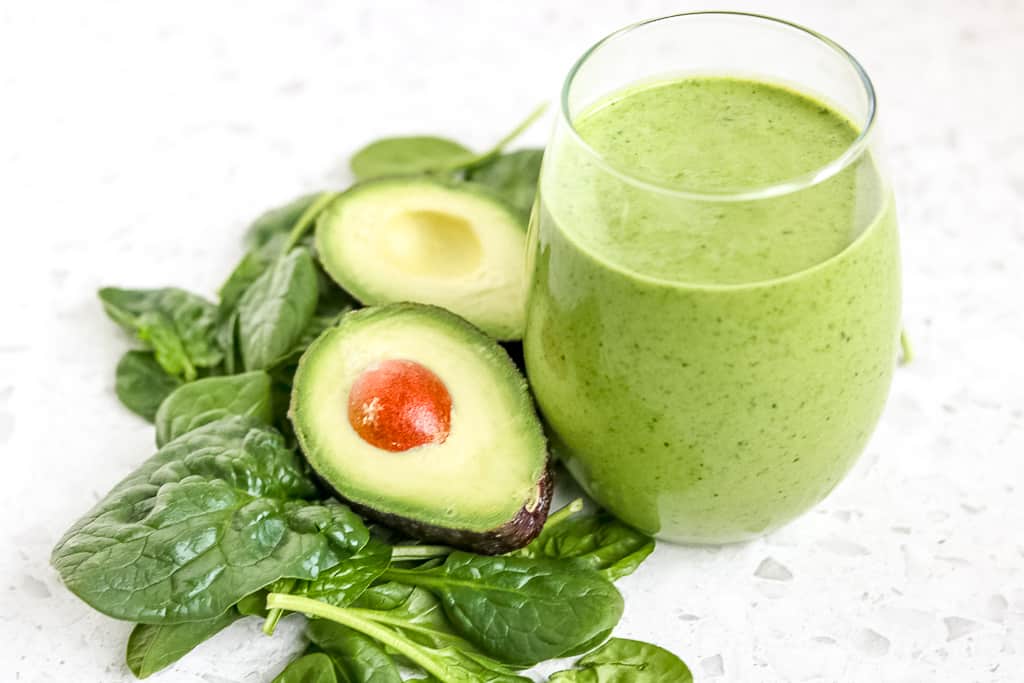
Are green smoothies really the magic cure?
Alright, green smoothies are VERY popular because they can pack a lot of nutrition in an 8 ounce jar.
For people looking to boost their immunity, increase their veggie intakes or provide a nourishing meal or snack for their kiddos, green smoothies can be a real life saver.
But, here’s the deal. Green smoothies (or any other food for that matter) are not the magic cure for any aliment.
They can, however, help provide your body with optimum nutrition to keep you at your healthiest, especially when flu season strikes.
Plus, they are SUPER CONVENIENT, making them a great grab and go snack for busy people (and toddlers who won’t sit still!)
How healthy are green smoothies?
This all depends on what is being added to the smoothie.
You can certainly make a DIY green smoothie (like the green smoothie for kids below) that is incredibly healthy, nourishing, and satisfying.
It’s hard to say when you purchase a smoothie out truly how “healthy” it is.
Why?
Because I’ve seen many smoothie joints add nearly 2 tablespoons of maple syrup or honey to a green smoothie and call it “healthy”.
I’m sorry but there’s nothing super healthy about adding nearly 30 grams of added sugar to a single serving smoothie and calling it healthy!
(P.S. Curious why maple syrup and honey are an added sugar? Read this post here.)
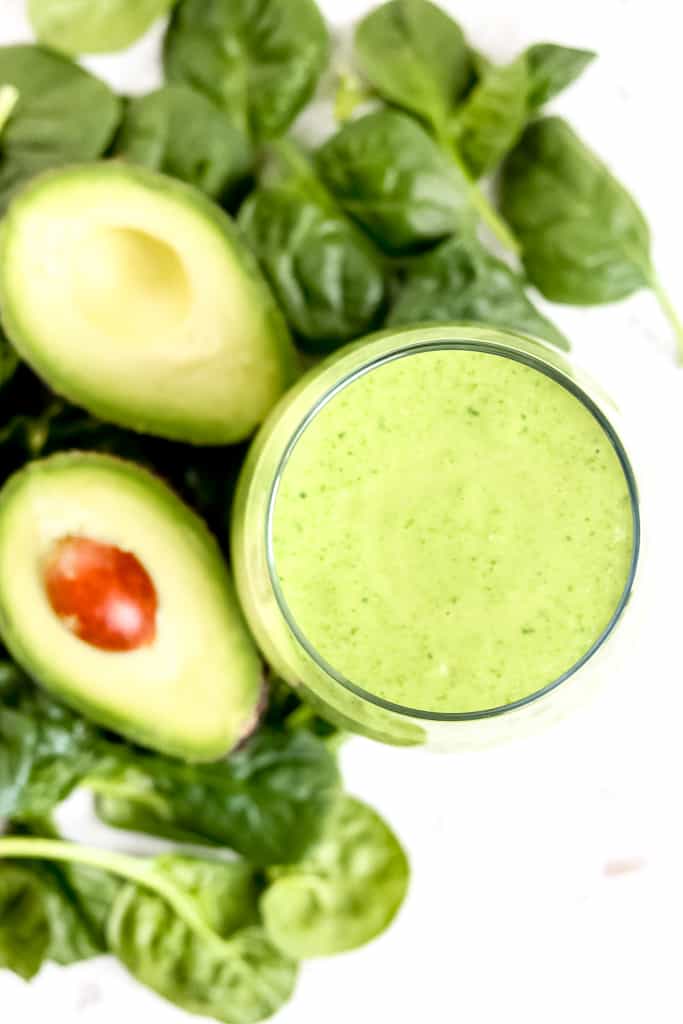
Now, with that said, smoothies like the one I’ve made here are an excellent way to fuel your body with:
Prebiotics (via the avocado)
Probiotics (via the kefir)
Fiber (via the spinach, avocado, peanut butter)
Healthy Fats (via the avocado and peanut butter)
Iron (via the spinach)
Plus, this entire recipe is free of added sugar!
And SO MUCH MORE, just checkout the nutrition facts below!
How can I make this Spinach Smoothie For Kids?
It’s literally the easiest thing to make!
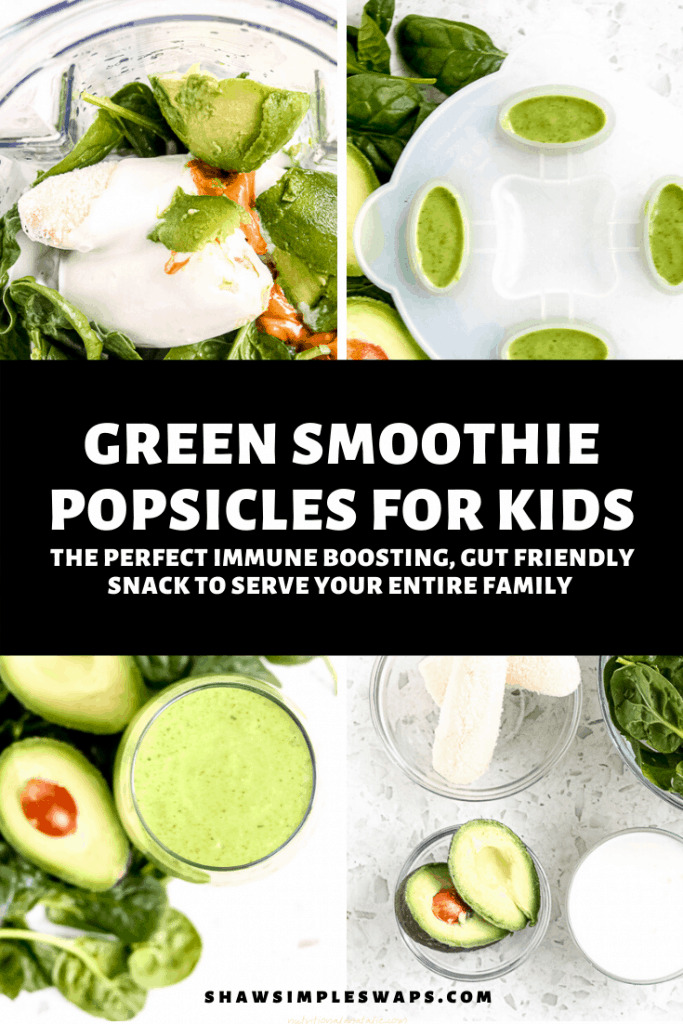
Start by assembling your ingredients: spinach, a frozen banana, kefir, peanut butter, and avocado.
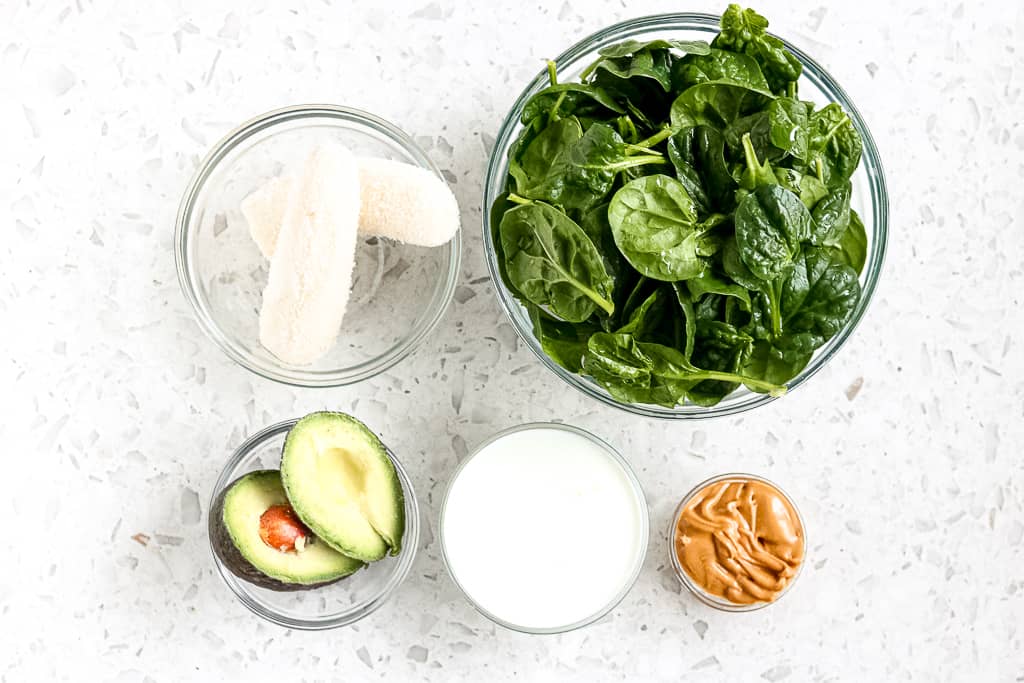
Toss the ingredients into the blender. First, add the spinach and banana.
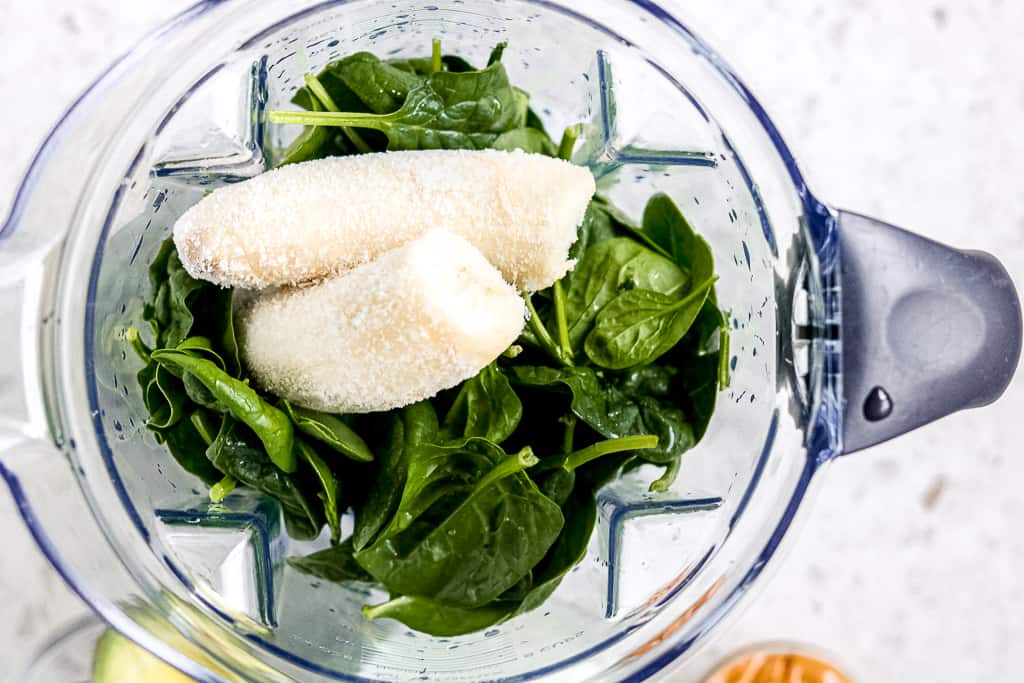
Then, toss in the kefir!
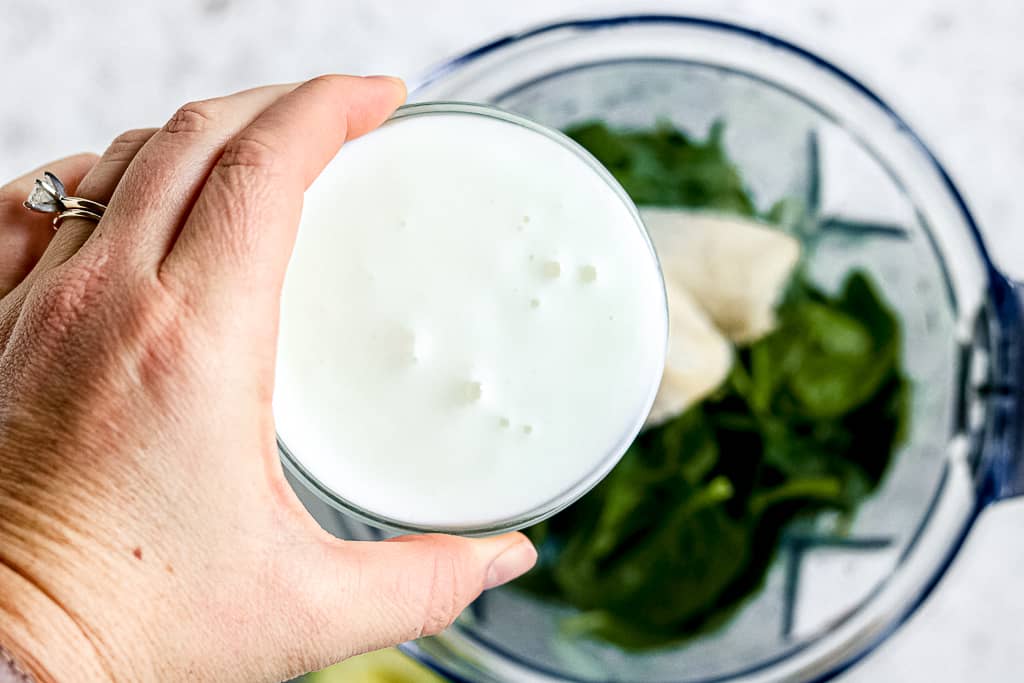
Lastly, add in the avocado and peanut butter! The reason I save the peanut butter for last is so it doesn’t get stuck to the side of the blender!
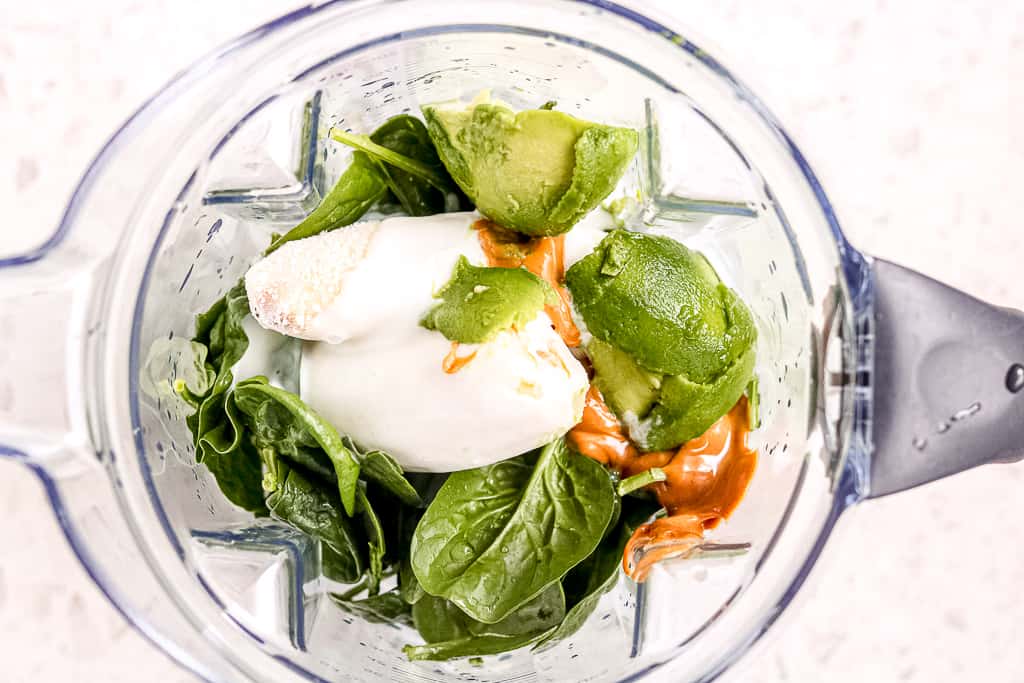
Then, blend baby blend! The final product should look like this!
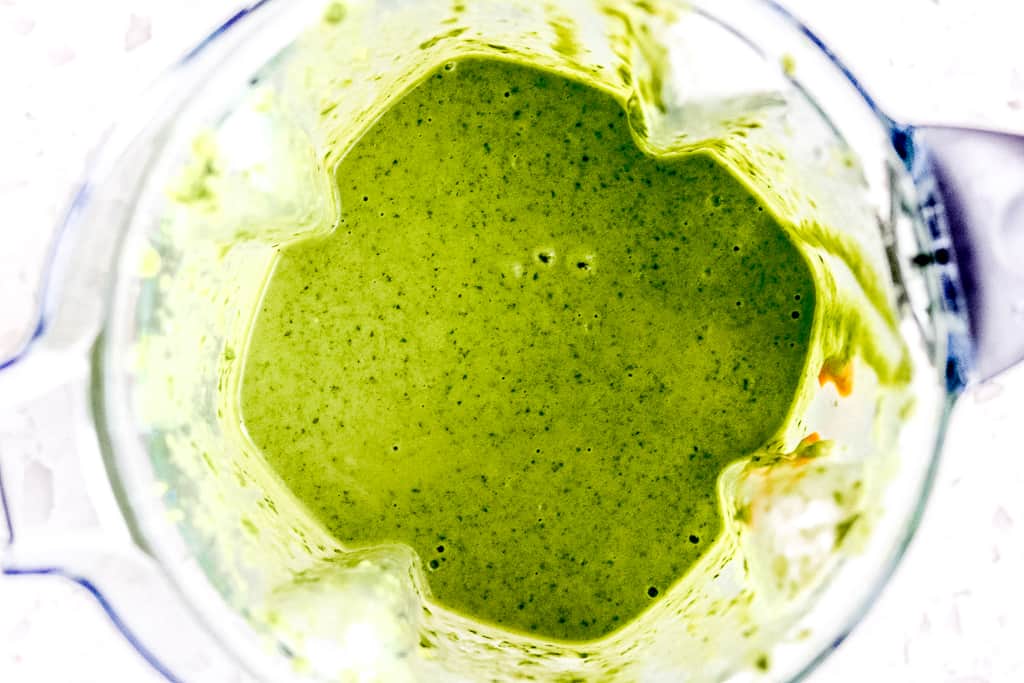
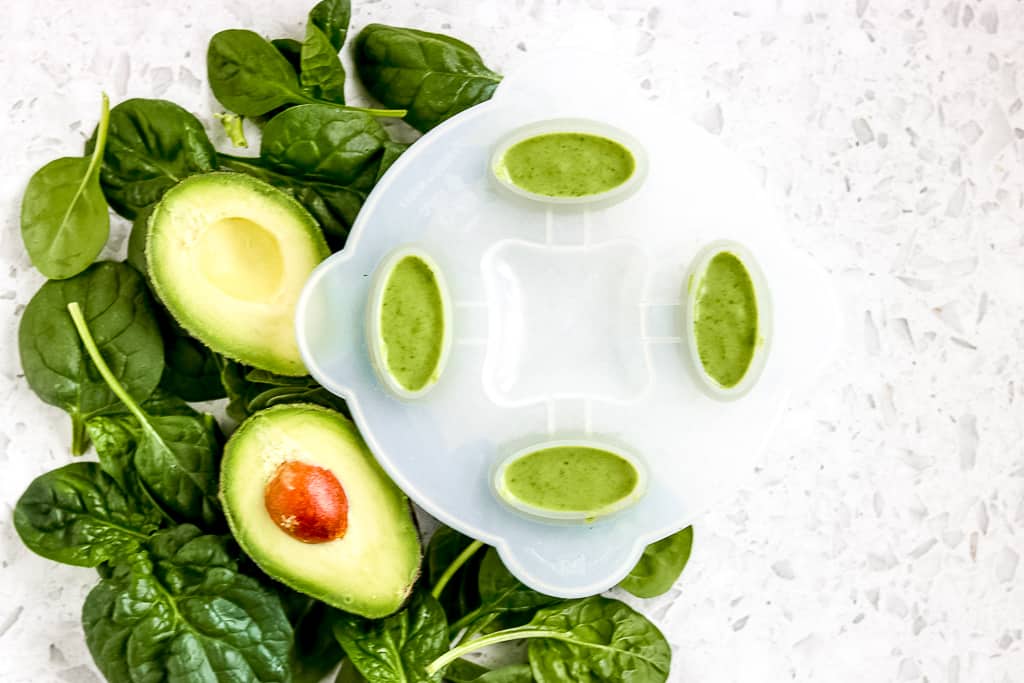
Now, you’re ready to portion these into smoothie cups or popsicle molds!
How many servings does this Green Smoothie make?
It depends on how you serve these up!
This makes:
-2 adult smoothies
-4 toddler smoothies
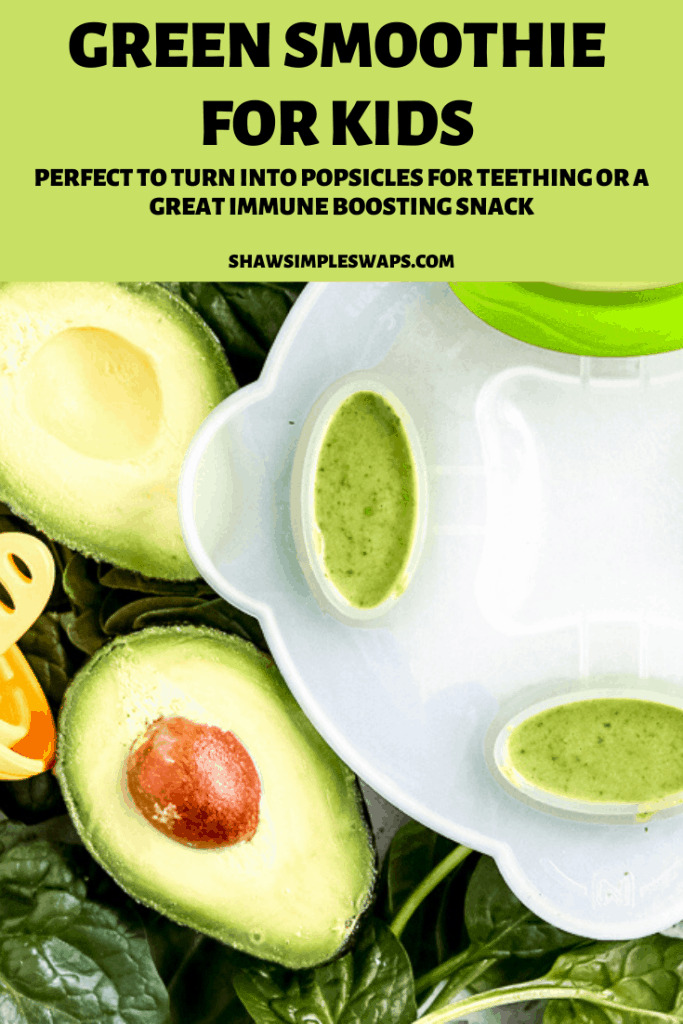
-24+ teething popsicles
Is this really adult friendly?
On my honor, I swear, I do not usually care for vegetables in my smoothie! But, this was truly good!
If you need a little extra sweetness (it is a bit tart with the kefir) then toss in 1 date to keep it added sugar free, or 1 teaspoon of honey if you prefer that route.
Can I make the green smoothie for kids fit in my adult diet?
I address this question only because I’ve gotten it from many adults.
The recipe is naturally fairly keto friendly but does contain some carbs (i.e. the banana.)
If you want to make this keto compliant for adults following that diet (kids should not be on a keto diet, unless warranted under medical supervision for specific conditions), swap out the banana for 1/2 cup frozen cauliflower and add 1/2 teaspoon of keto compliant sweetener.
You can also make this vegan by substituting a dairy free milk, like almond, soy or coconut in place of the kefir. Just note, you will not receive the same probtiotic benefits then!
Alright, enough chatter! Let’s make this smoothie now!
Green Smoothie For Kids
Equipment
- blender
Ingredients
- 2 cups fresh baby spinach
- 1 large frozen banana
- 1 cup plain kefir
- 1 small avocado
- 2 tbsp natural peanut butter
Instructions
- Place the spinach and frozen banana into a blender. Top with kefir, avocado and peanut butter.
- Pulse until smooth. Use a spatula to scrape down sides during blending to help ensure an even consistency.
- Portion into cups and serve immediately. If making popsicles, portion into popsicle molds and freezer for up to 1 month.
Notes
I’d love to hear what you think about this recipe! Feel free to comment below or tag me on Facebook or Instagram. If you decide to give them a try, be sure to tag me and use the #ShawKitchen so I can reshare!
Happy Cooking, friends!


Leave a Reply