

Exploring Switzerland – Weekend #1 Shaw Kitchen Travels

I’m back!
I can’t say I’m rested, but I am fighting the jet lag and exploring the beauty that Switzerland has to offer.
I figured the best way to actually keep your interest without writing a novel will be to break these updates into little chunks.
So… here’s a little peak into how we spent the first weekend together in Switzerland!
Fun Fact
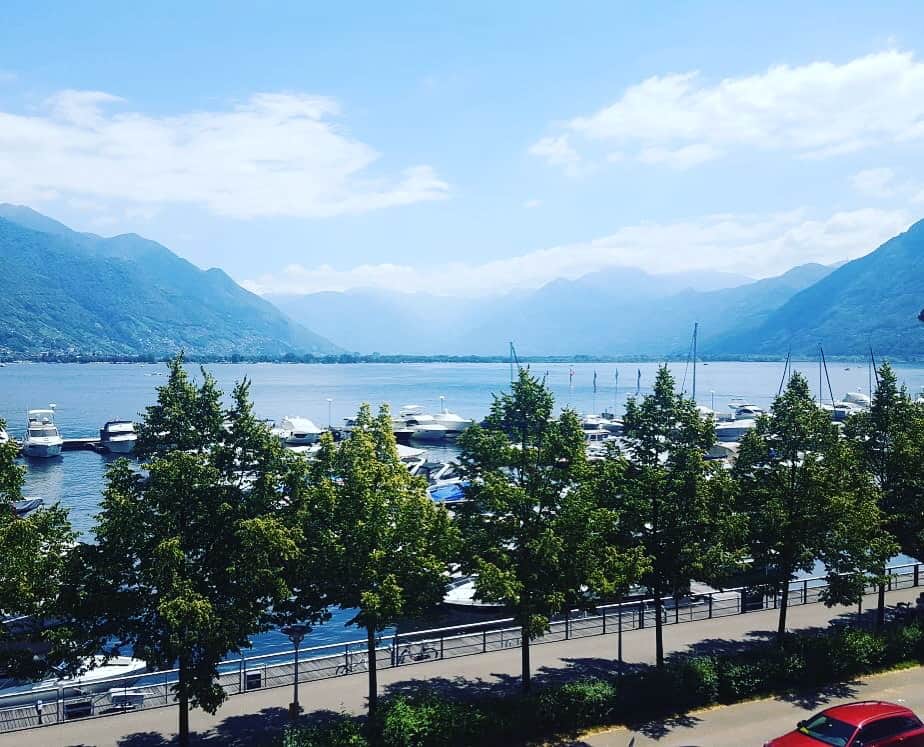
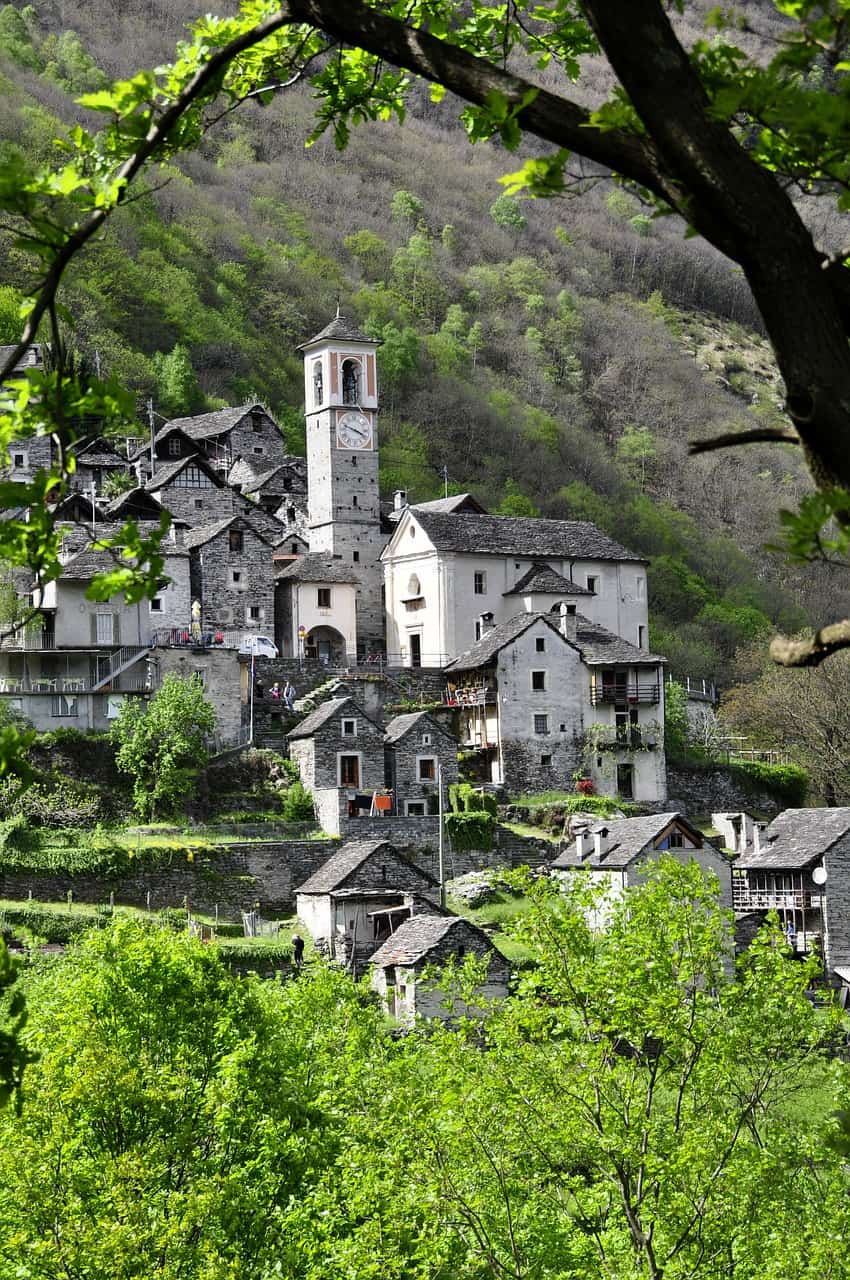
♦ We live on Lake Maggiore!!!
Actually, it’s called Locarno. It’s a southern Swiss town in the canton of Ticino. It has a population of about 16,000 peeps!
How we spent the weekend
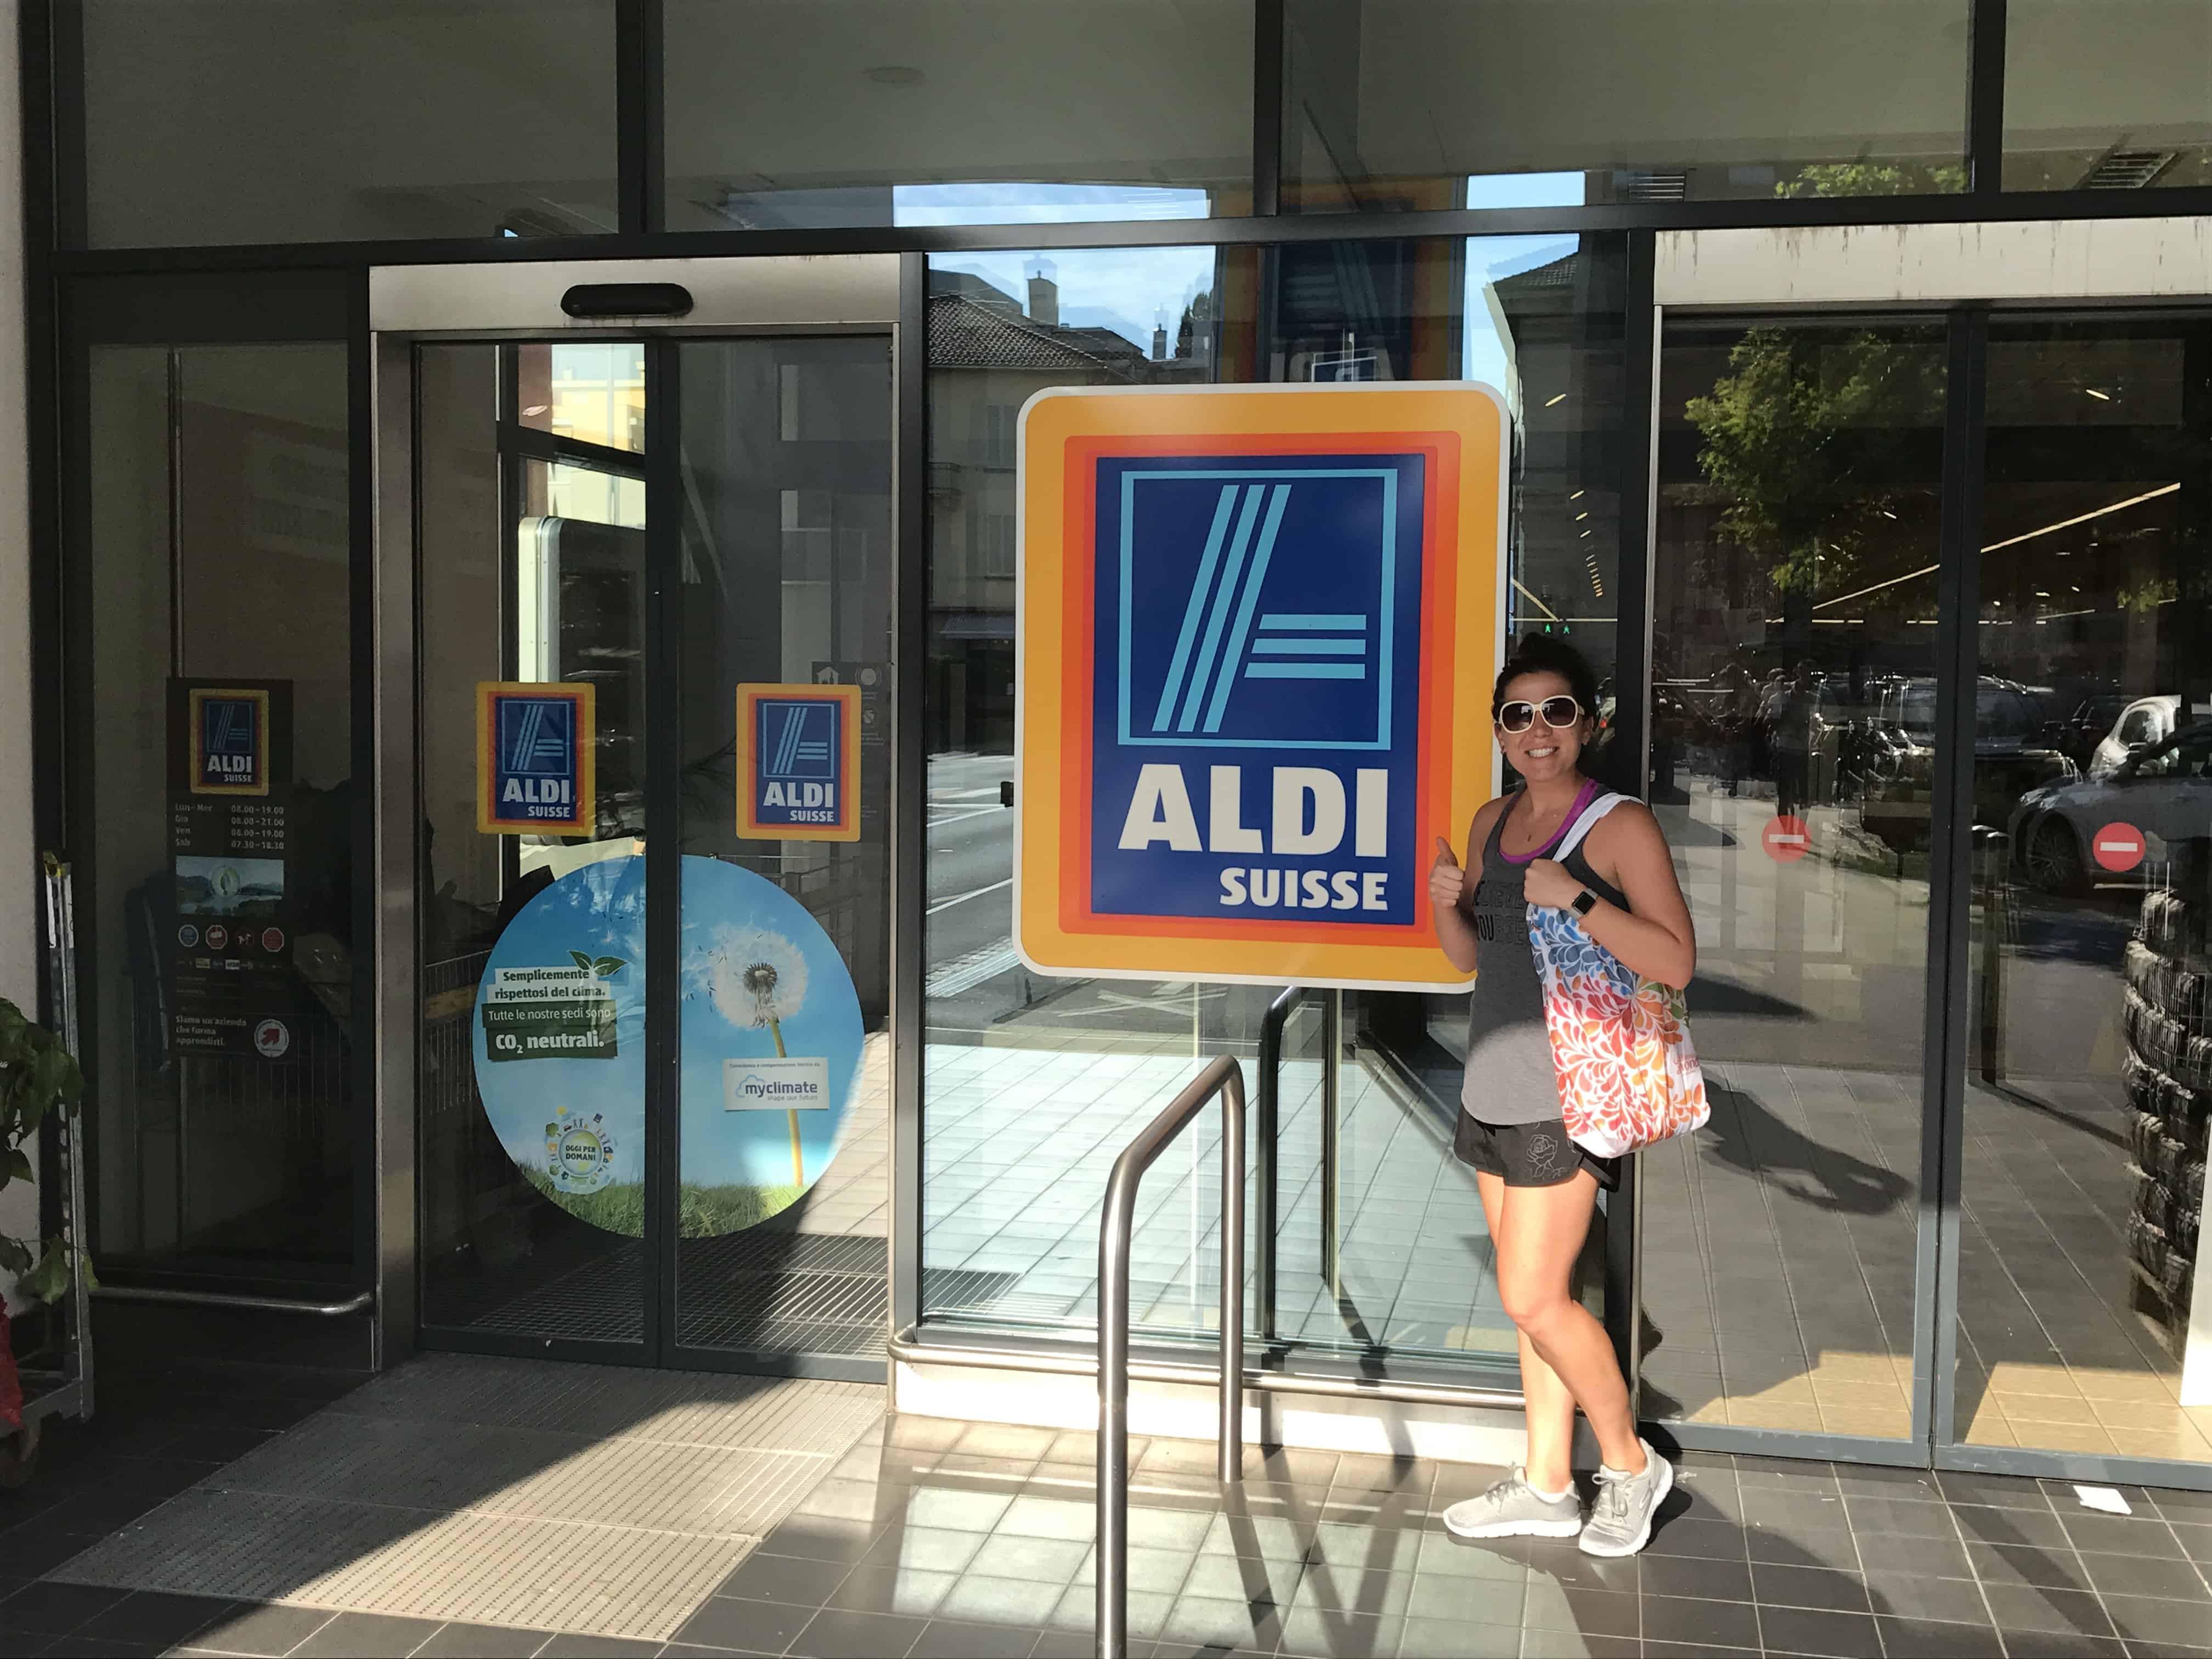
♦ ALDI-land
You can imagine how CRAZY excited I got about this. More to come soon.
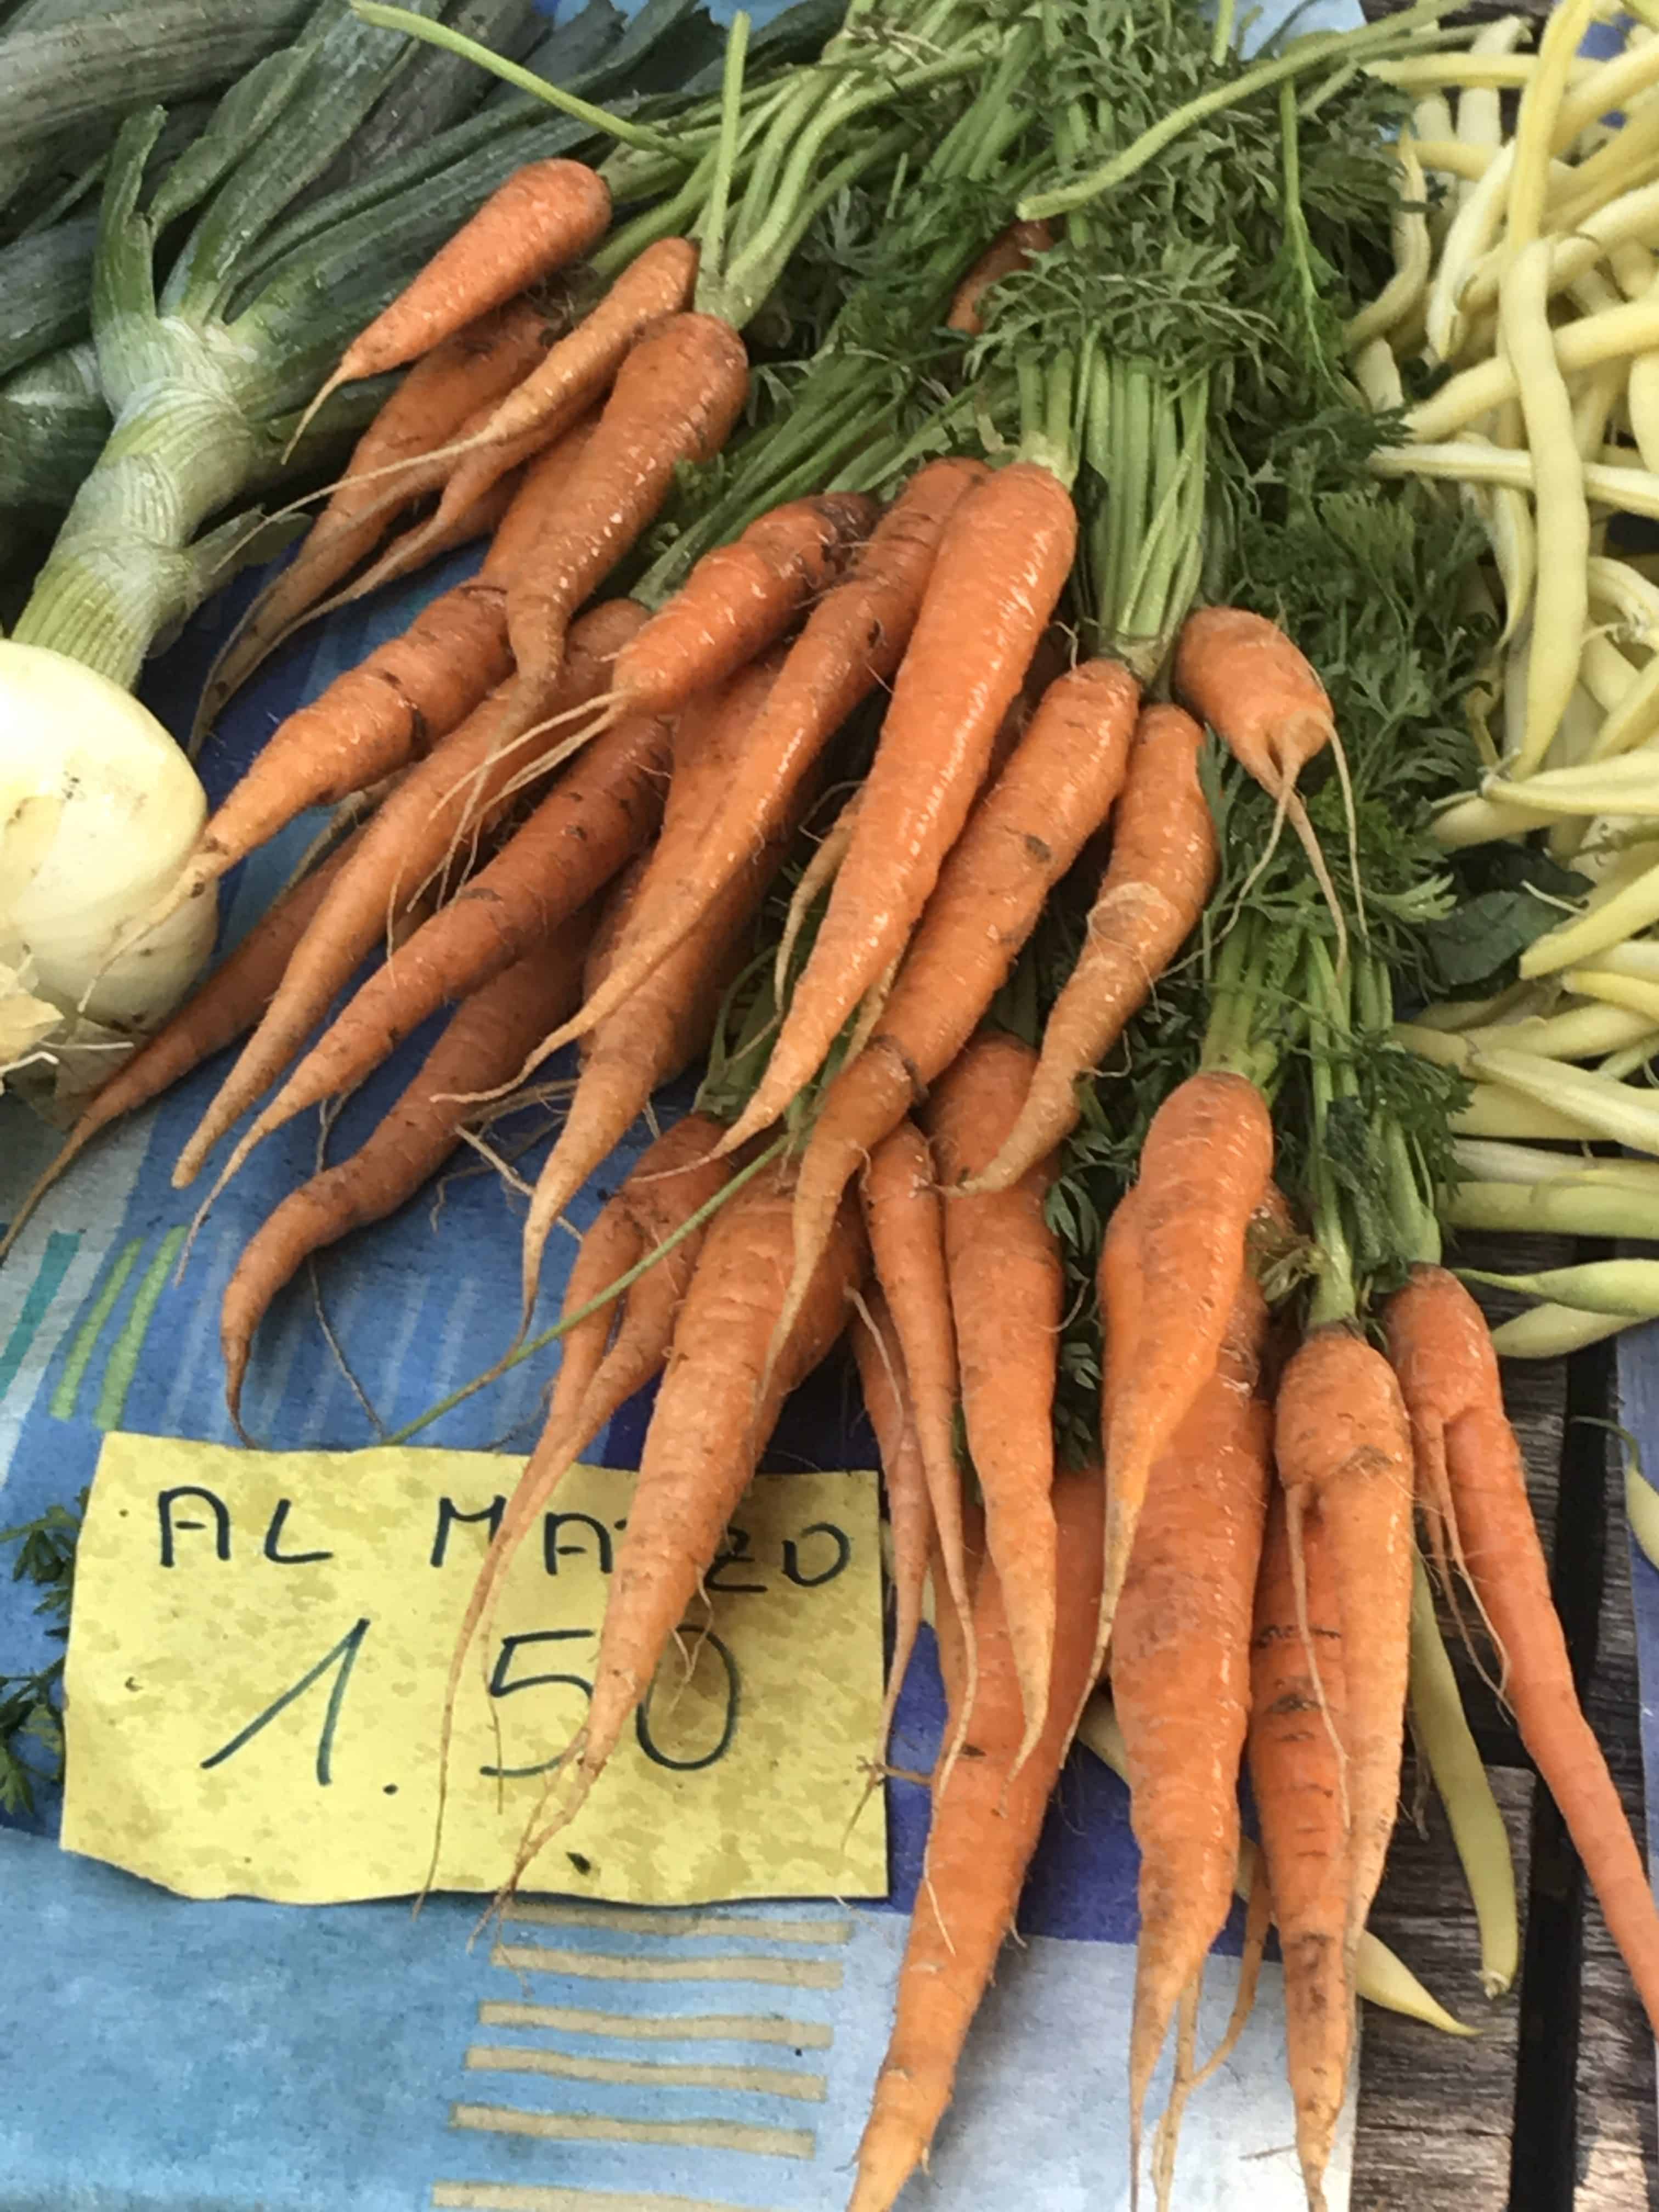
♦ Farmers Market Exploration
I can’t pass up a good market filled with fresh produce and lot’s of local fare!
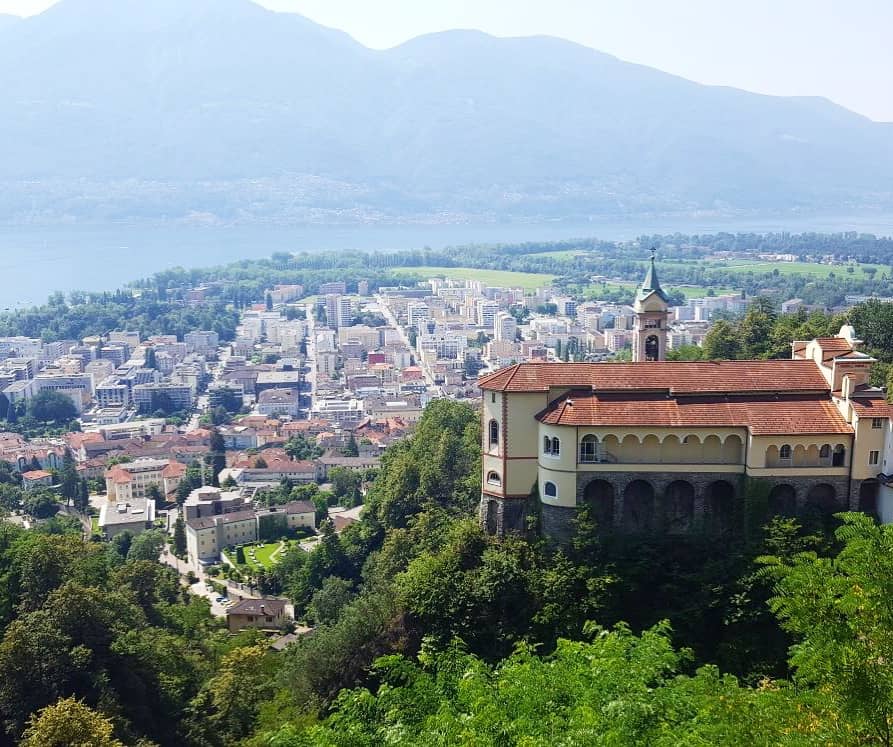
♦ Hiking, times two!
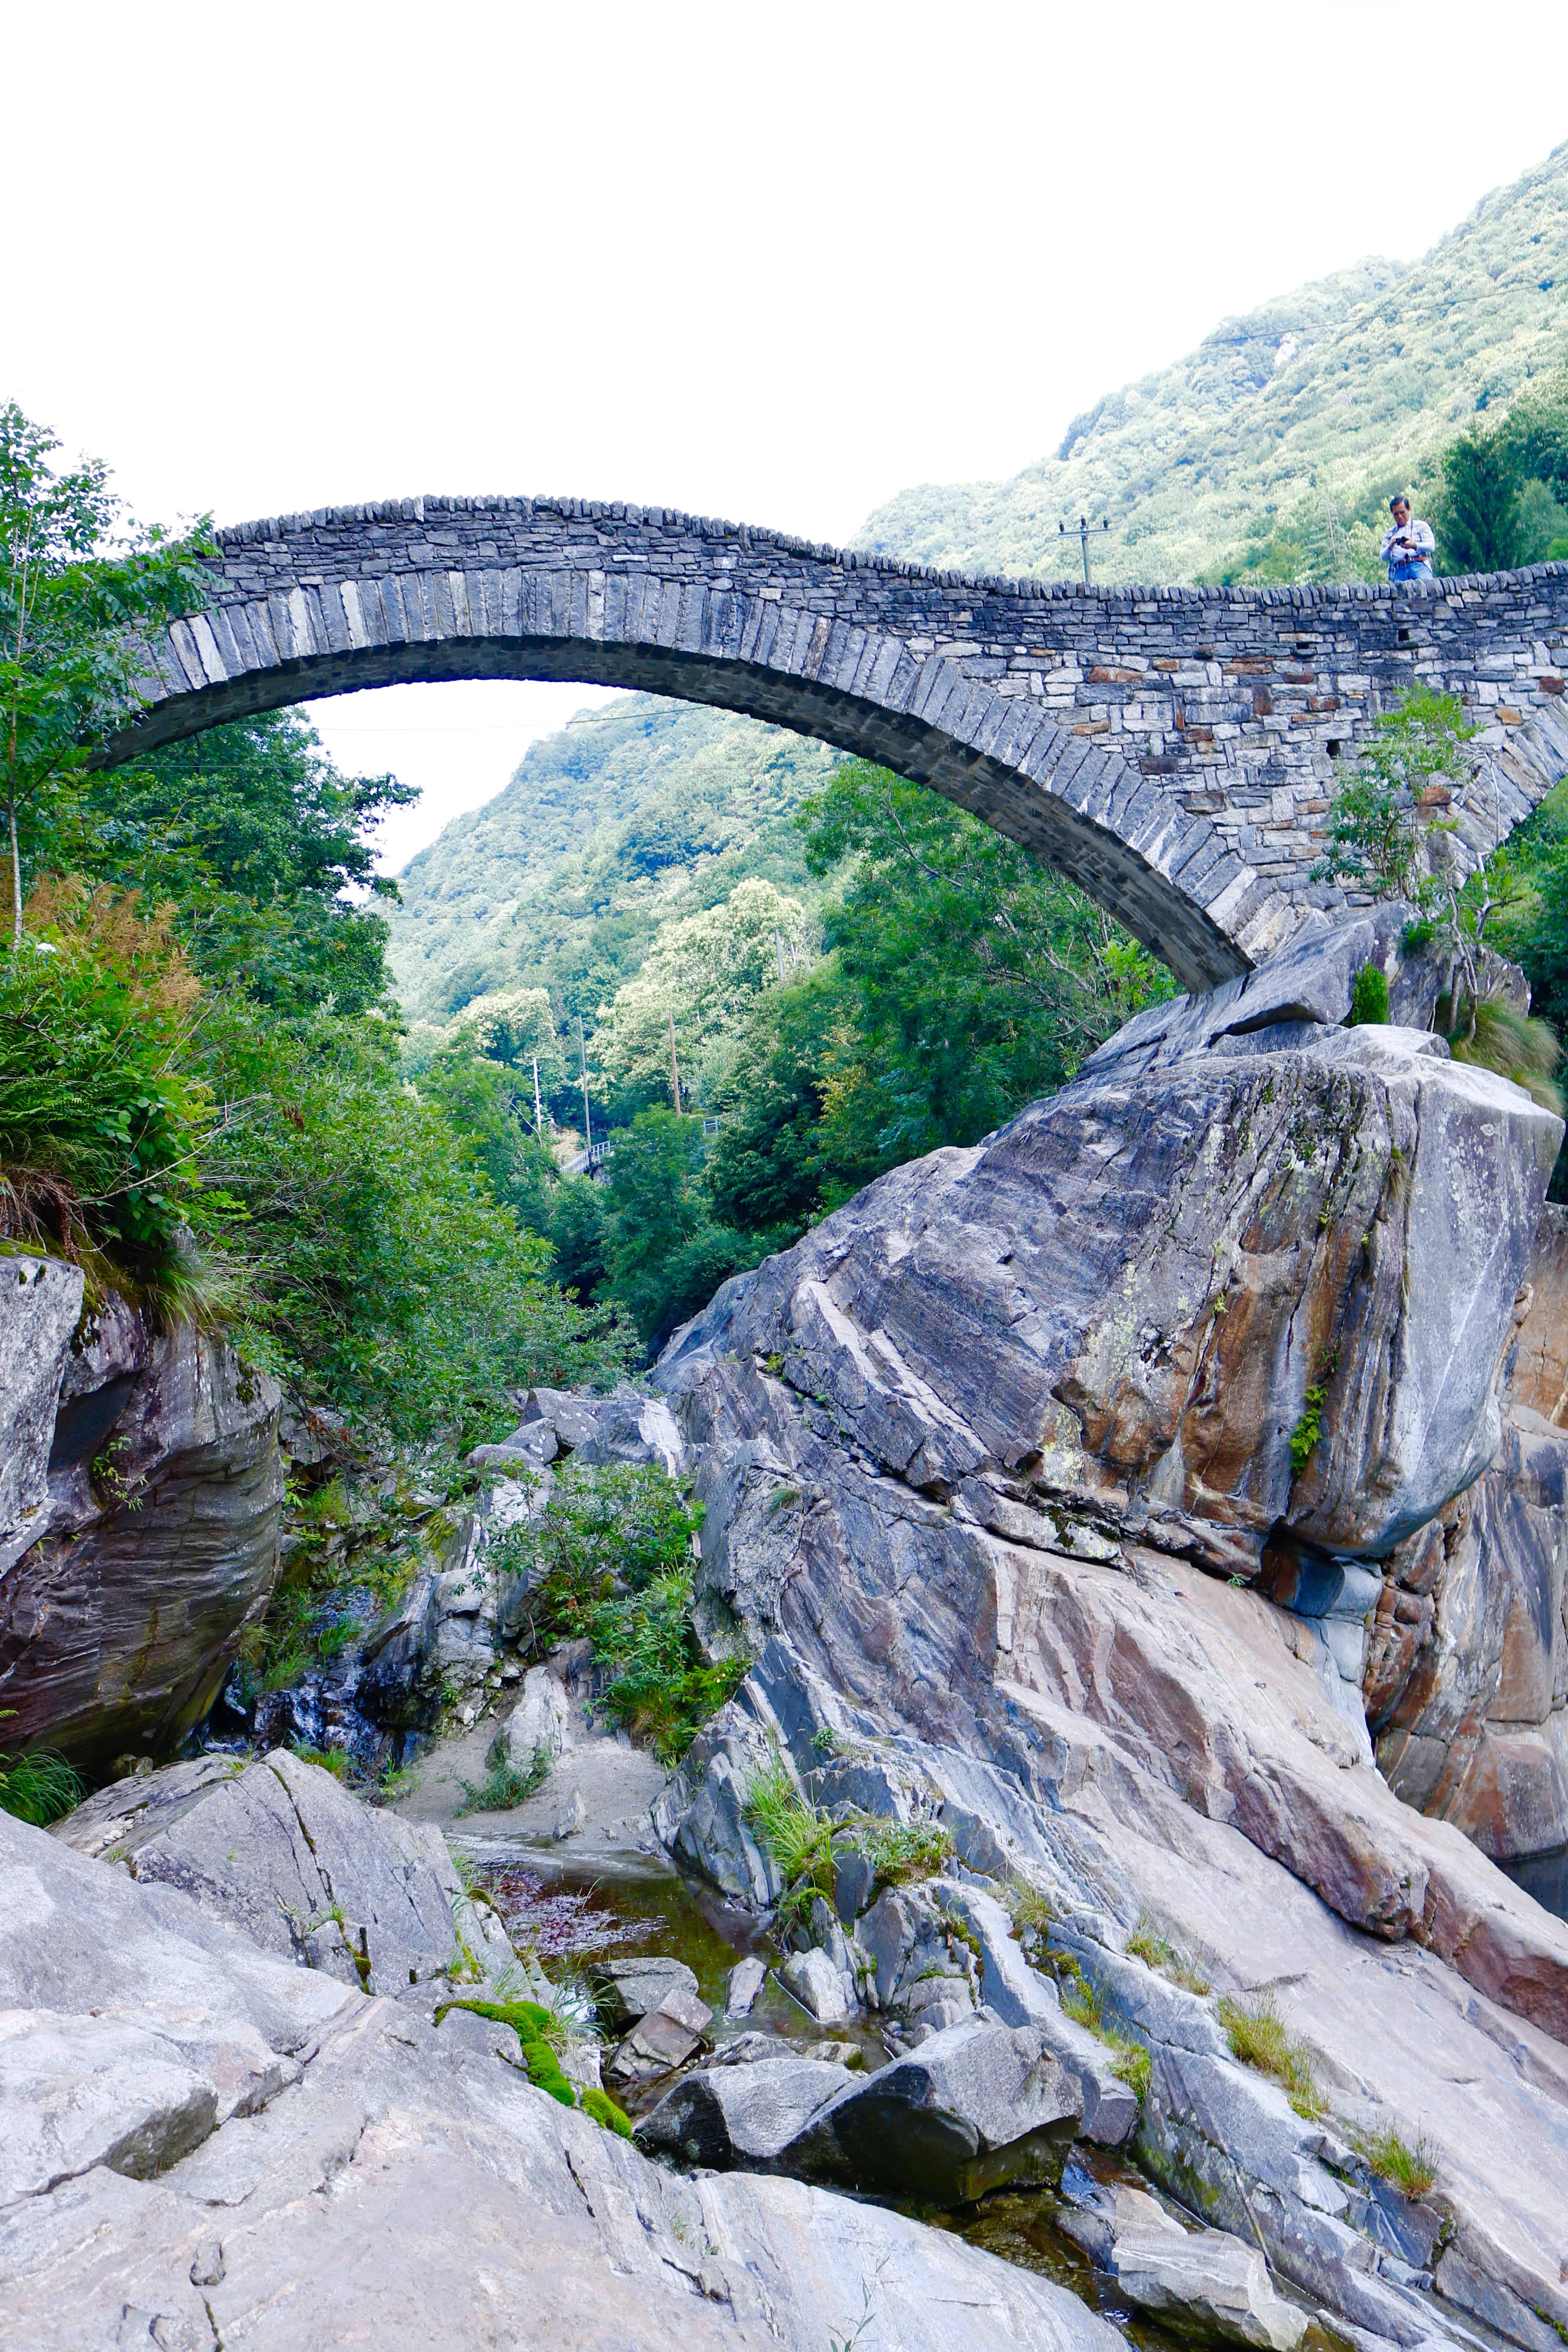
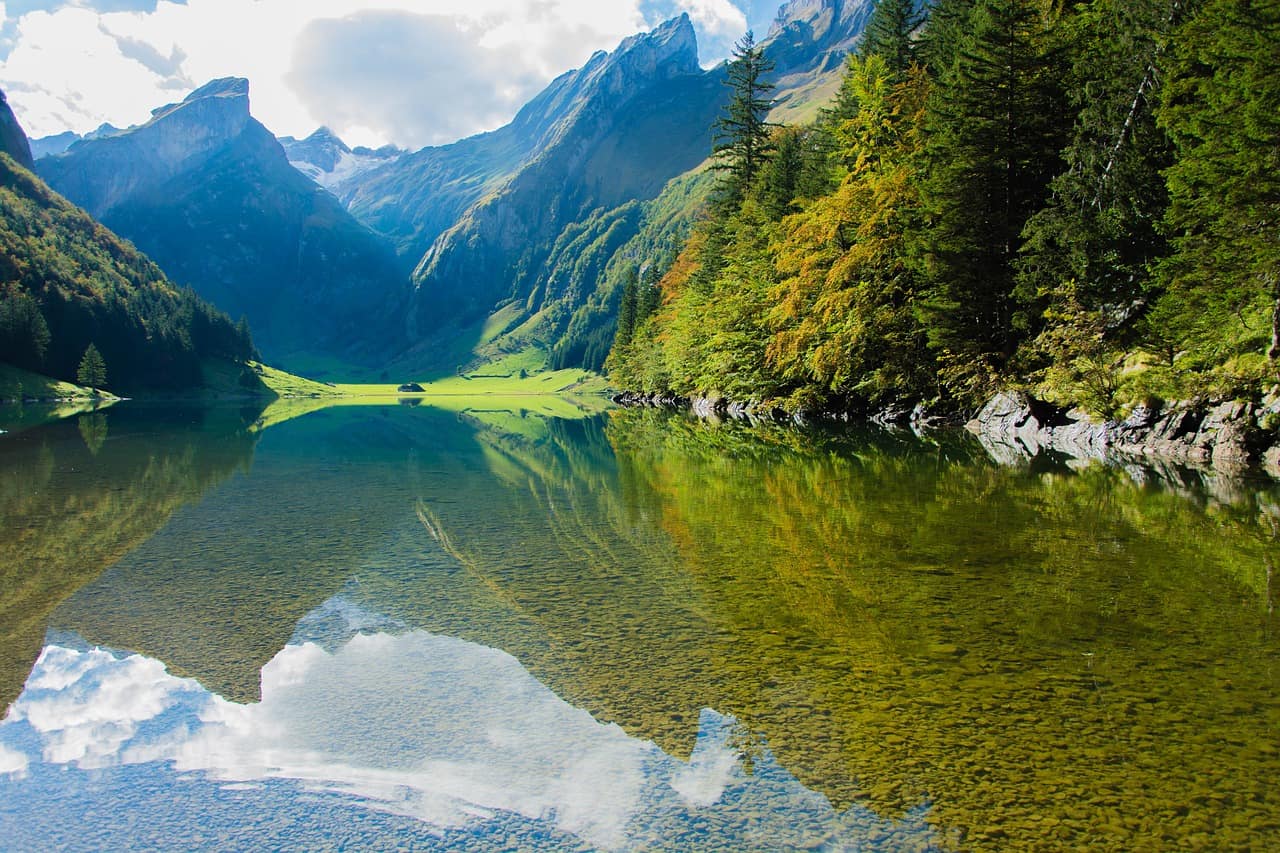
We headed up to visit the Madonna del Sasso, a grueling hill with lots of stairs, but so worth it!
And, a beautiful four hour stroll through the Lauterbrunnen Valley. It was filled with waterfalls!
Thanks for joining the journey!
And for those kind souls who asked about my lips, there slowly but surely doing better lol! About a 6 on the pain scale!
Stay tuned for an update on how I’ve spent the days while Mr. CEO is at work!
 Then, I got to thinking how much I love
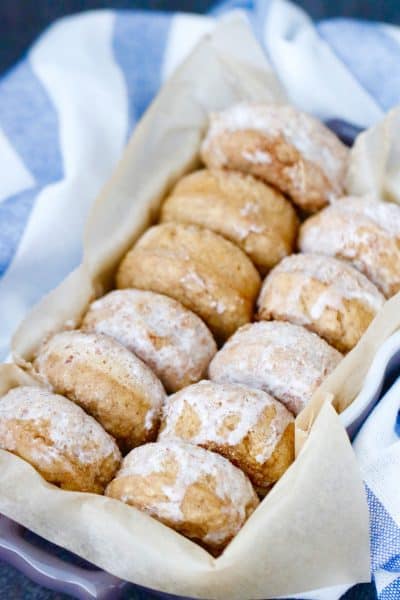
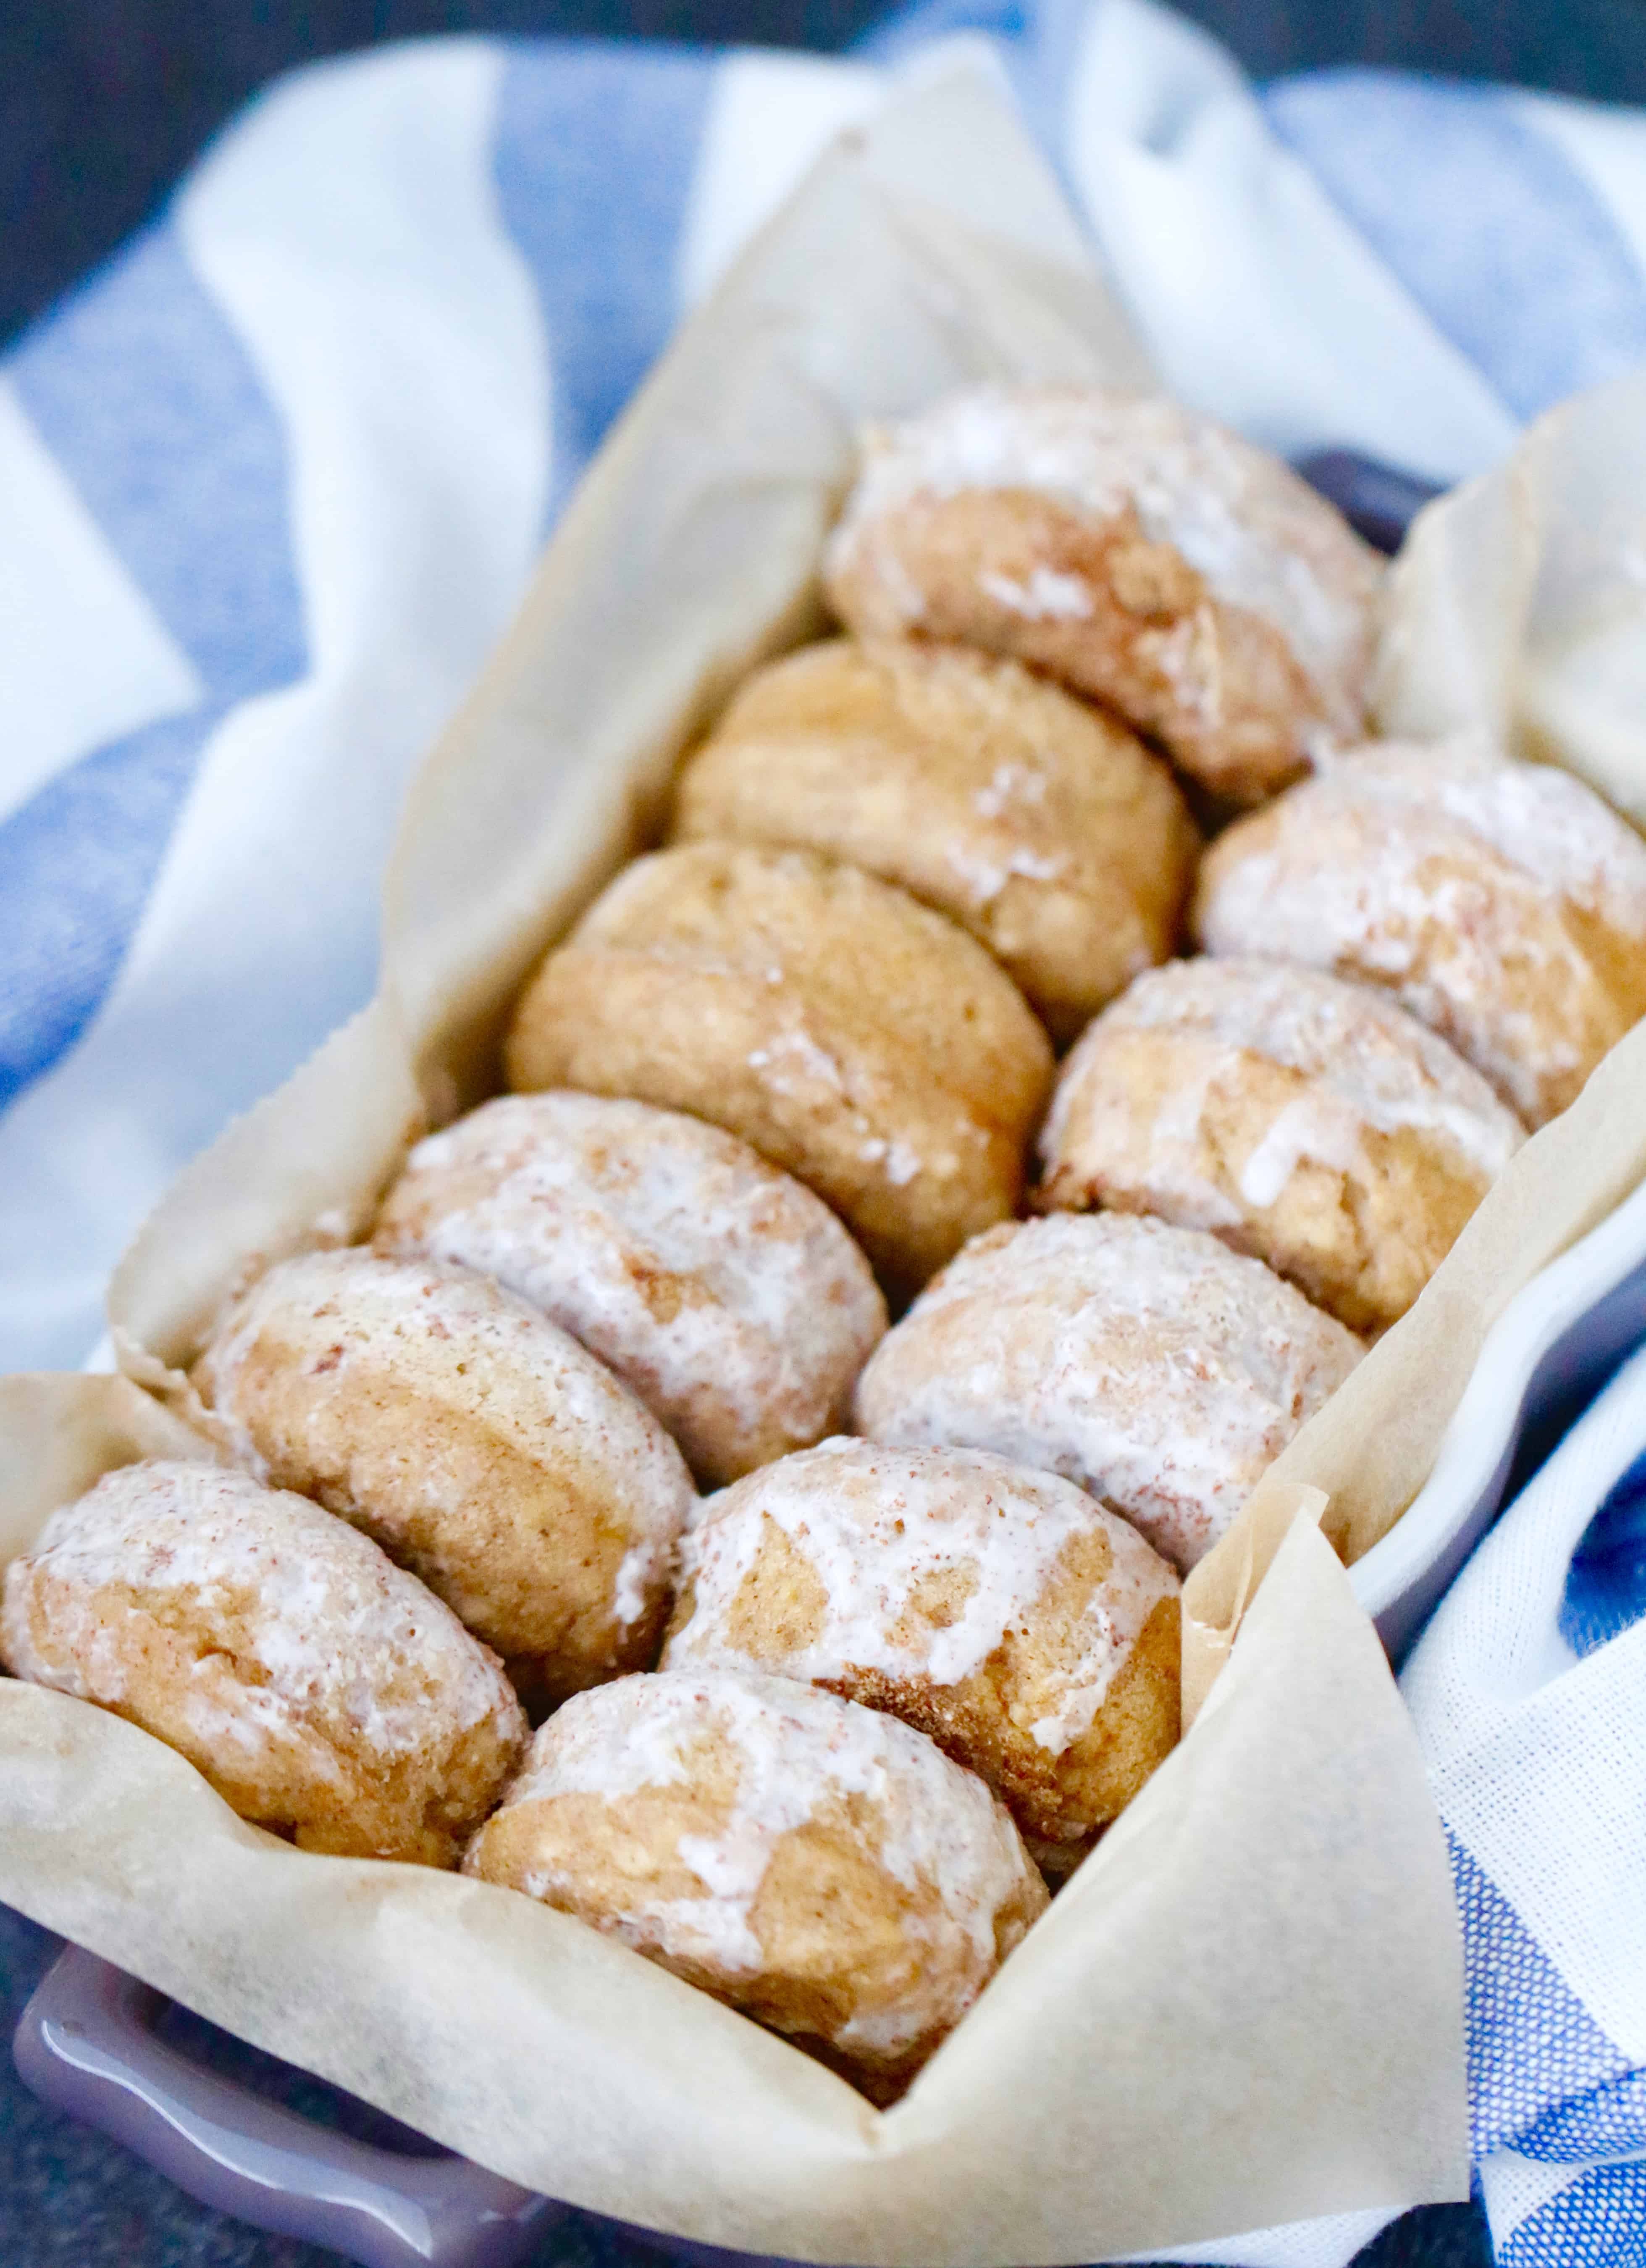
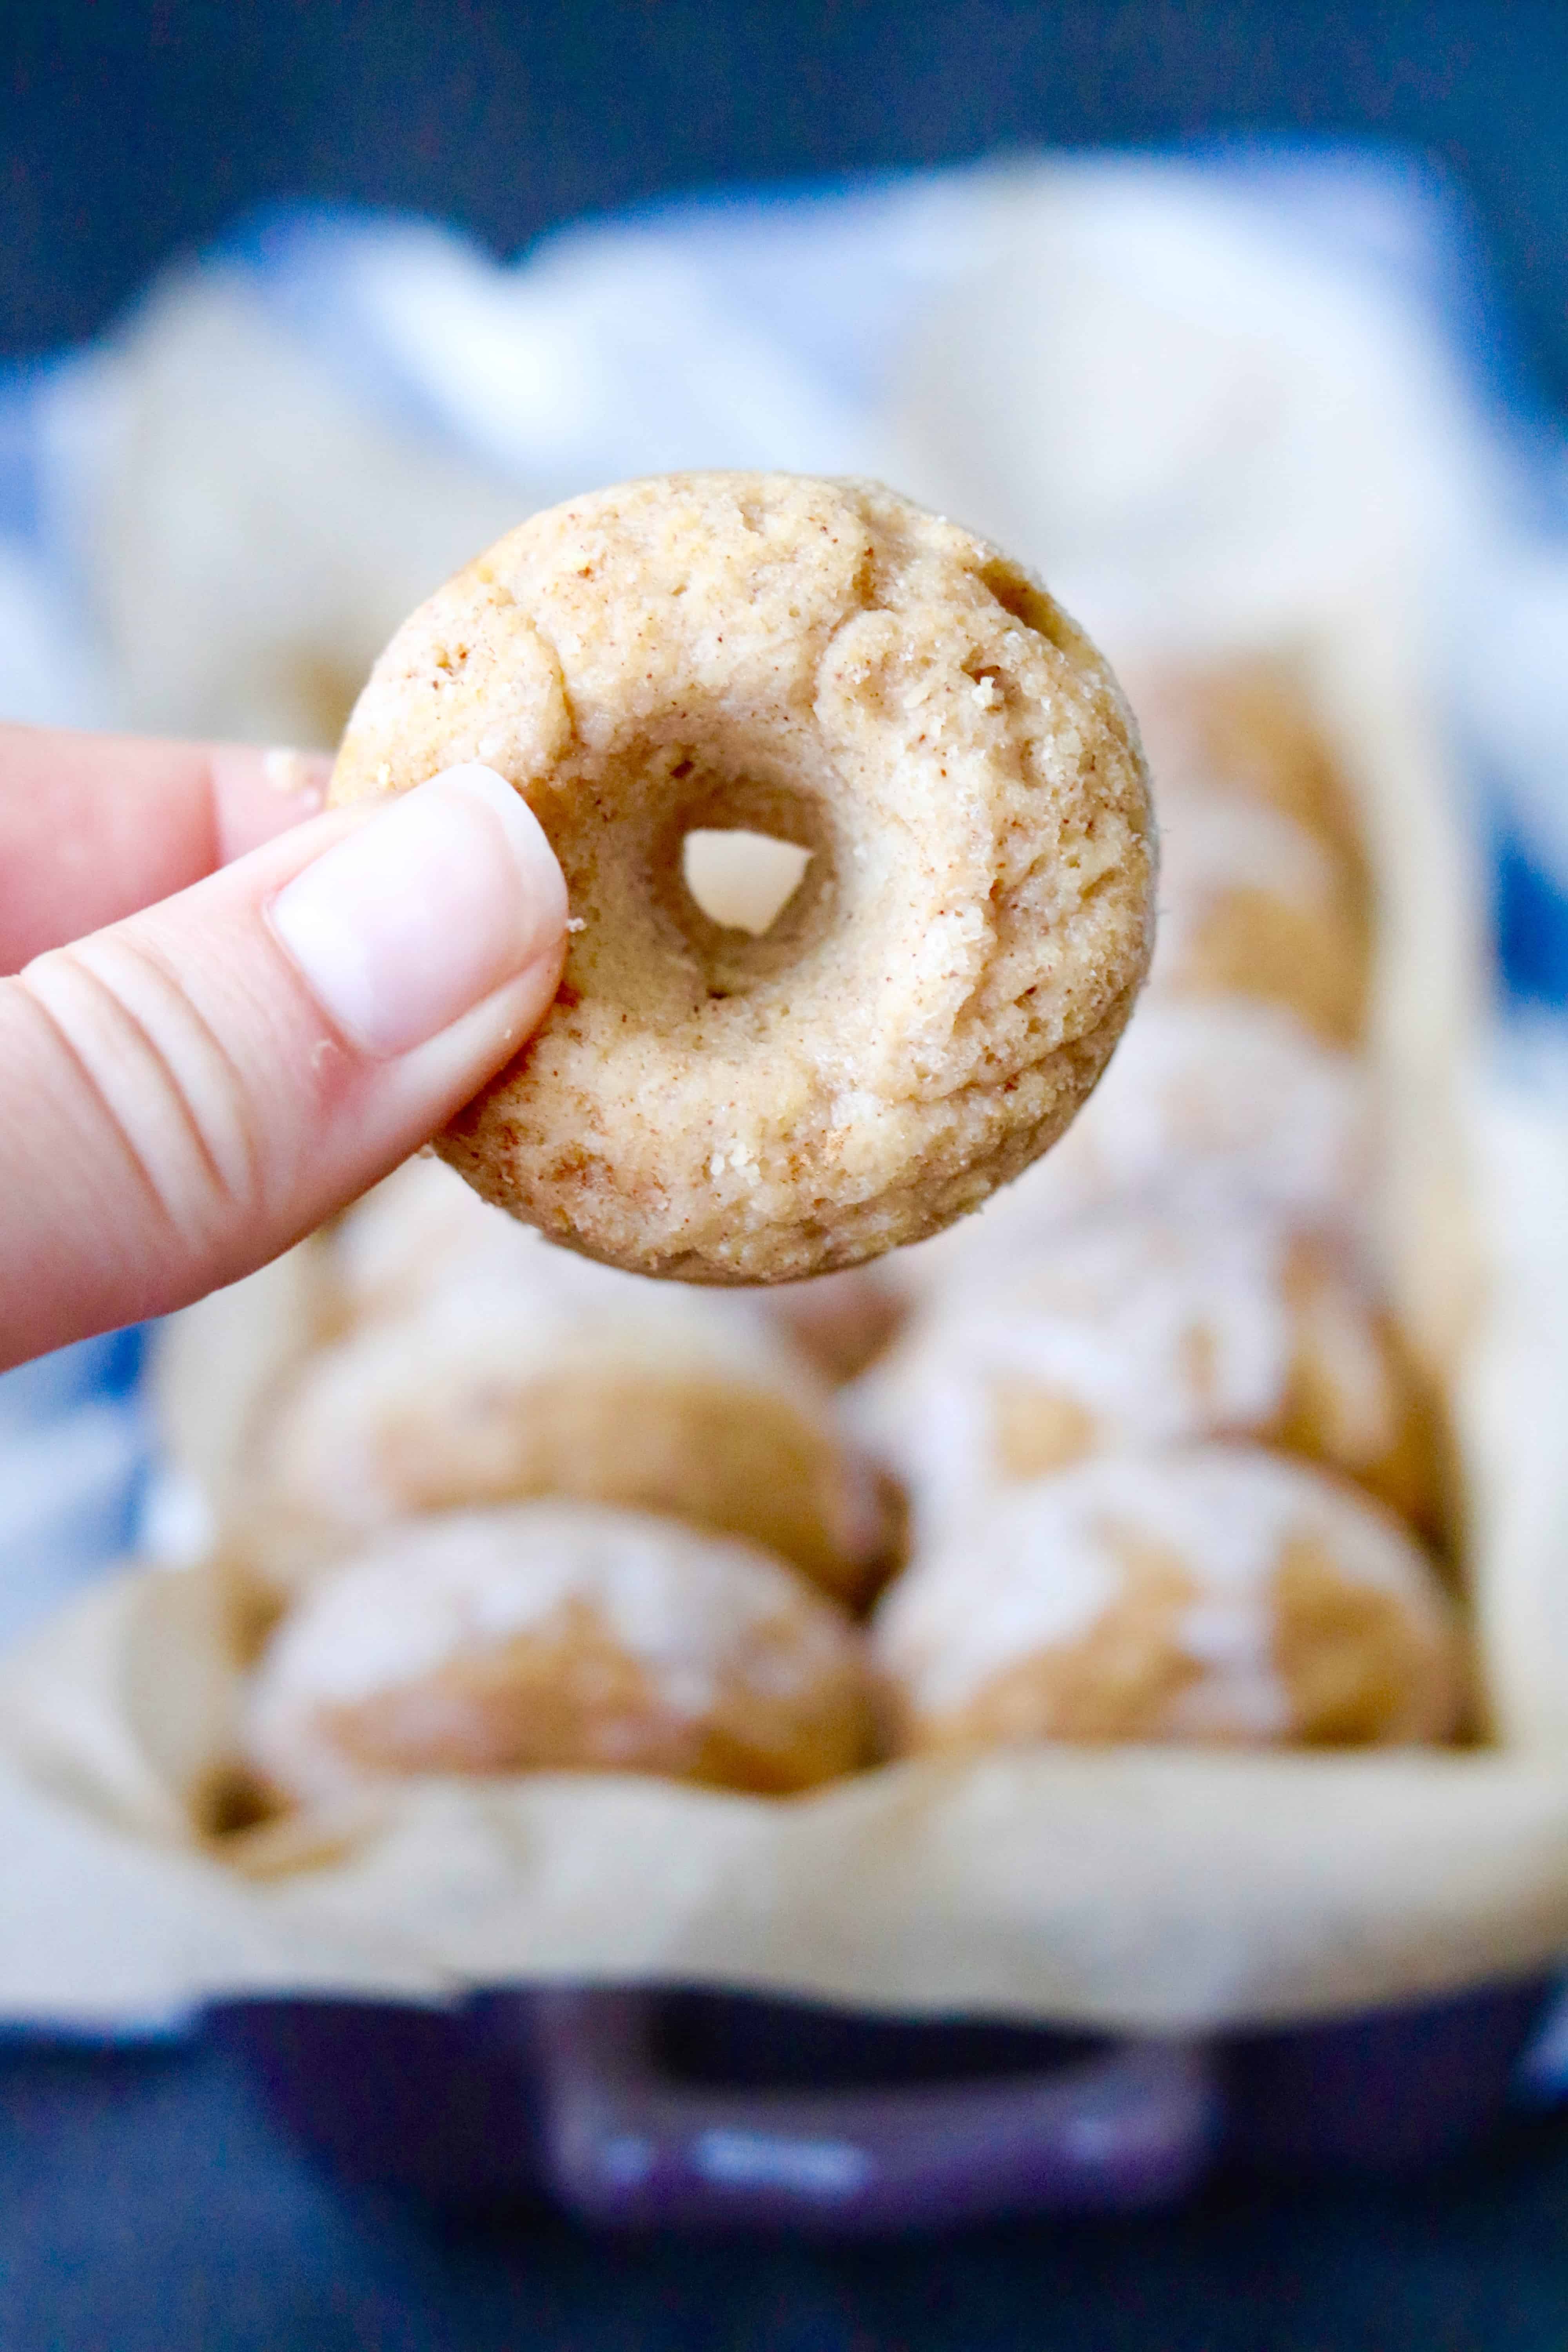
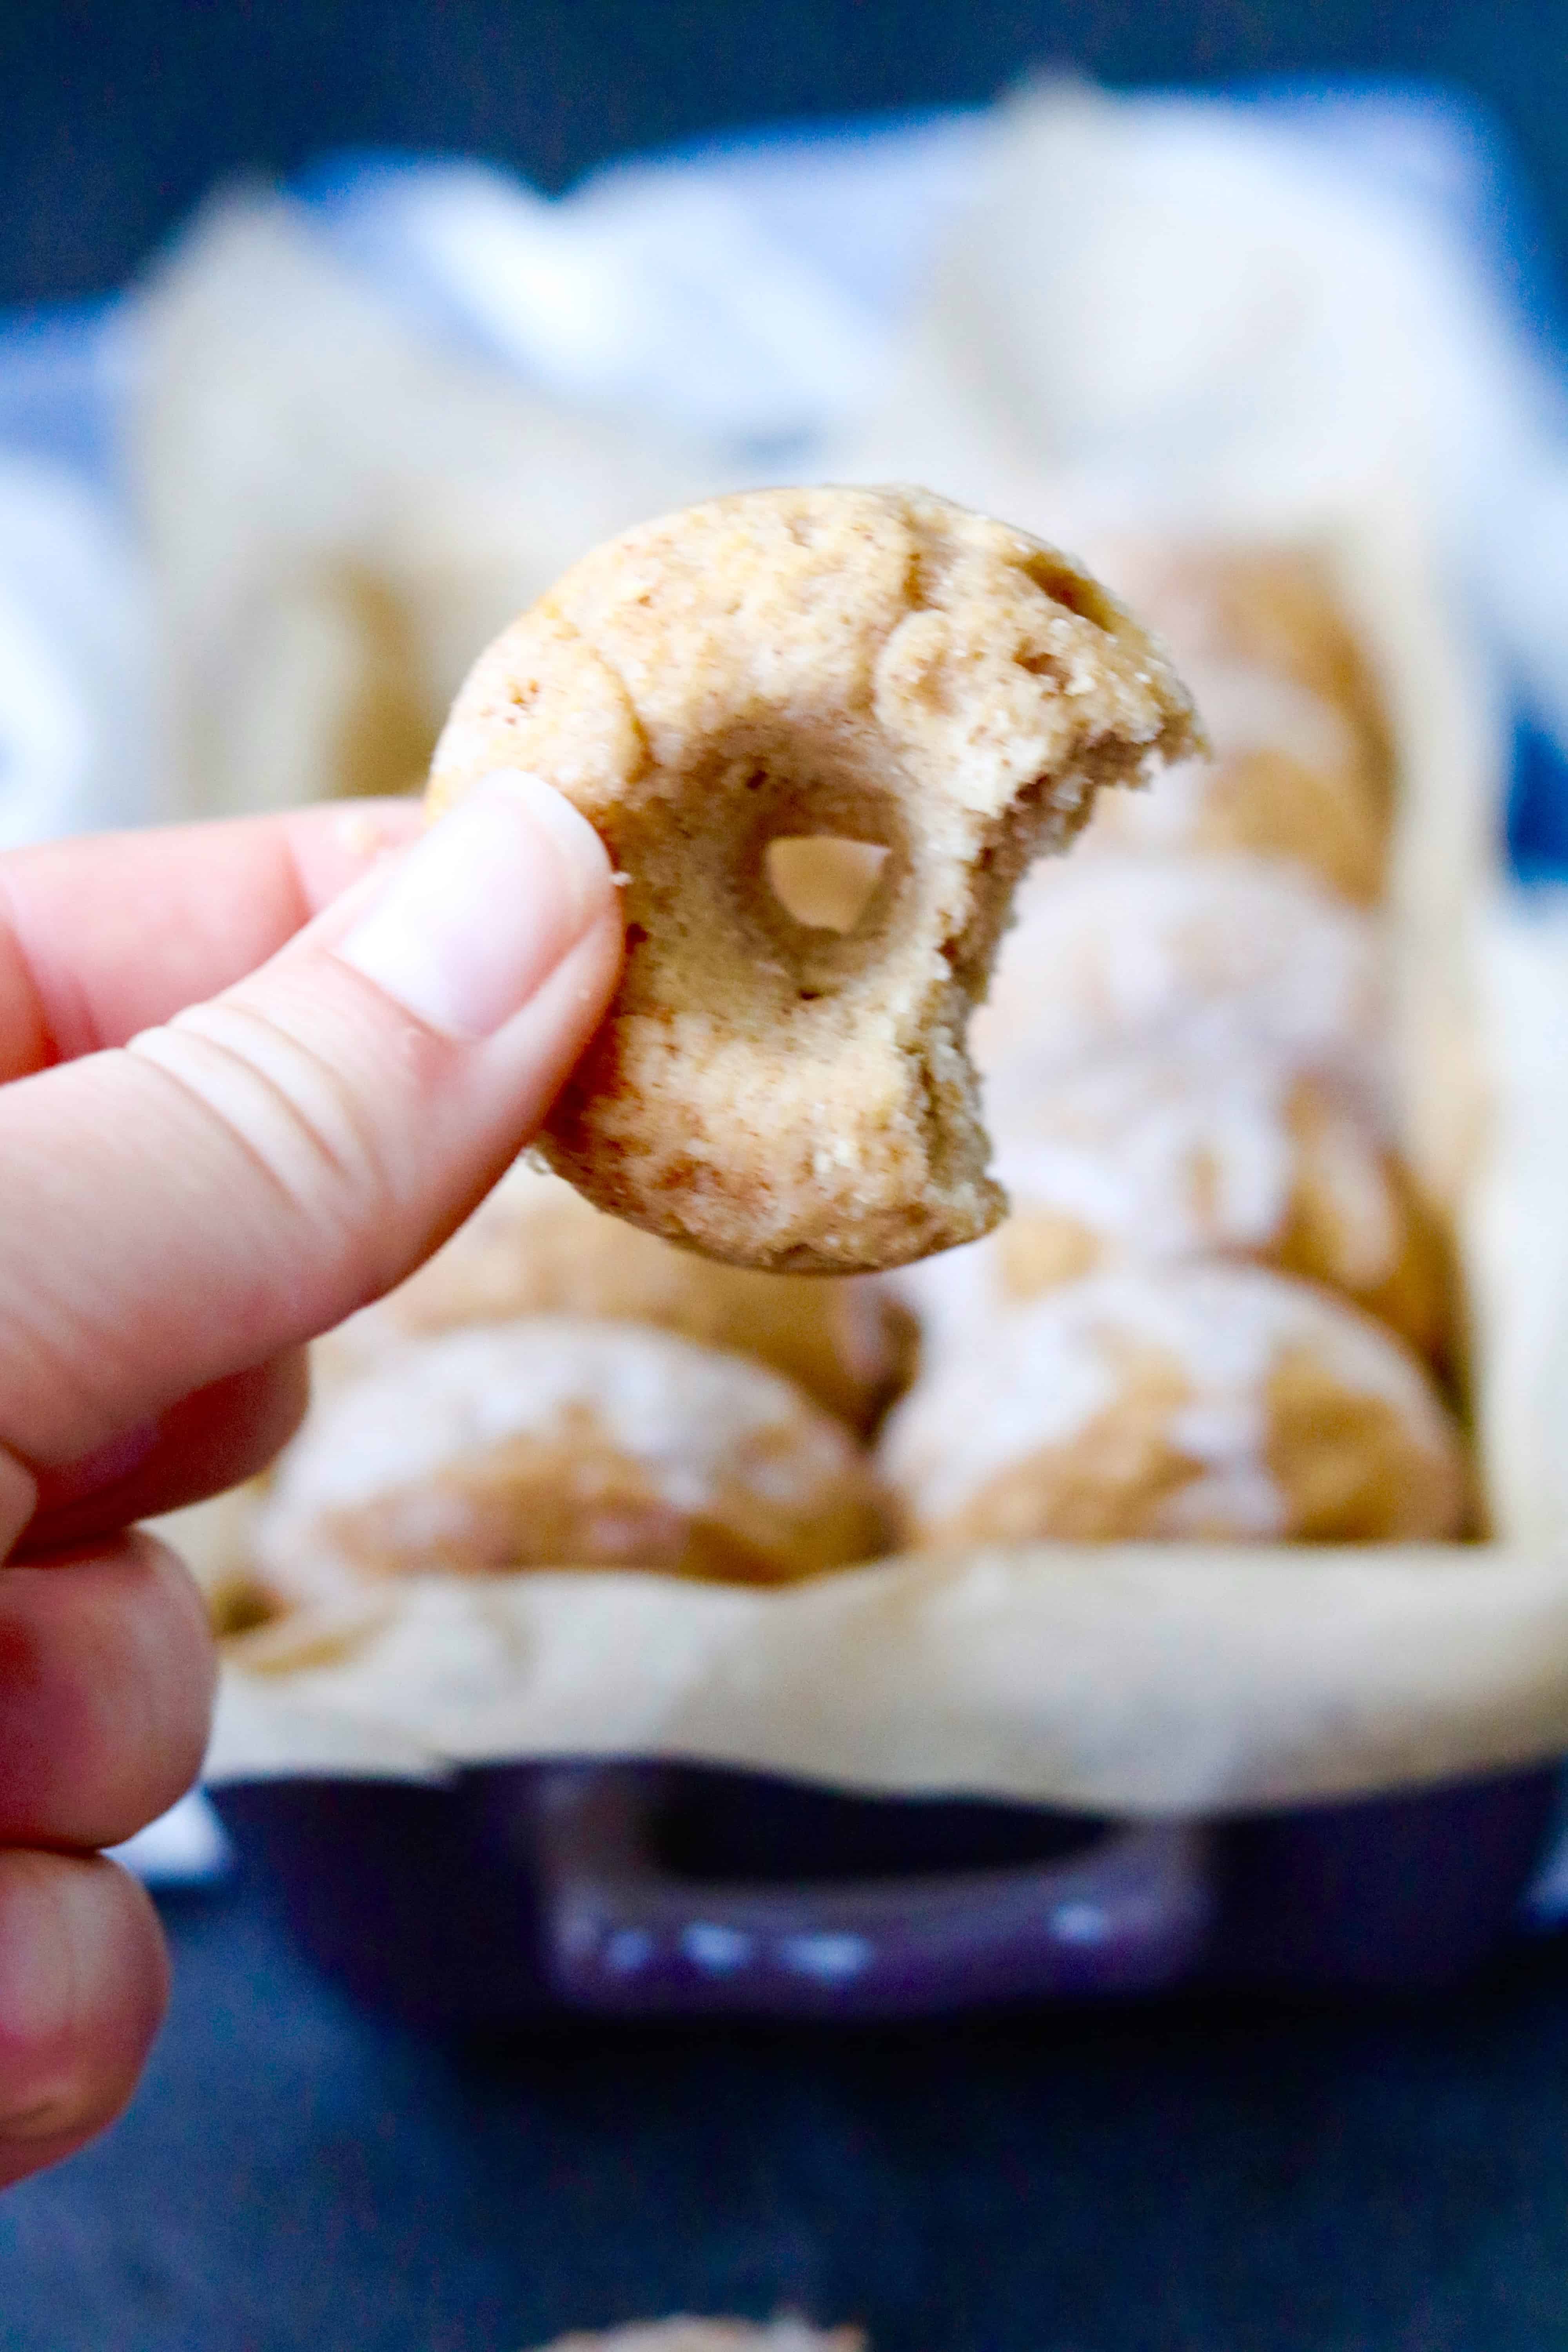
 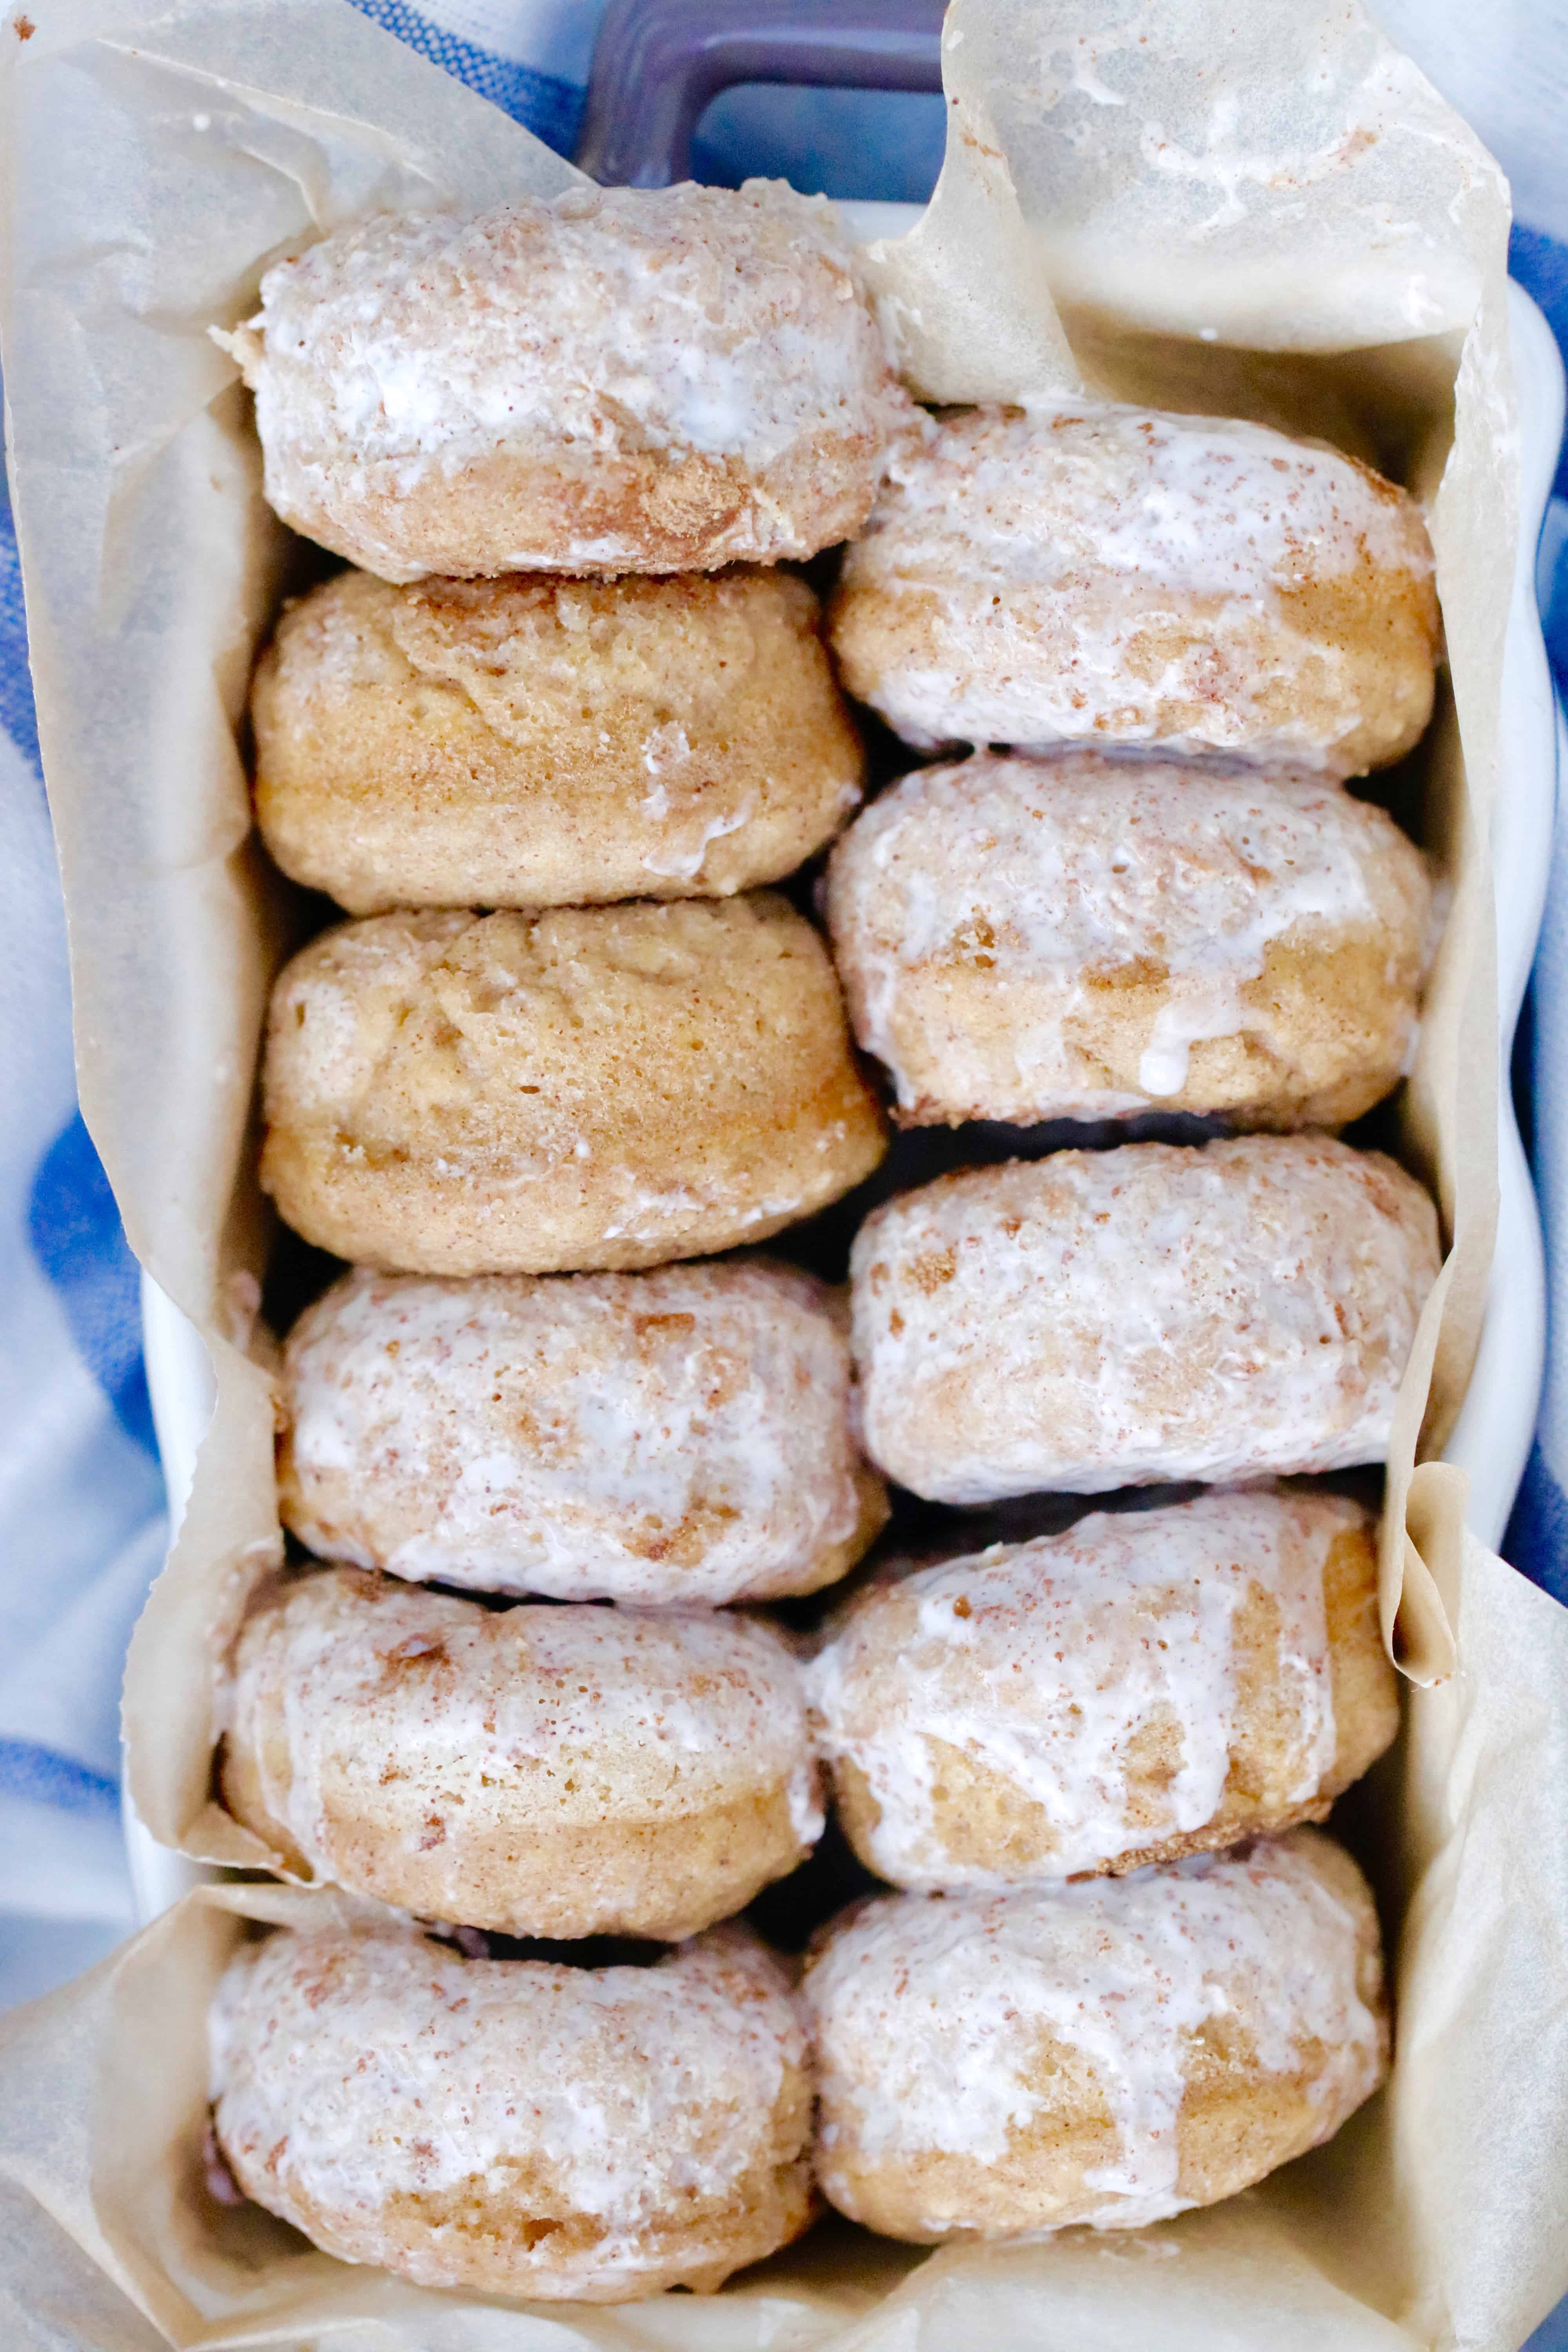 So, friends, let’s join together and celebrate these Mini Maple Cinnamon Pancake Donuts shall we?!
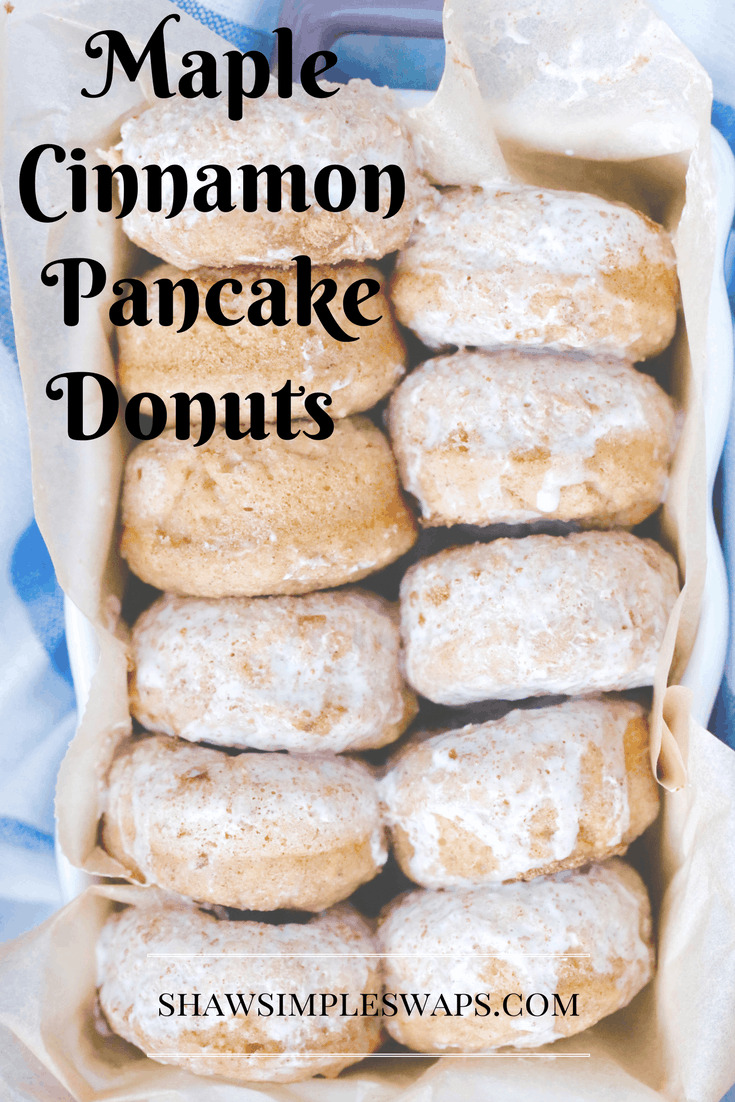


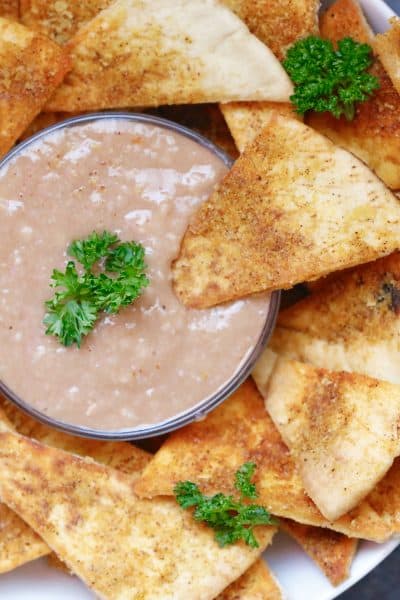
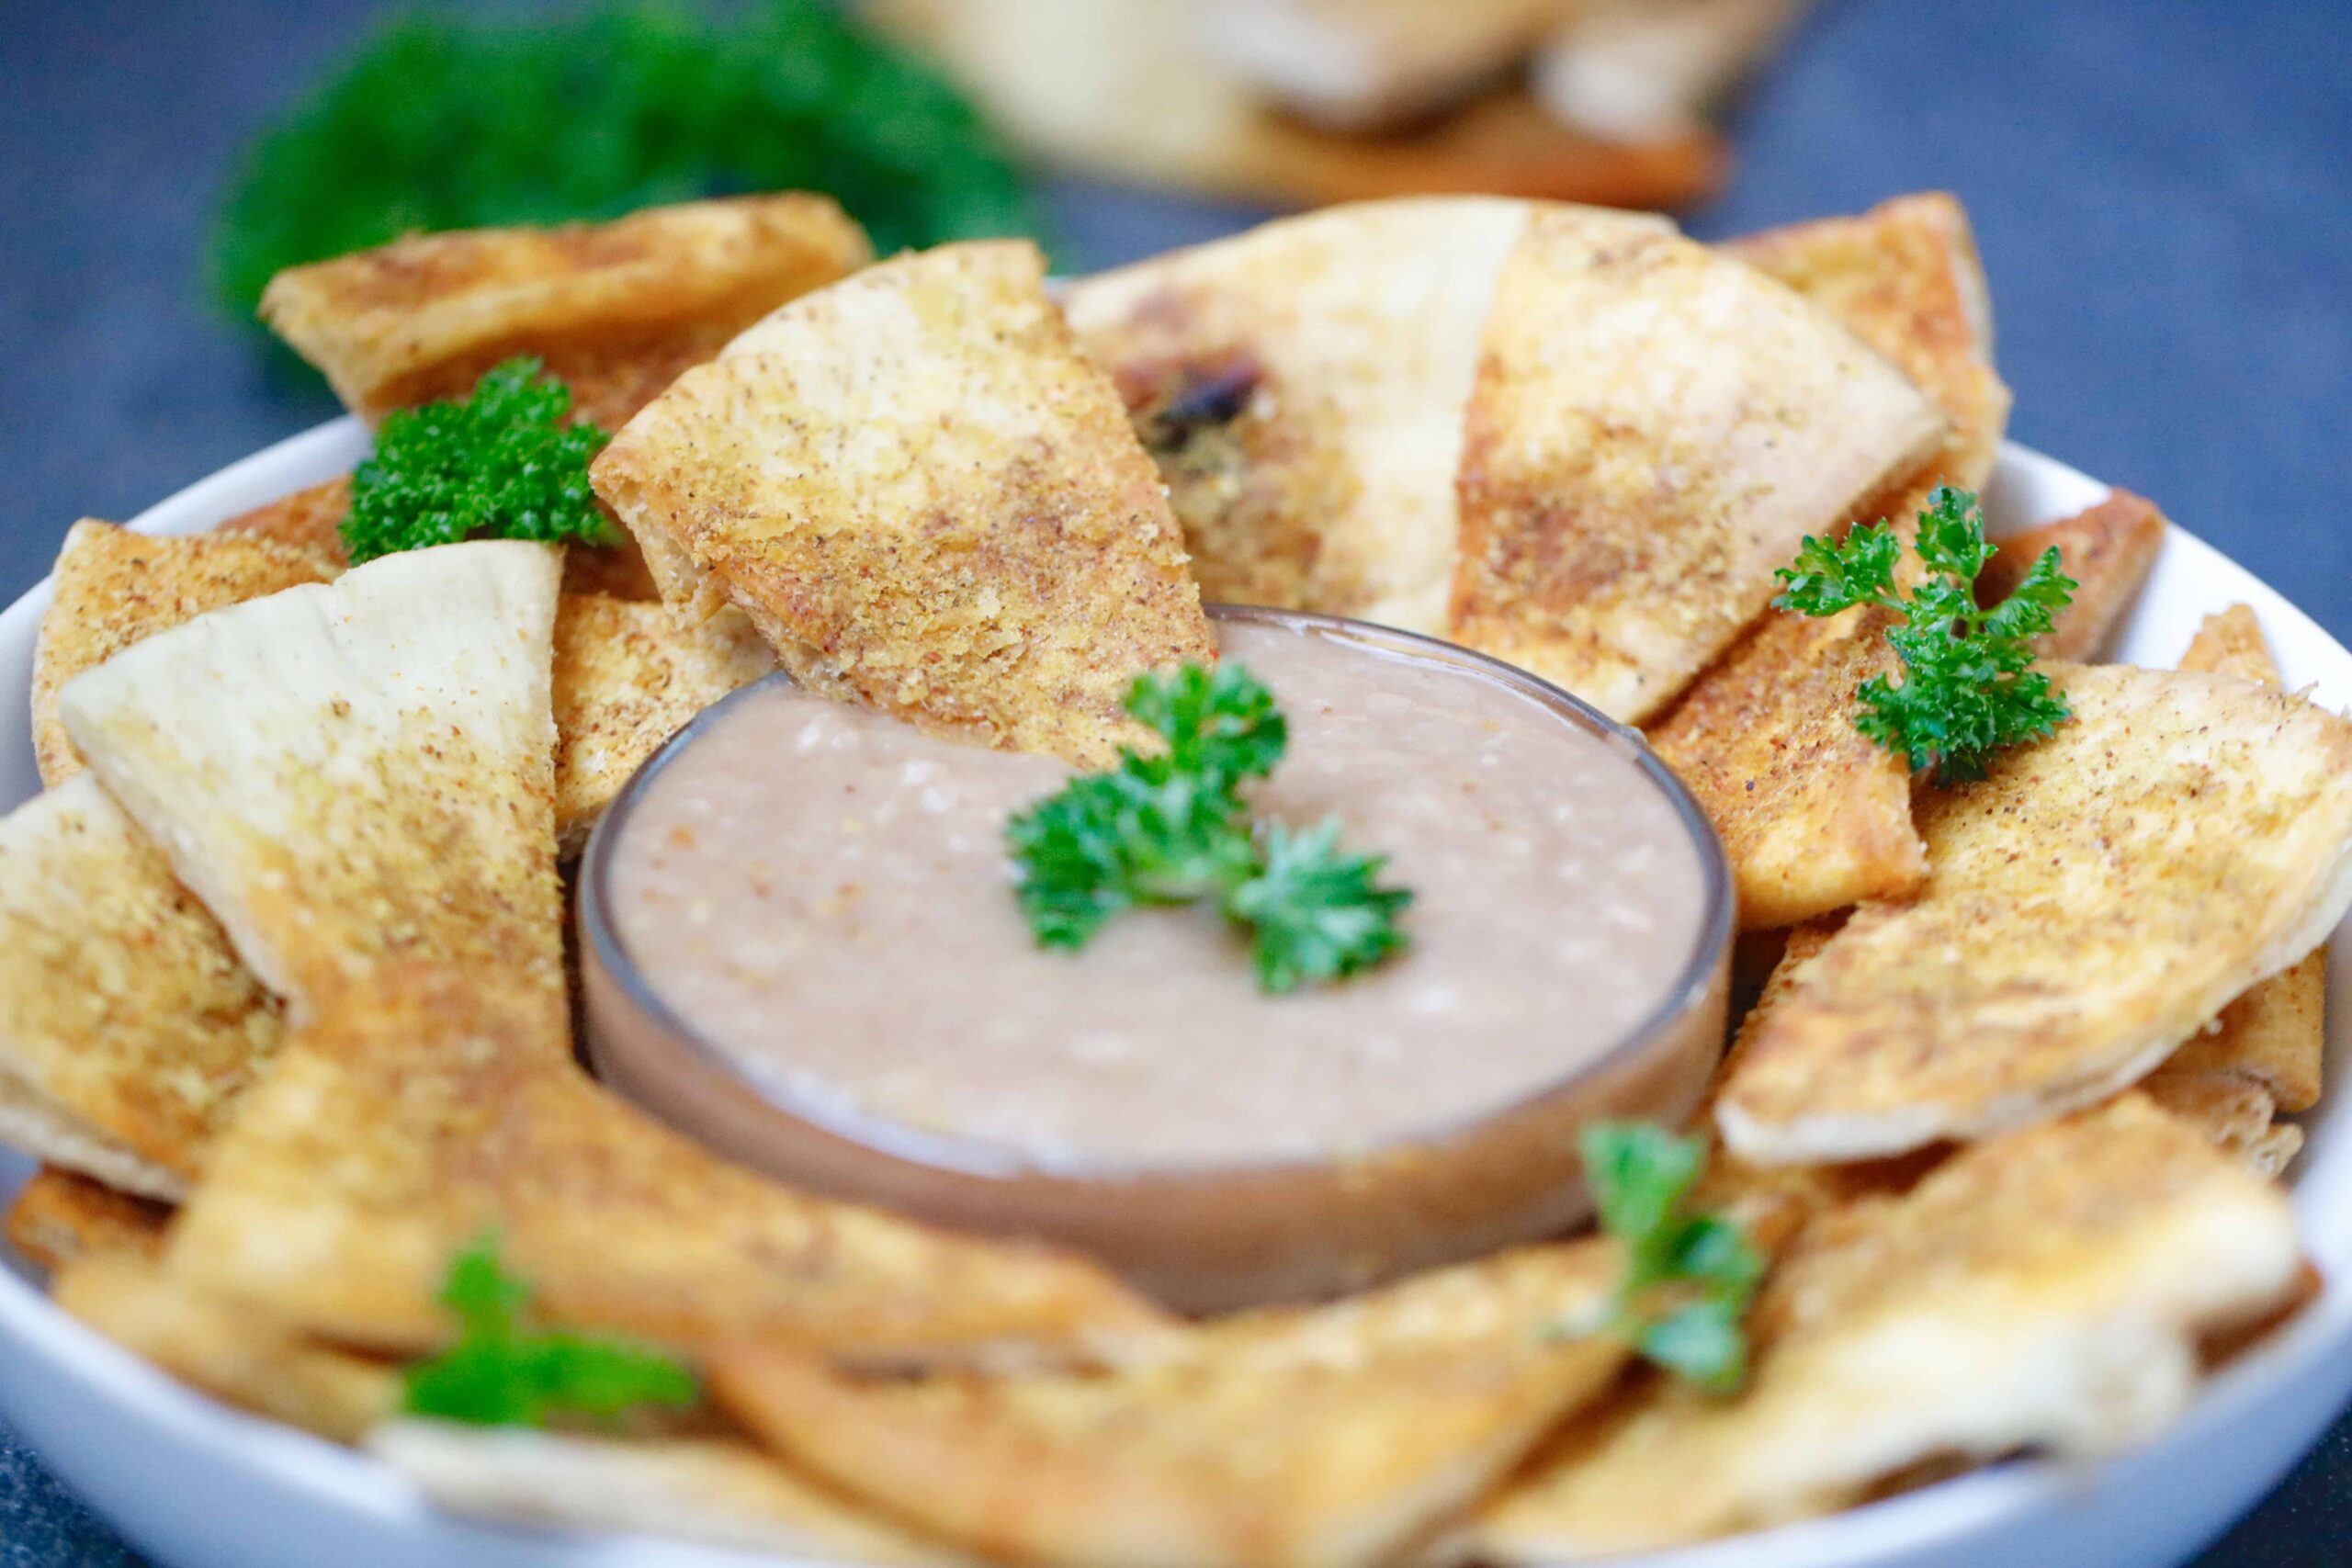
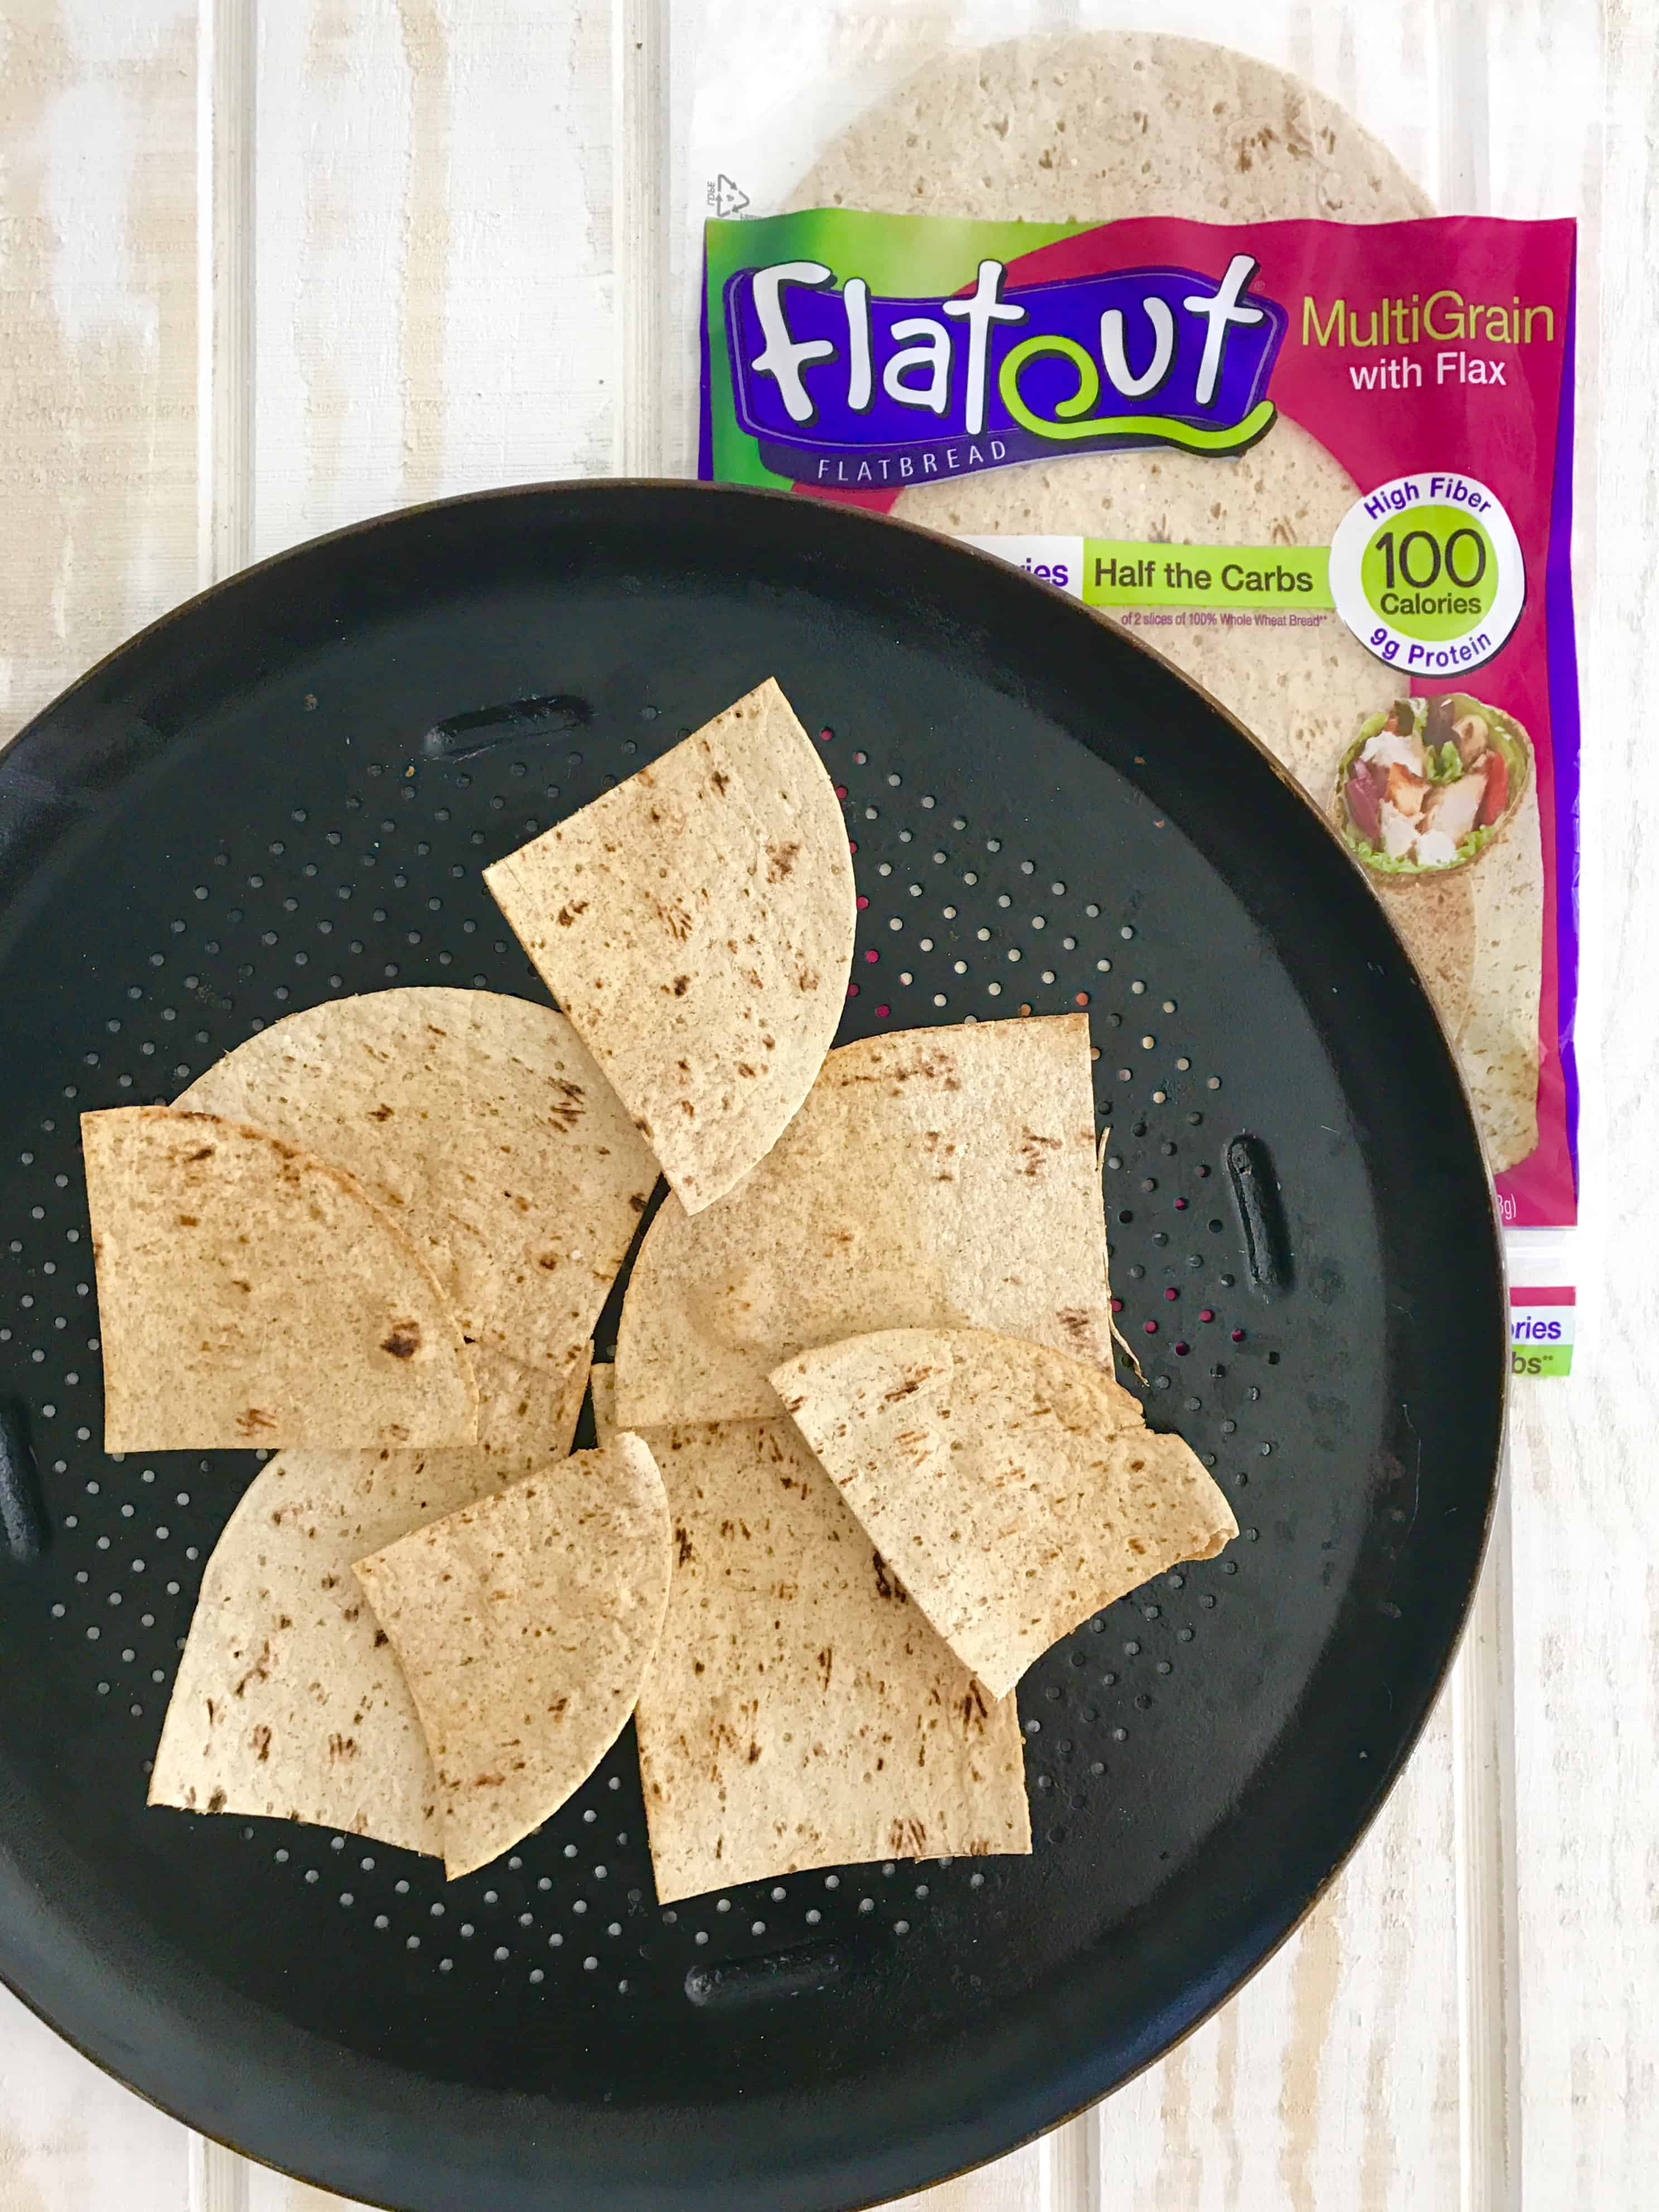
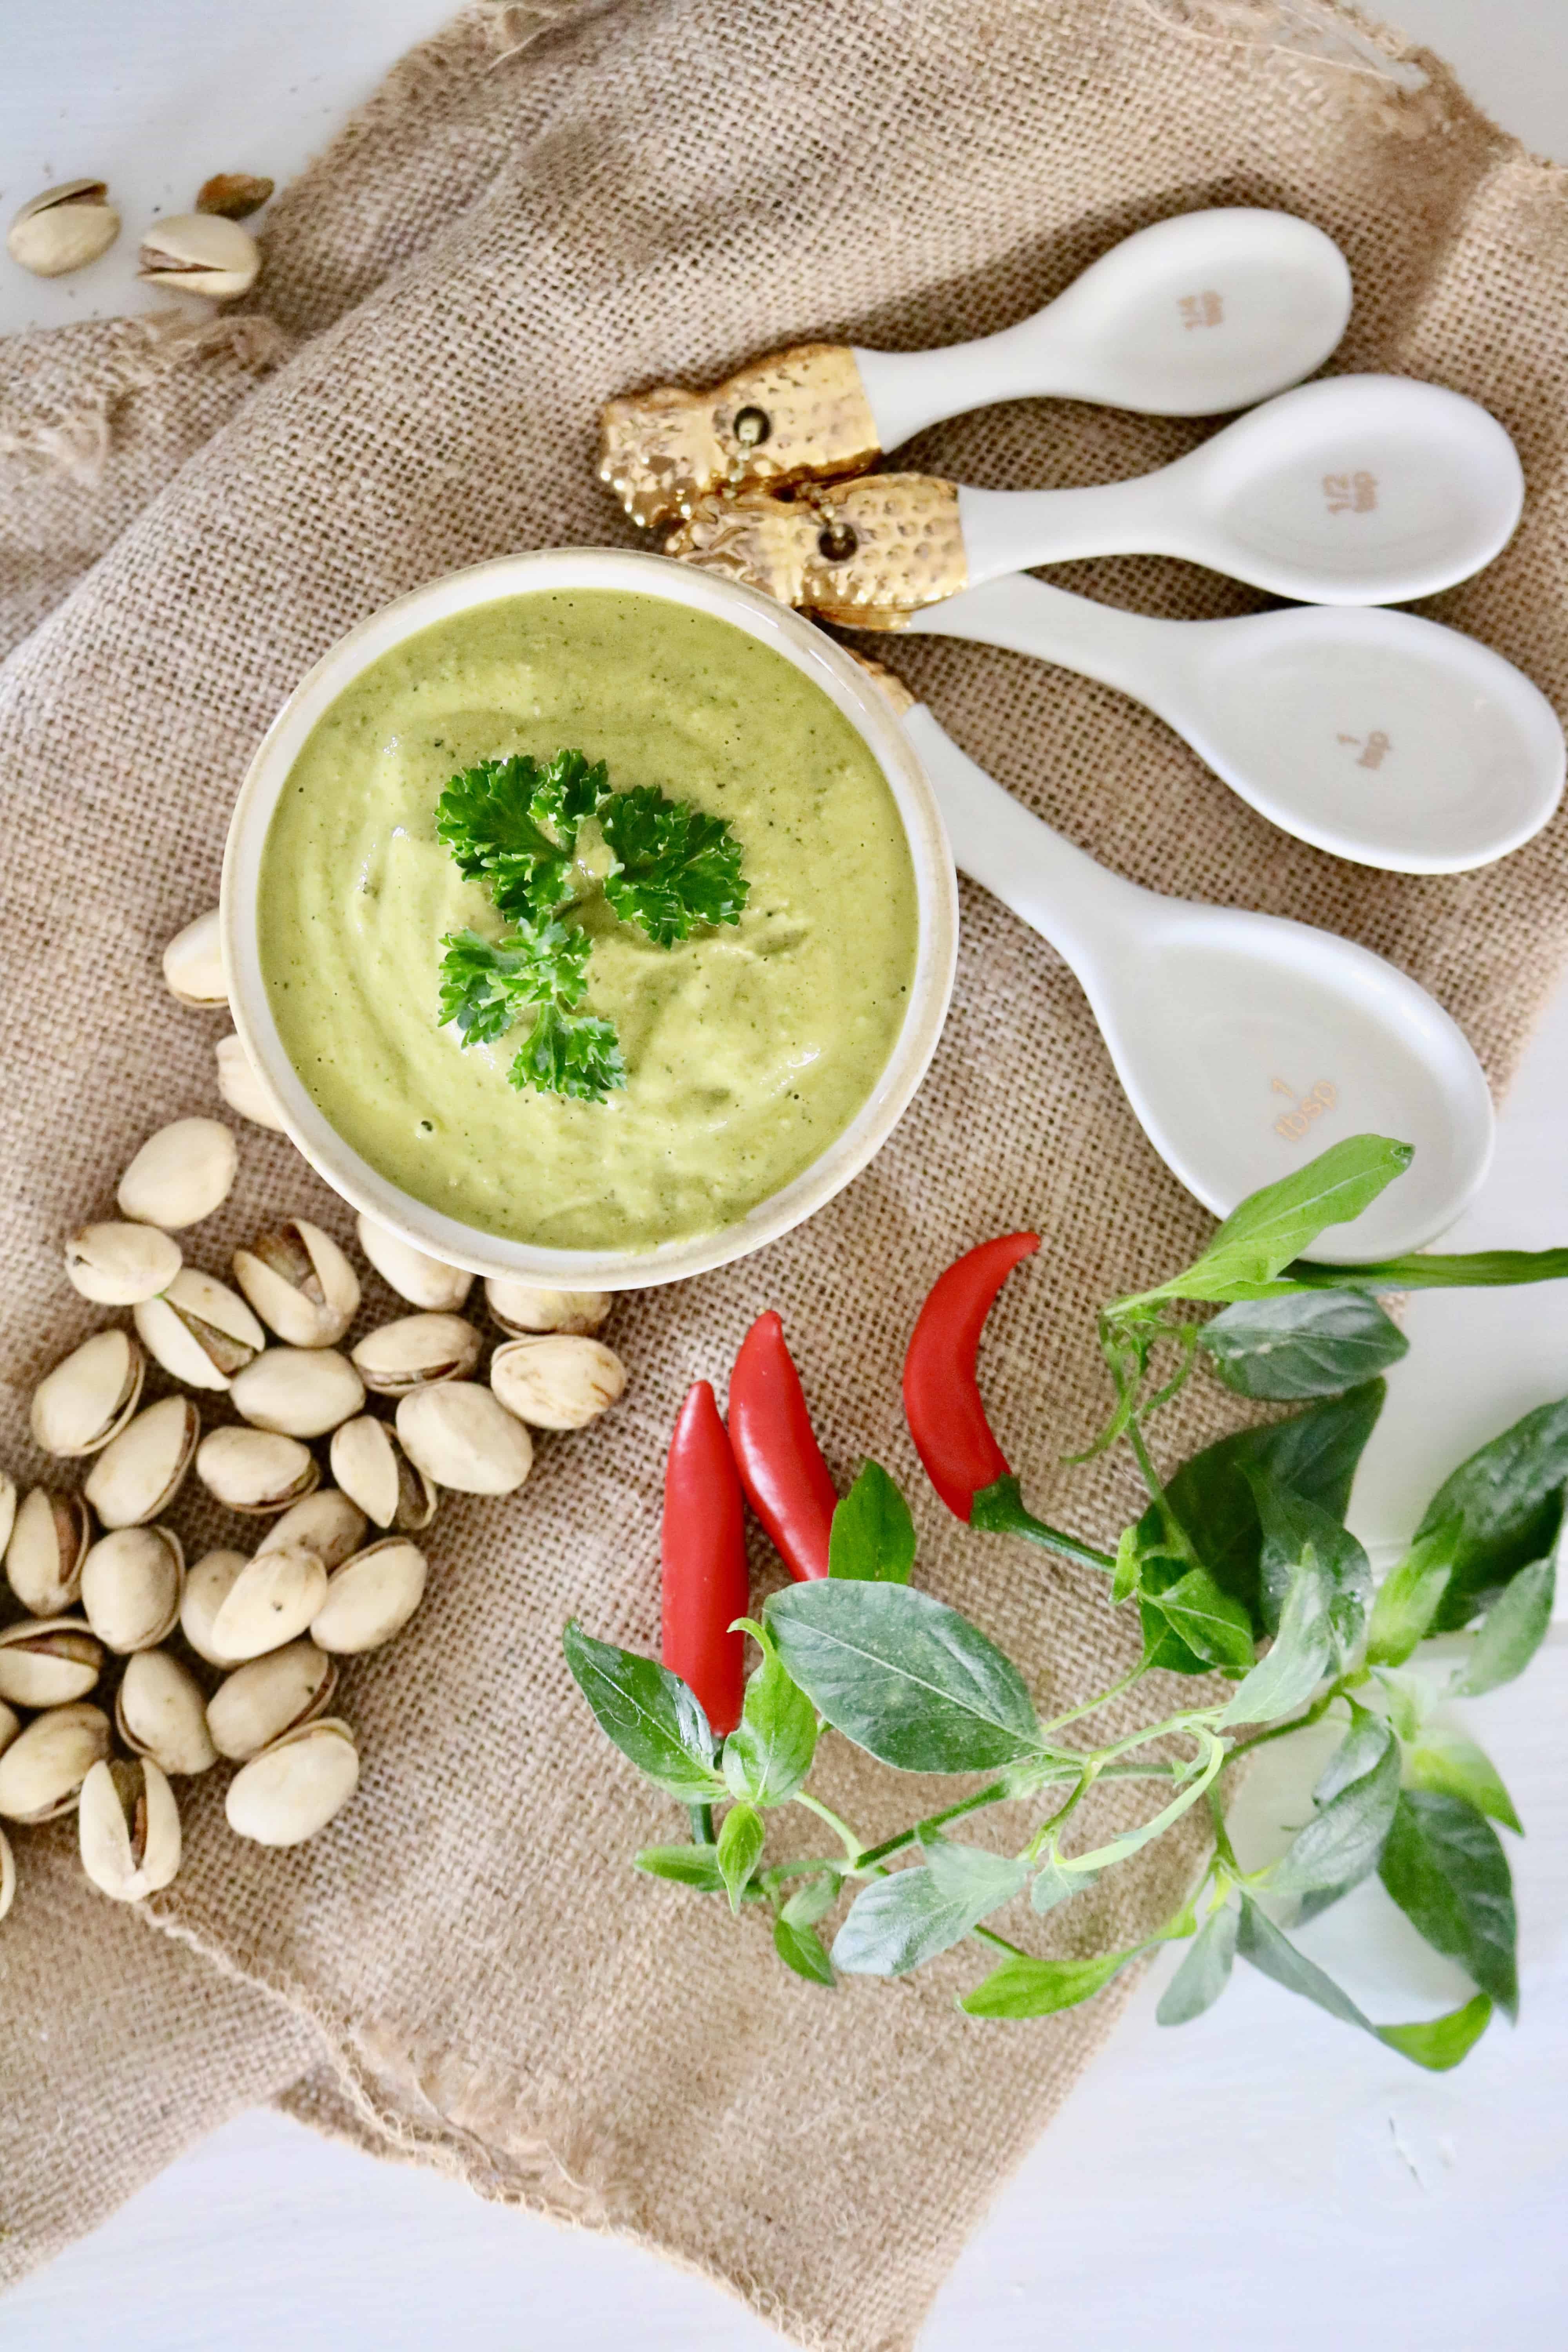
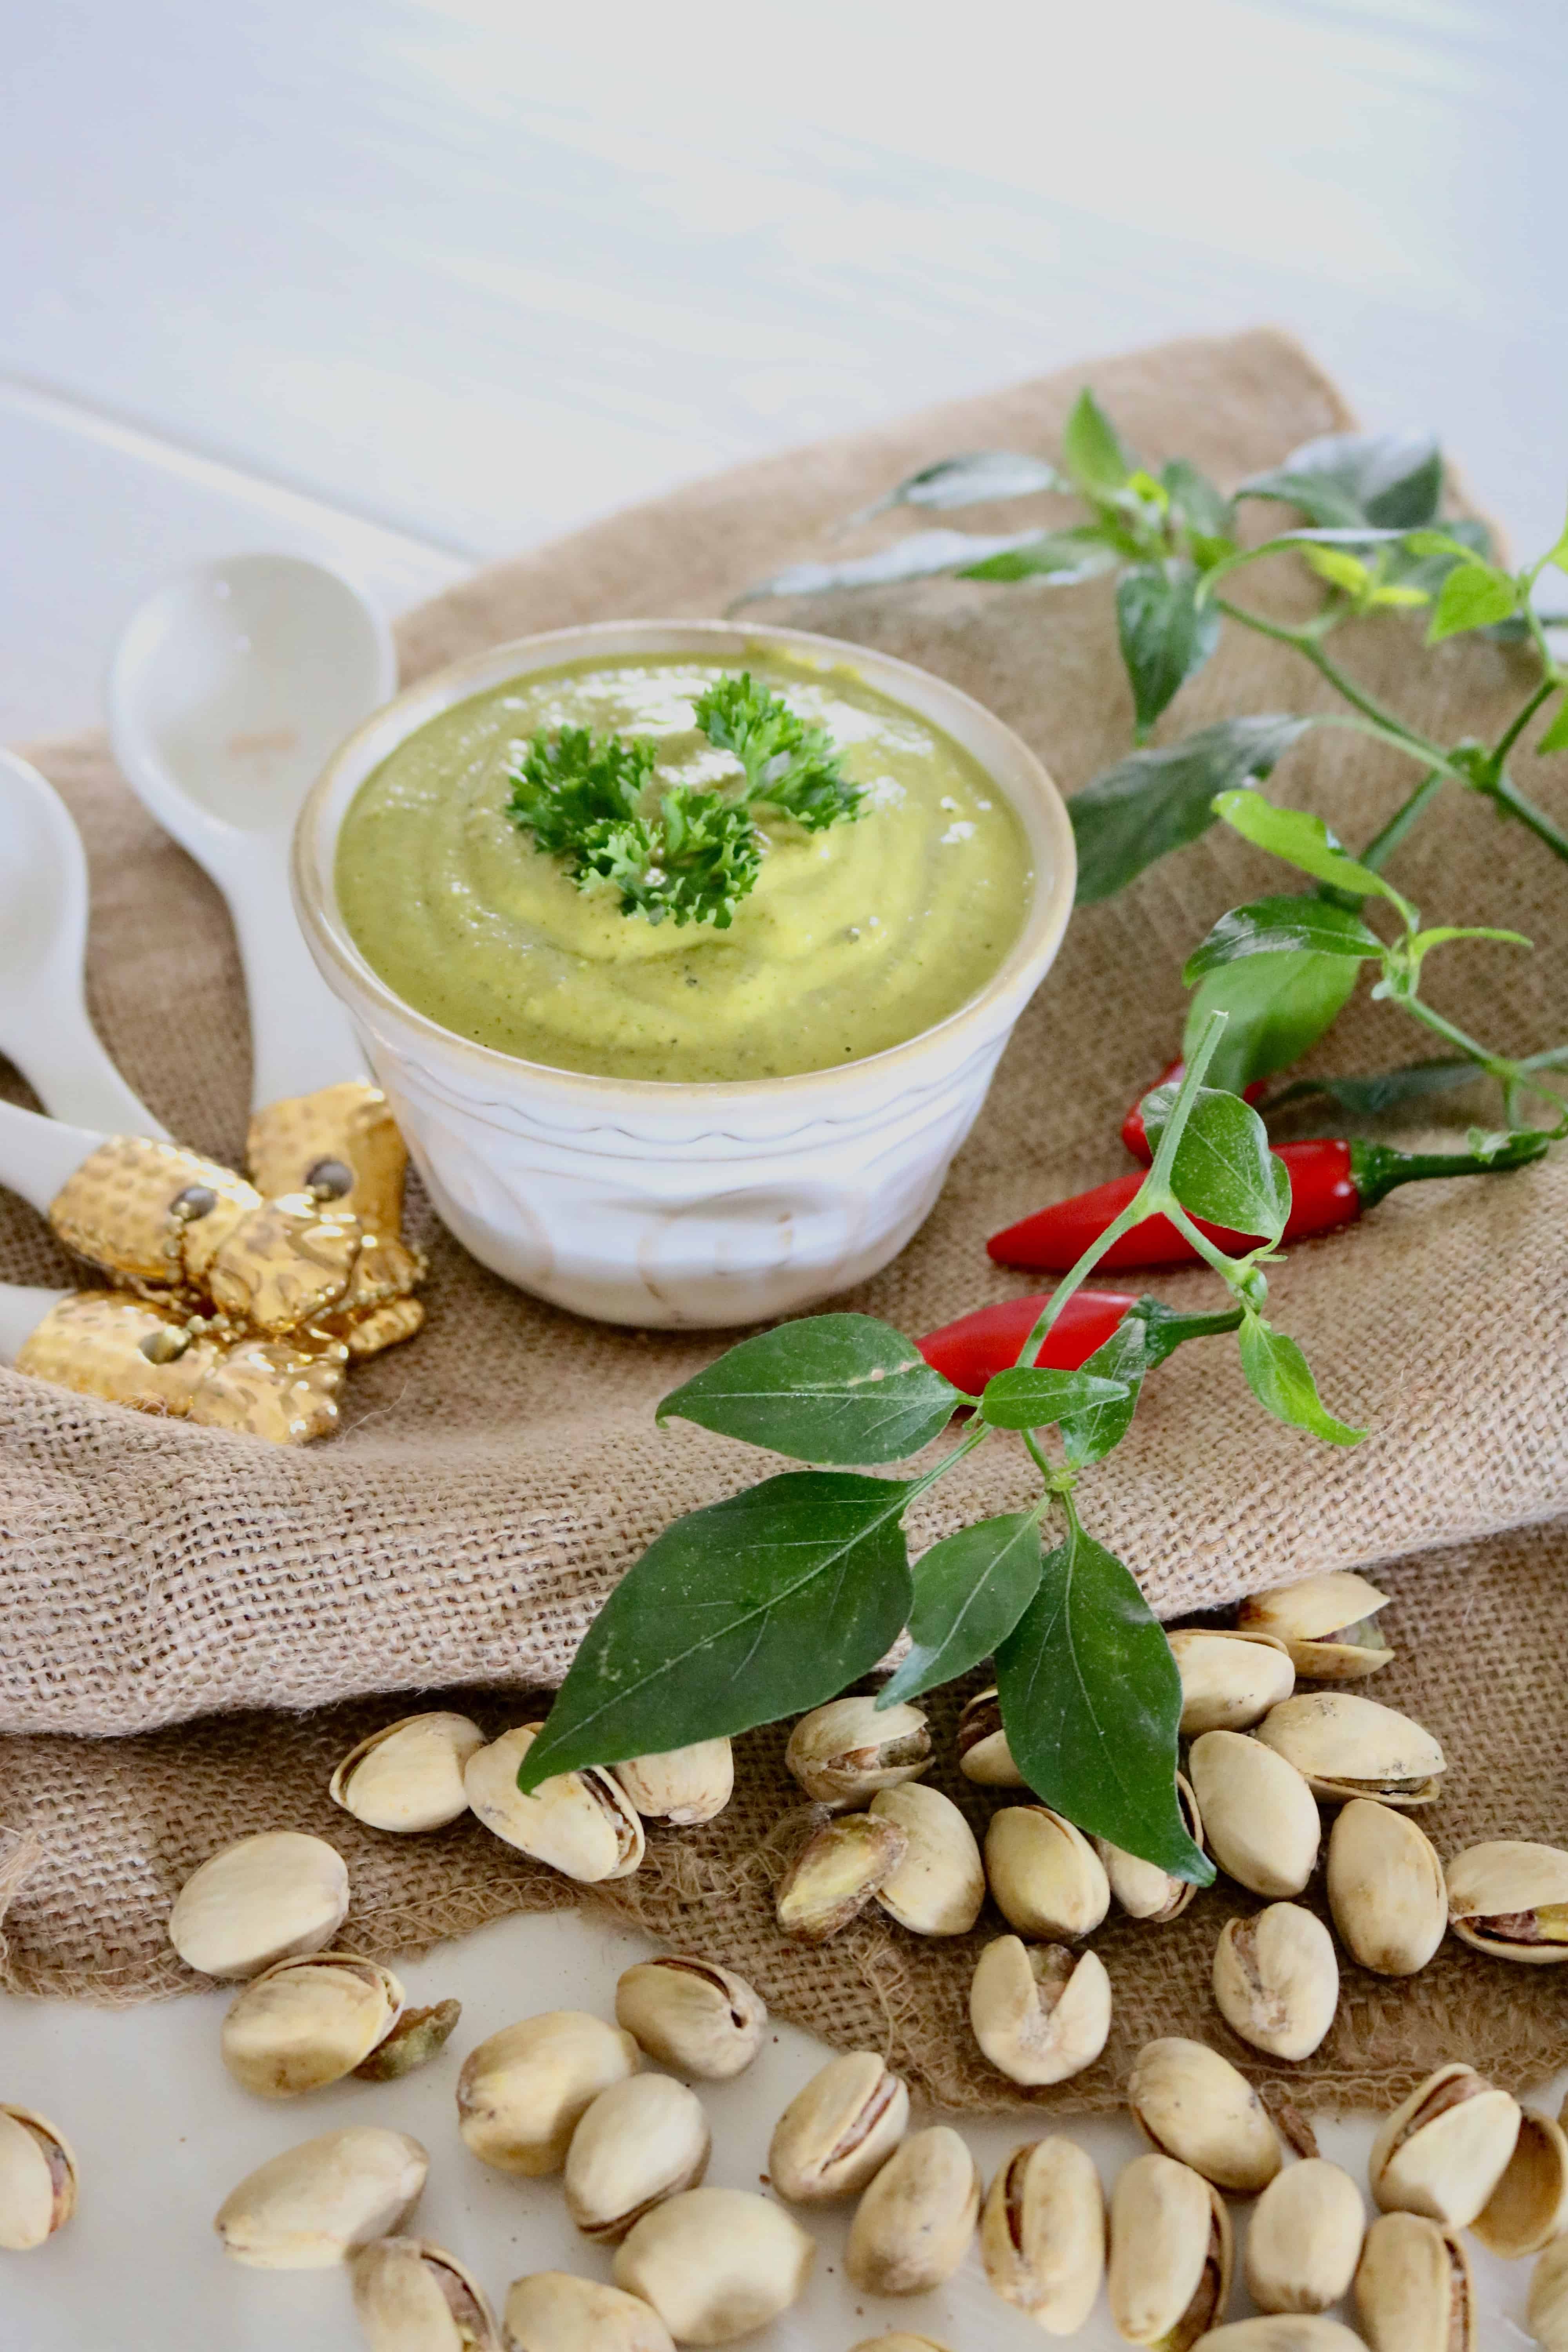
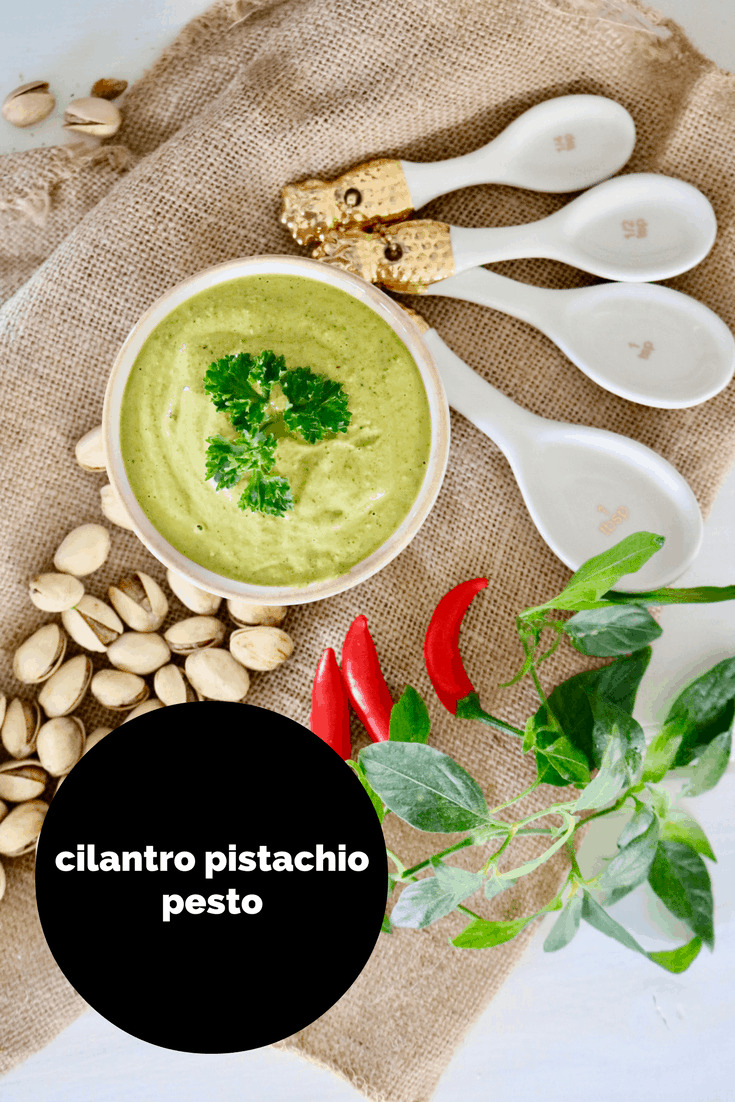
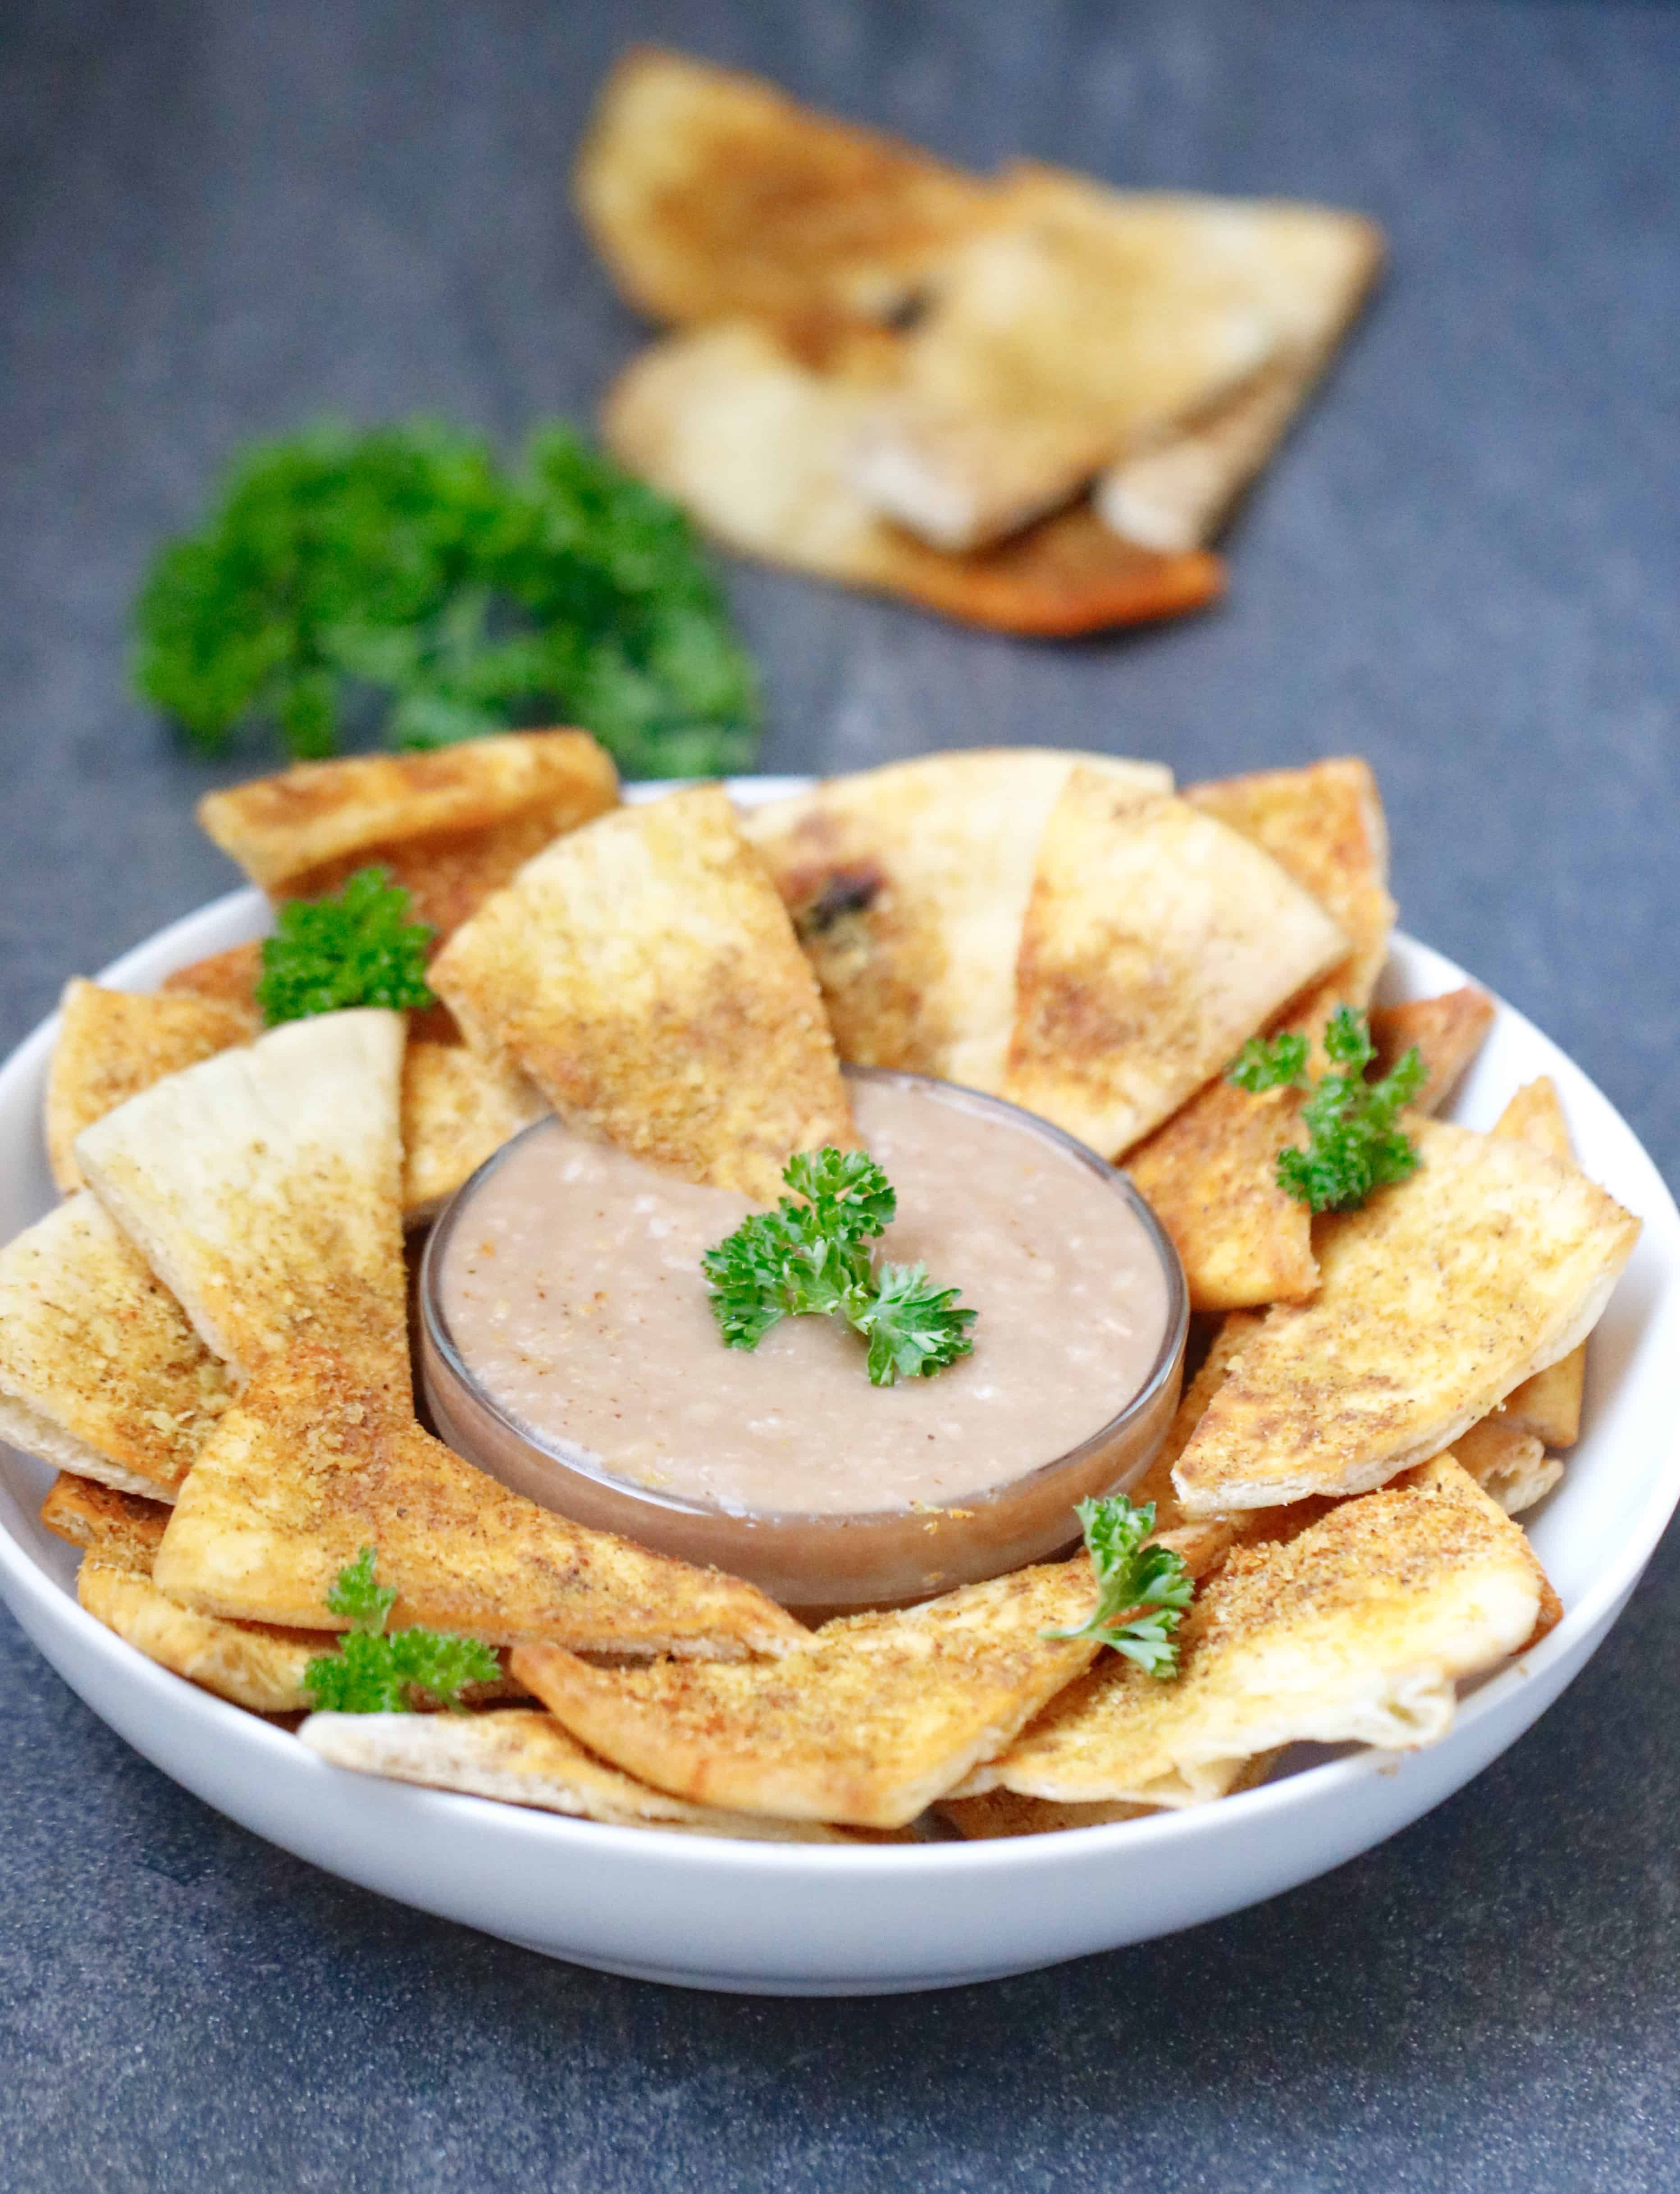 And, because everybody loves a crunchy, cheesy chip, I whipped up some delicious pita wedges to serve.
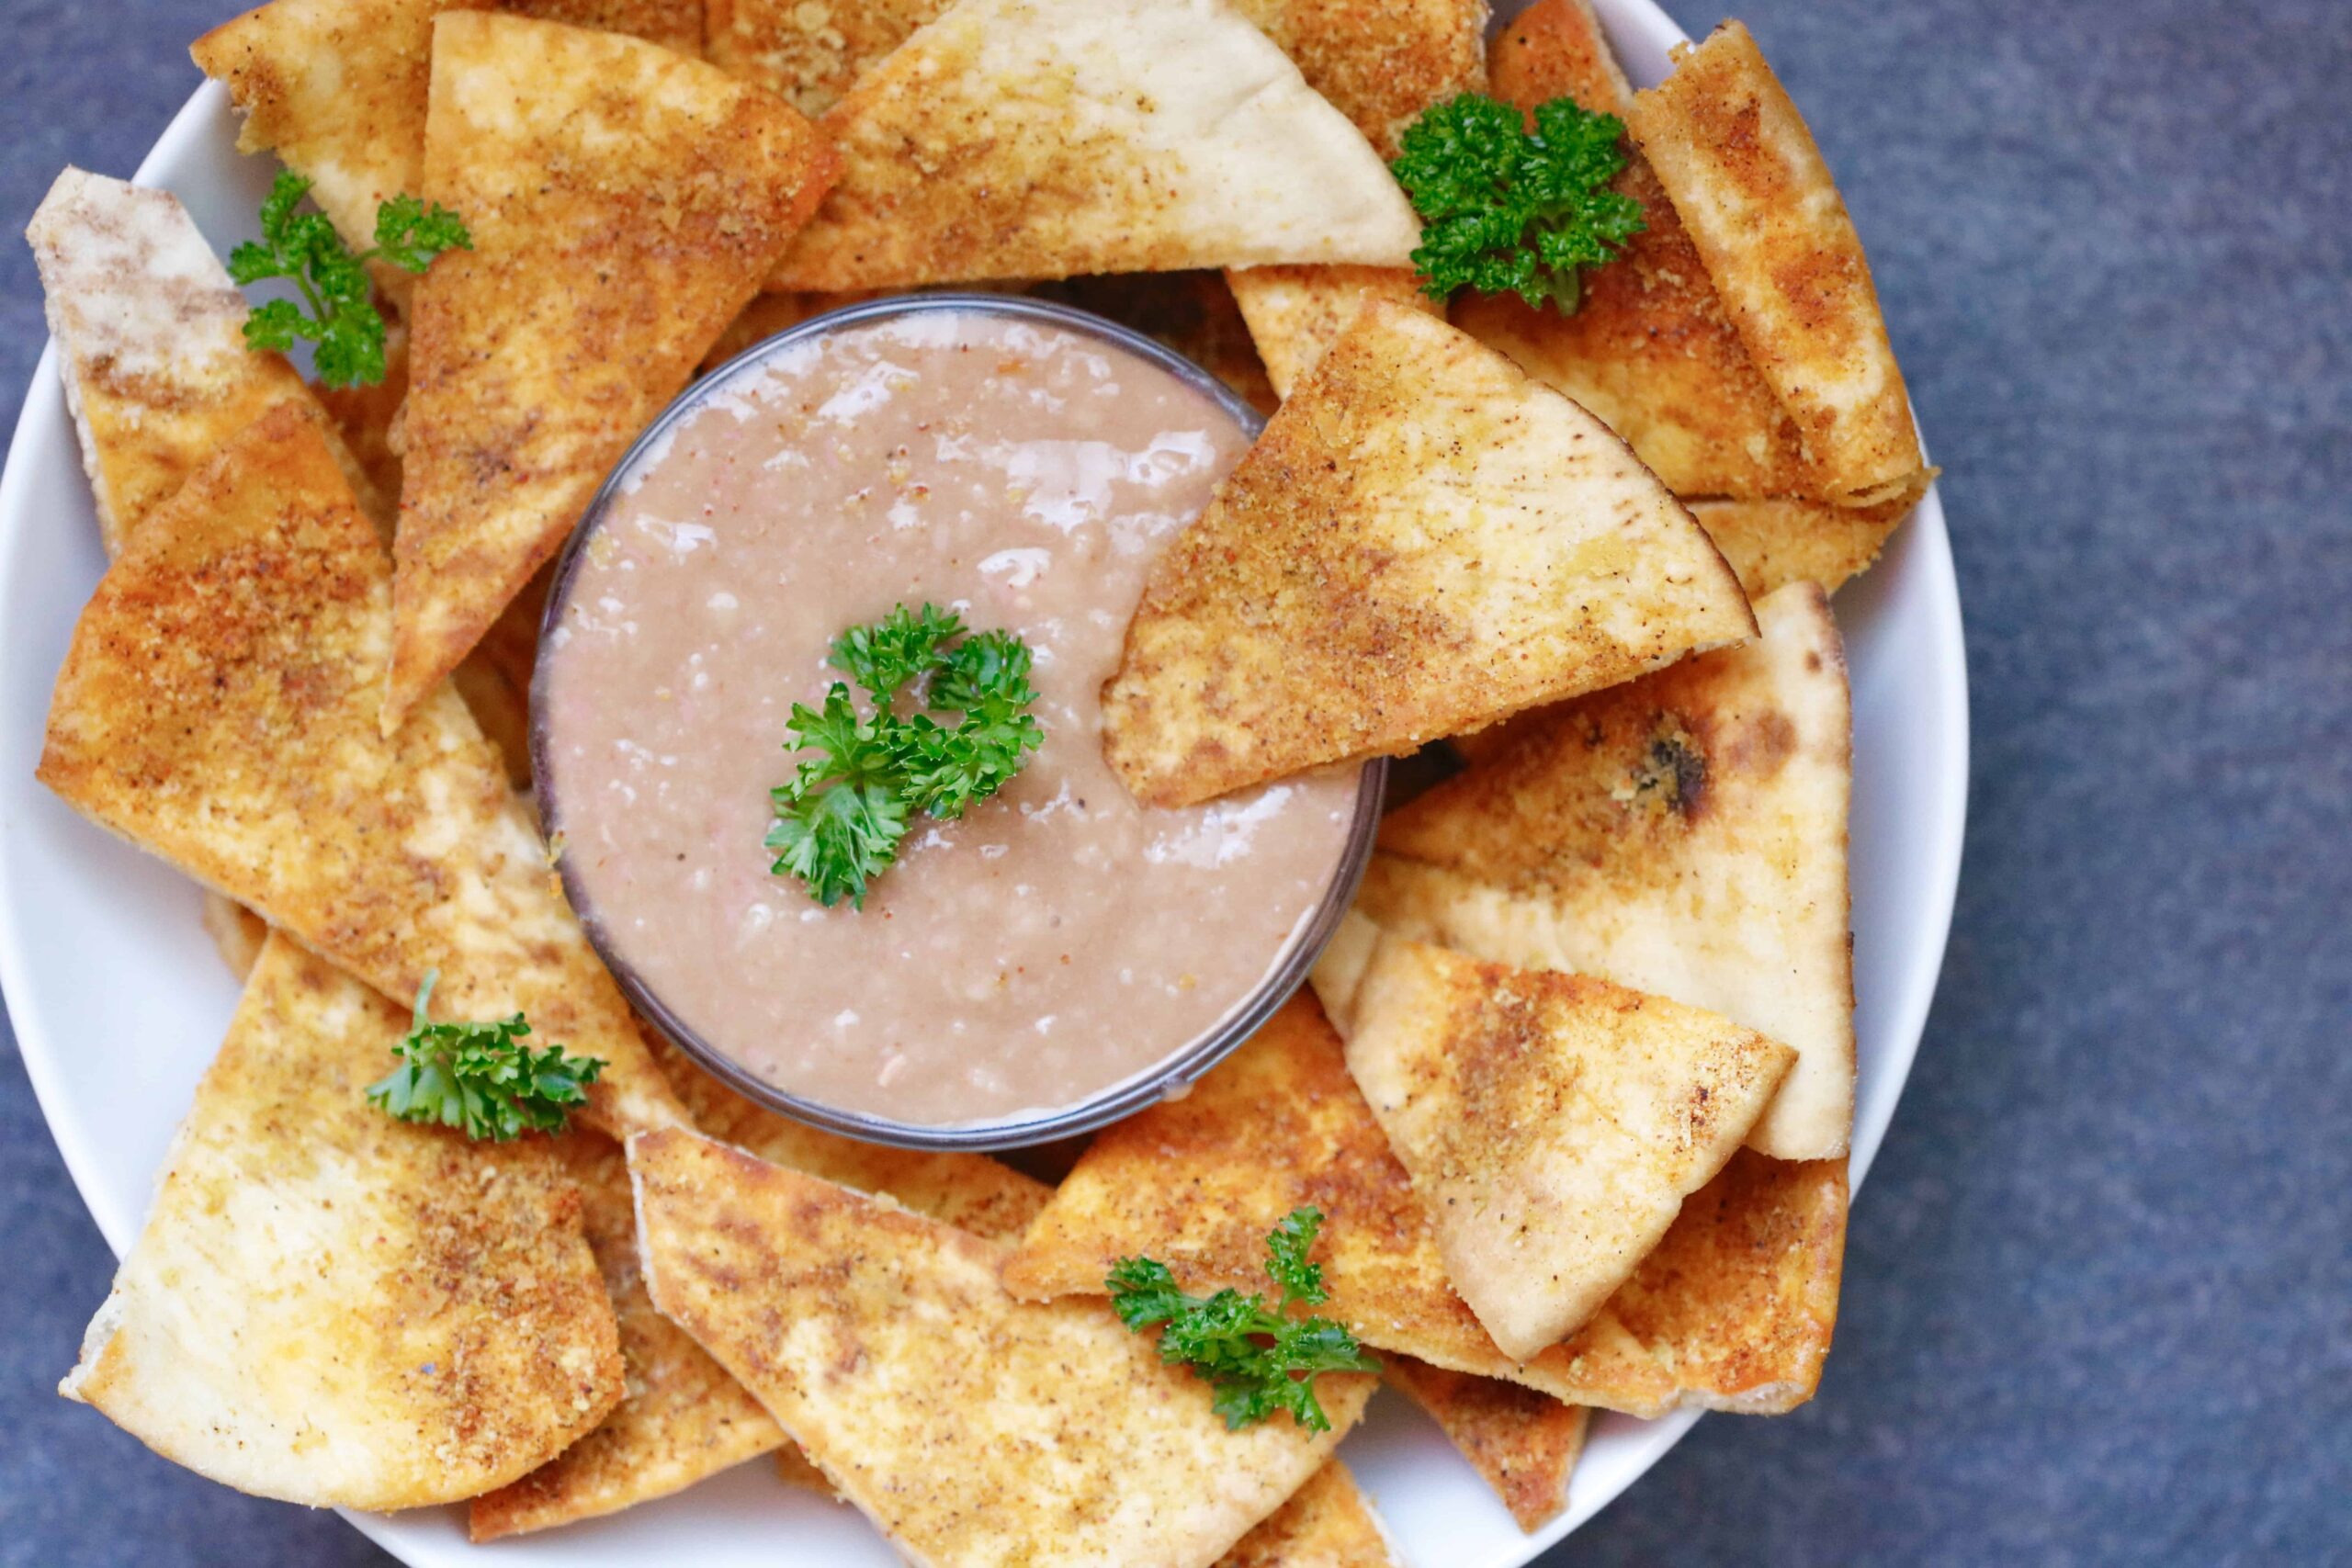 Bonus, they also come with the easiest dip on the planet to make that’s packed with flavor and a Mr. CEO favorite, requested on the reg now I swear!
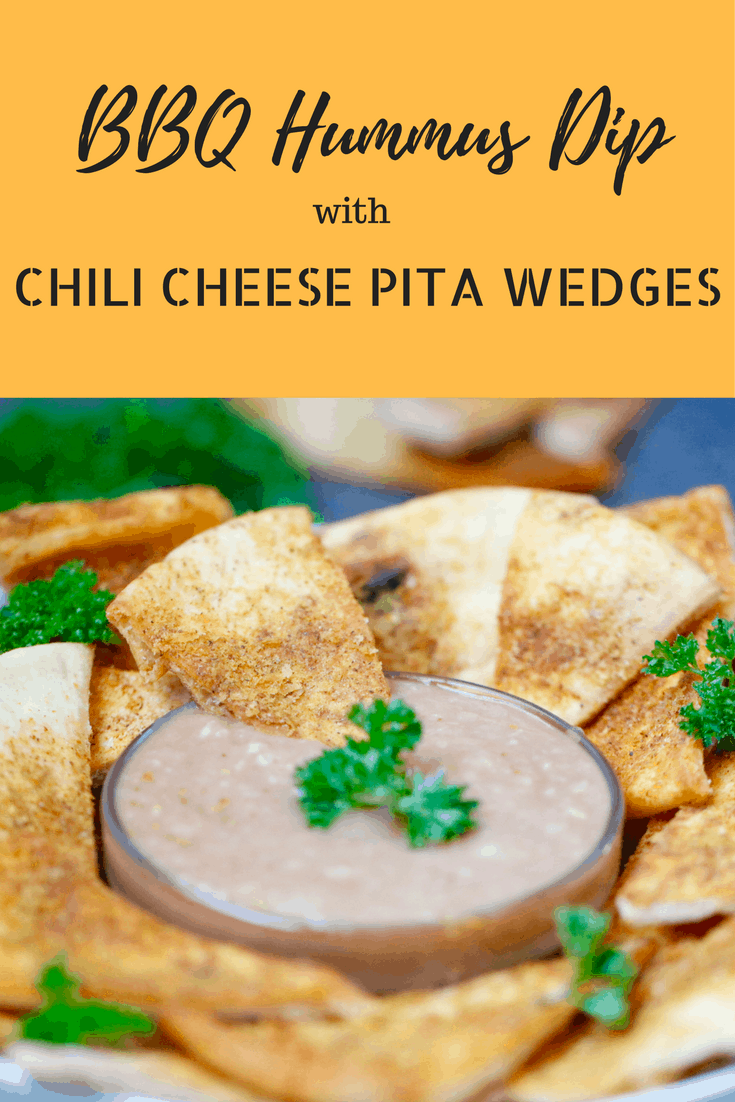


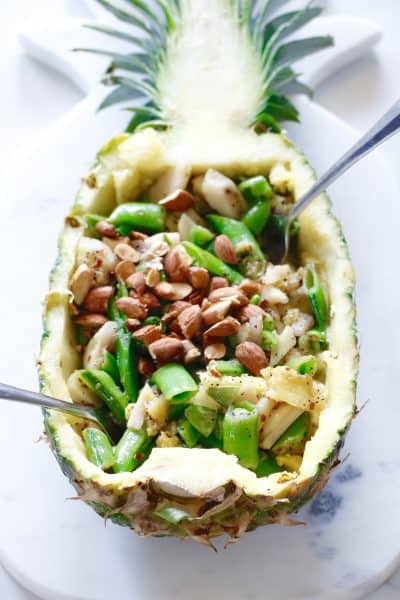
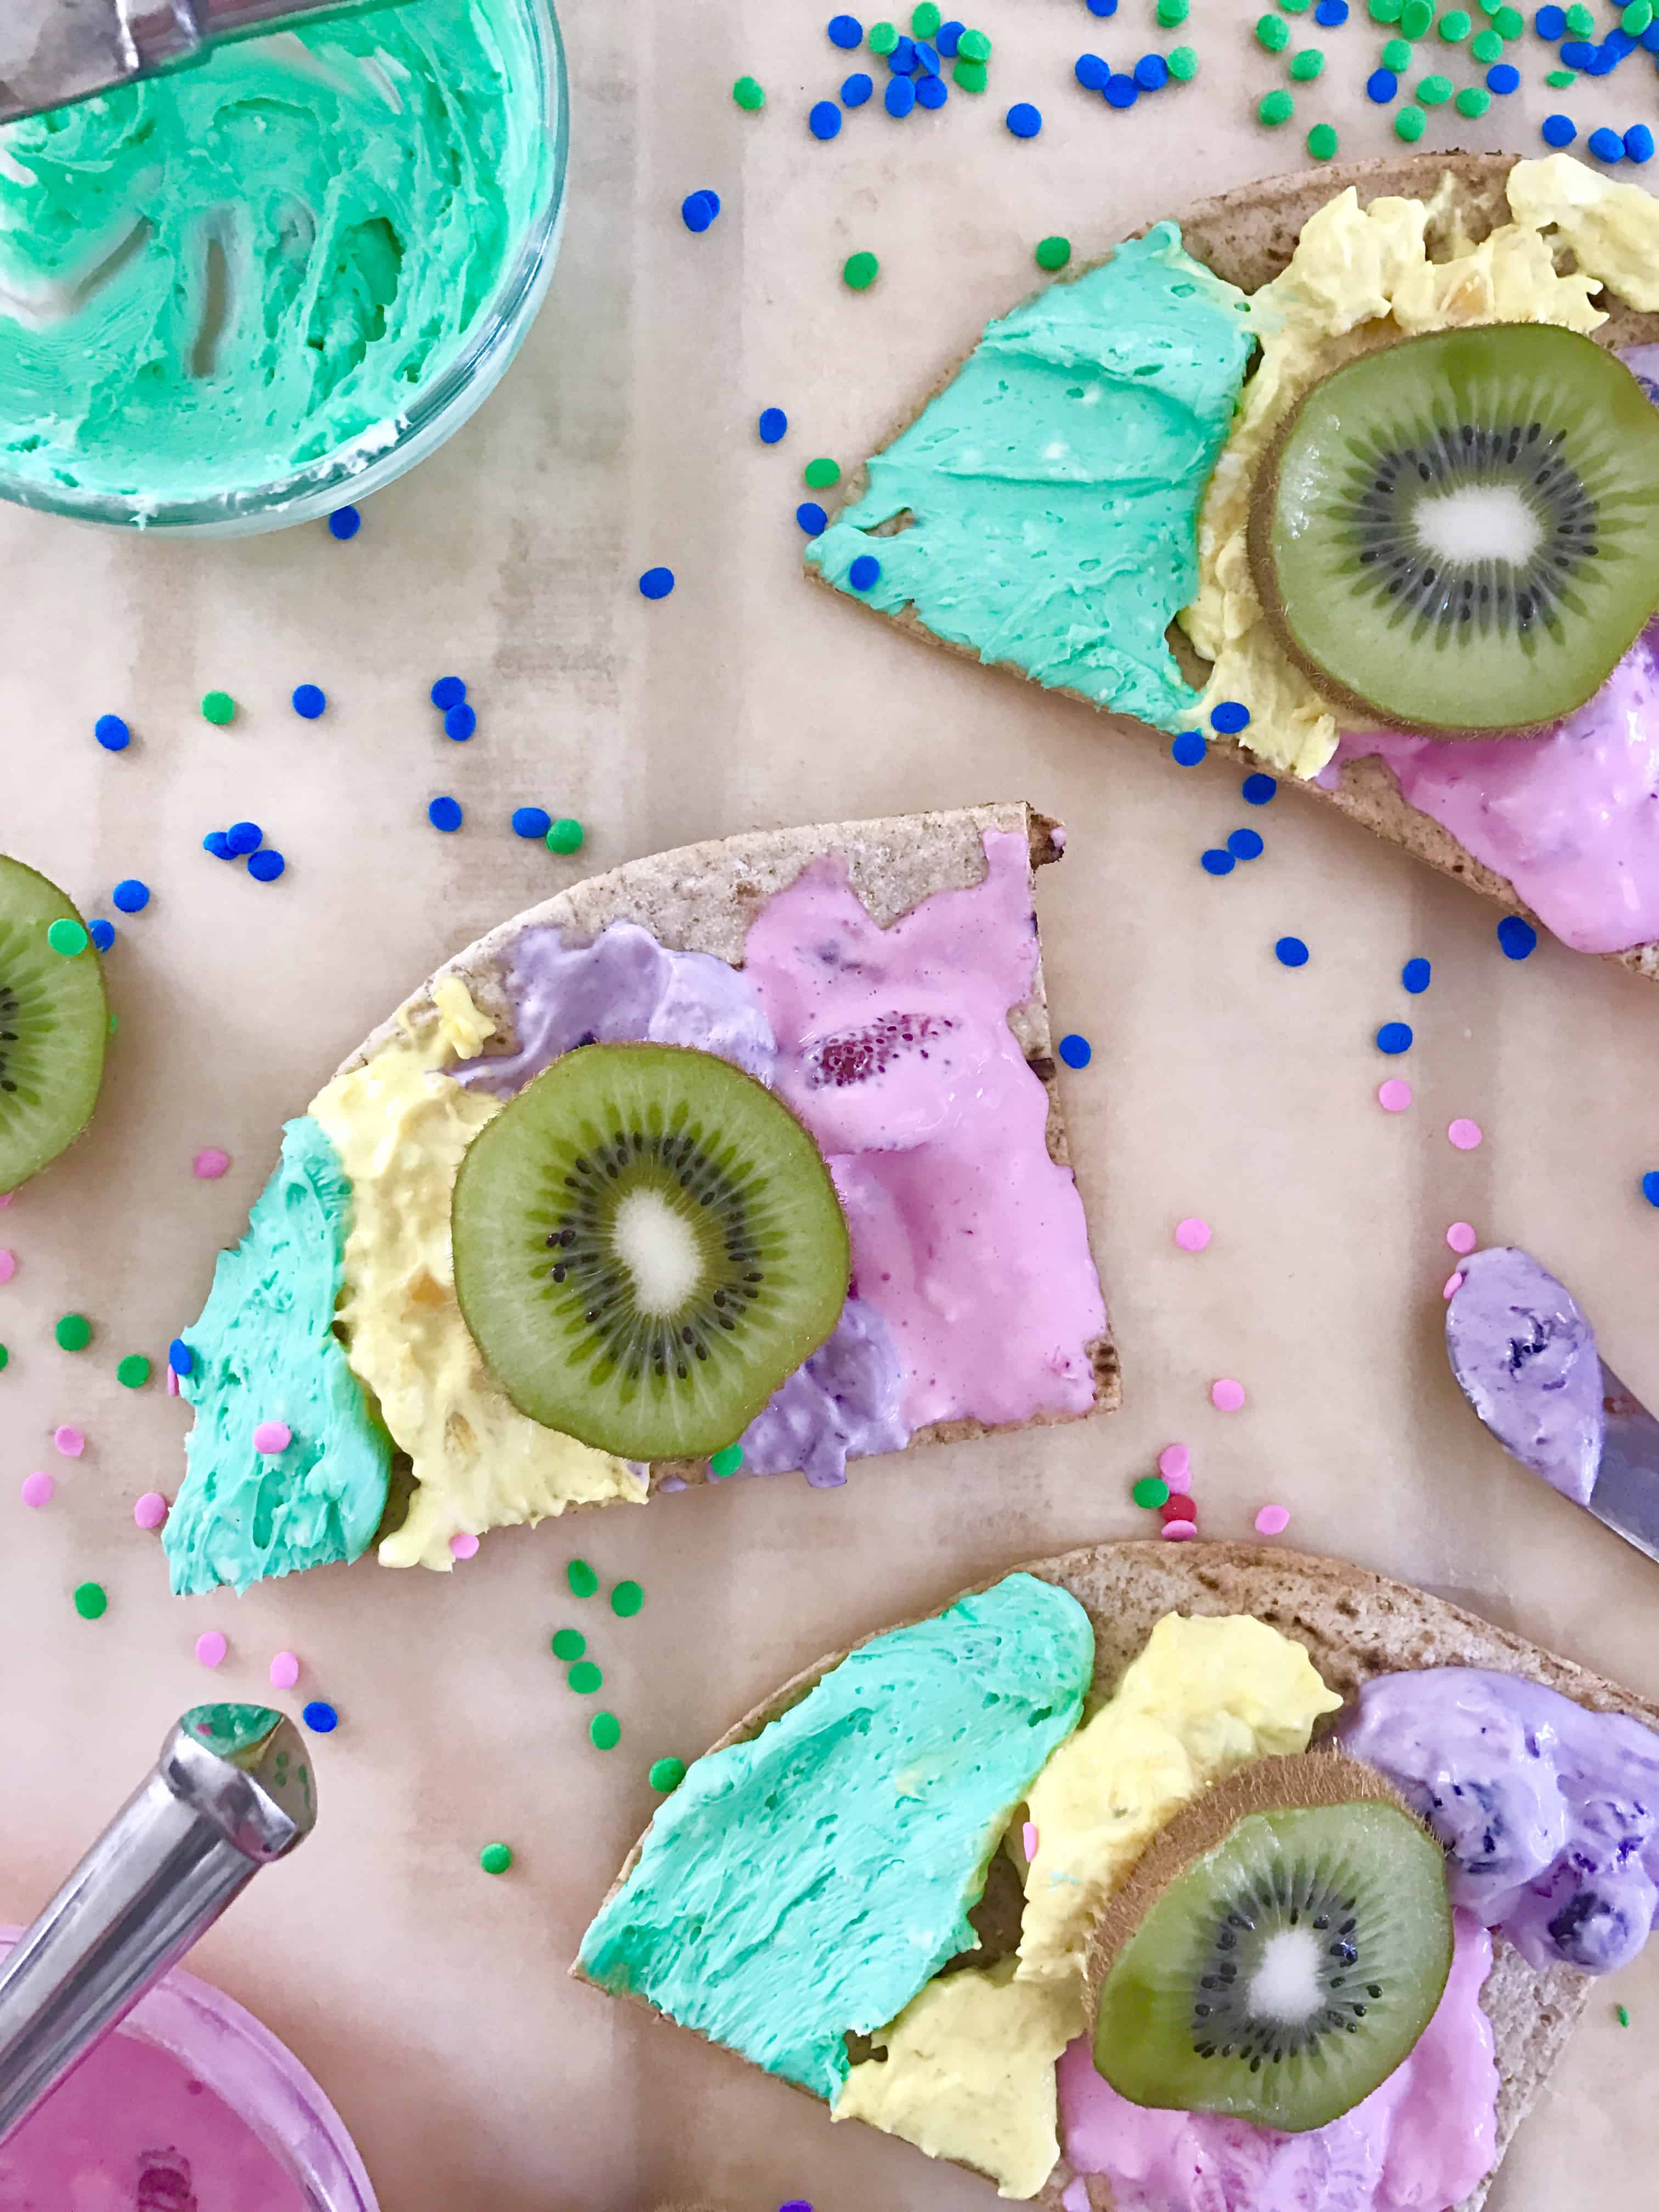
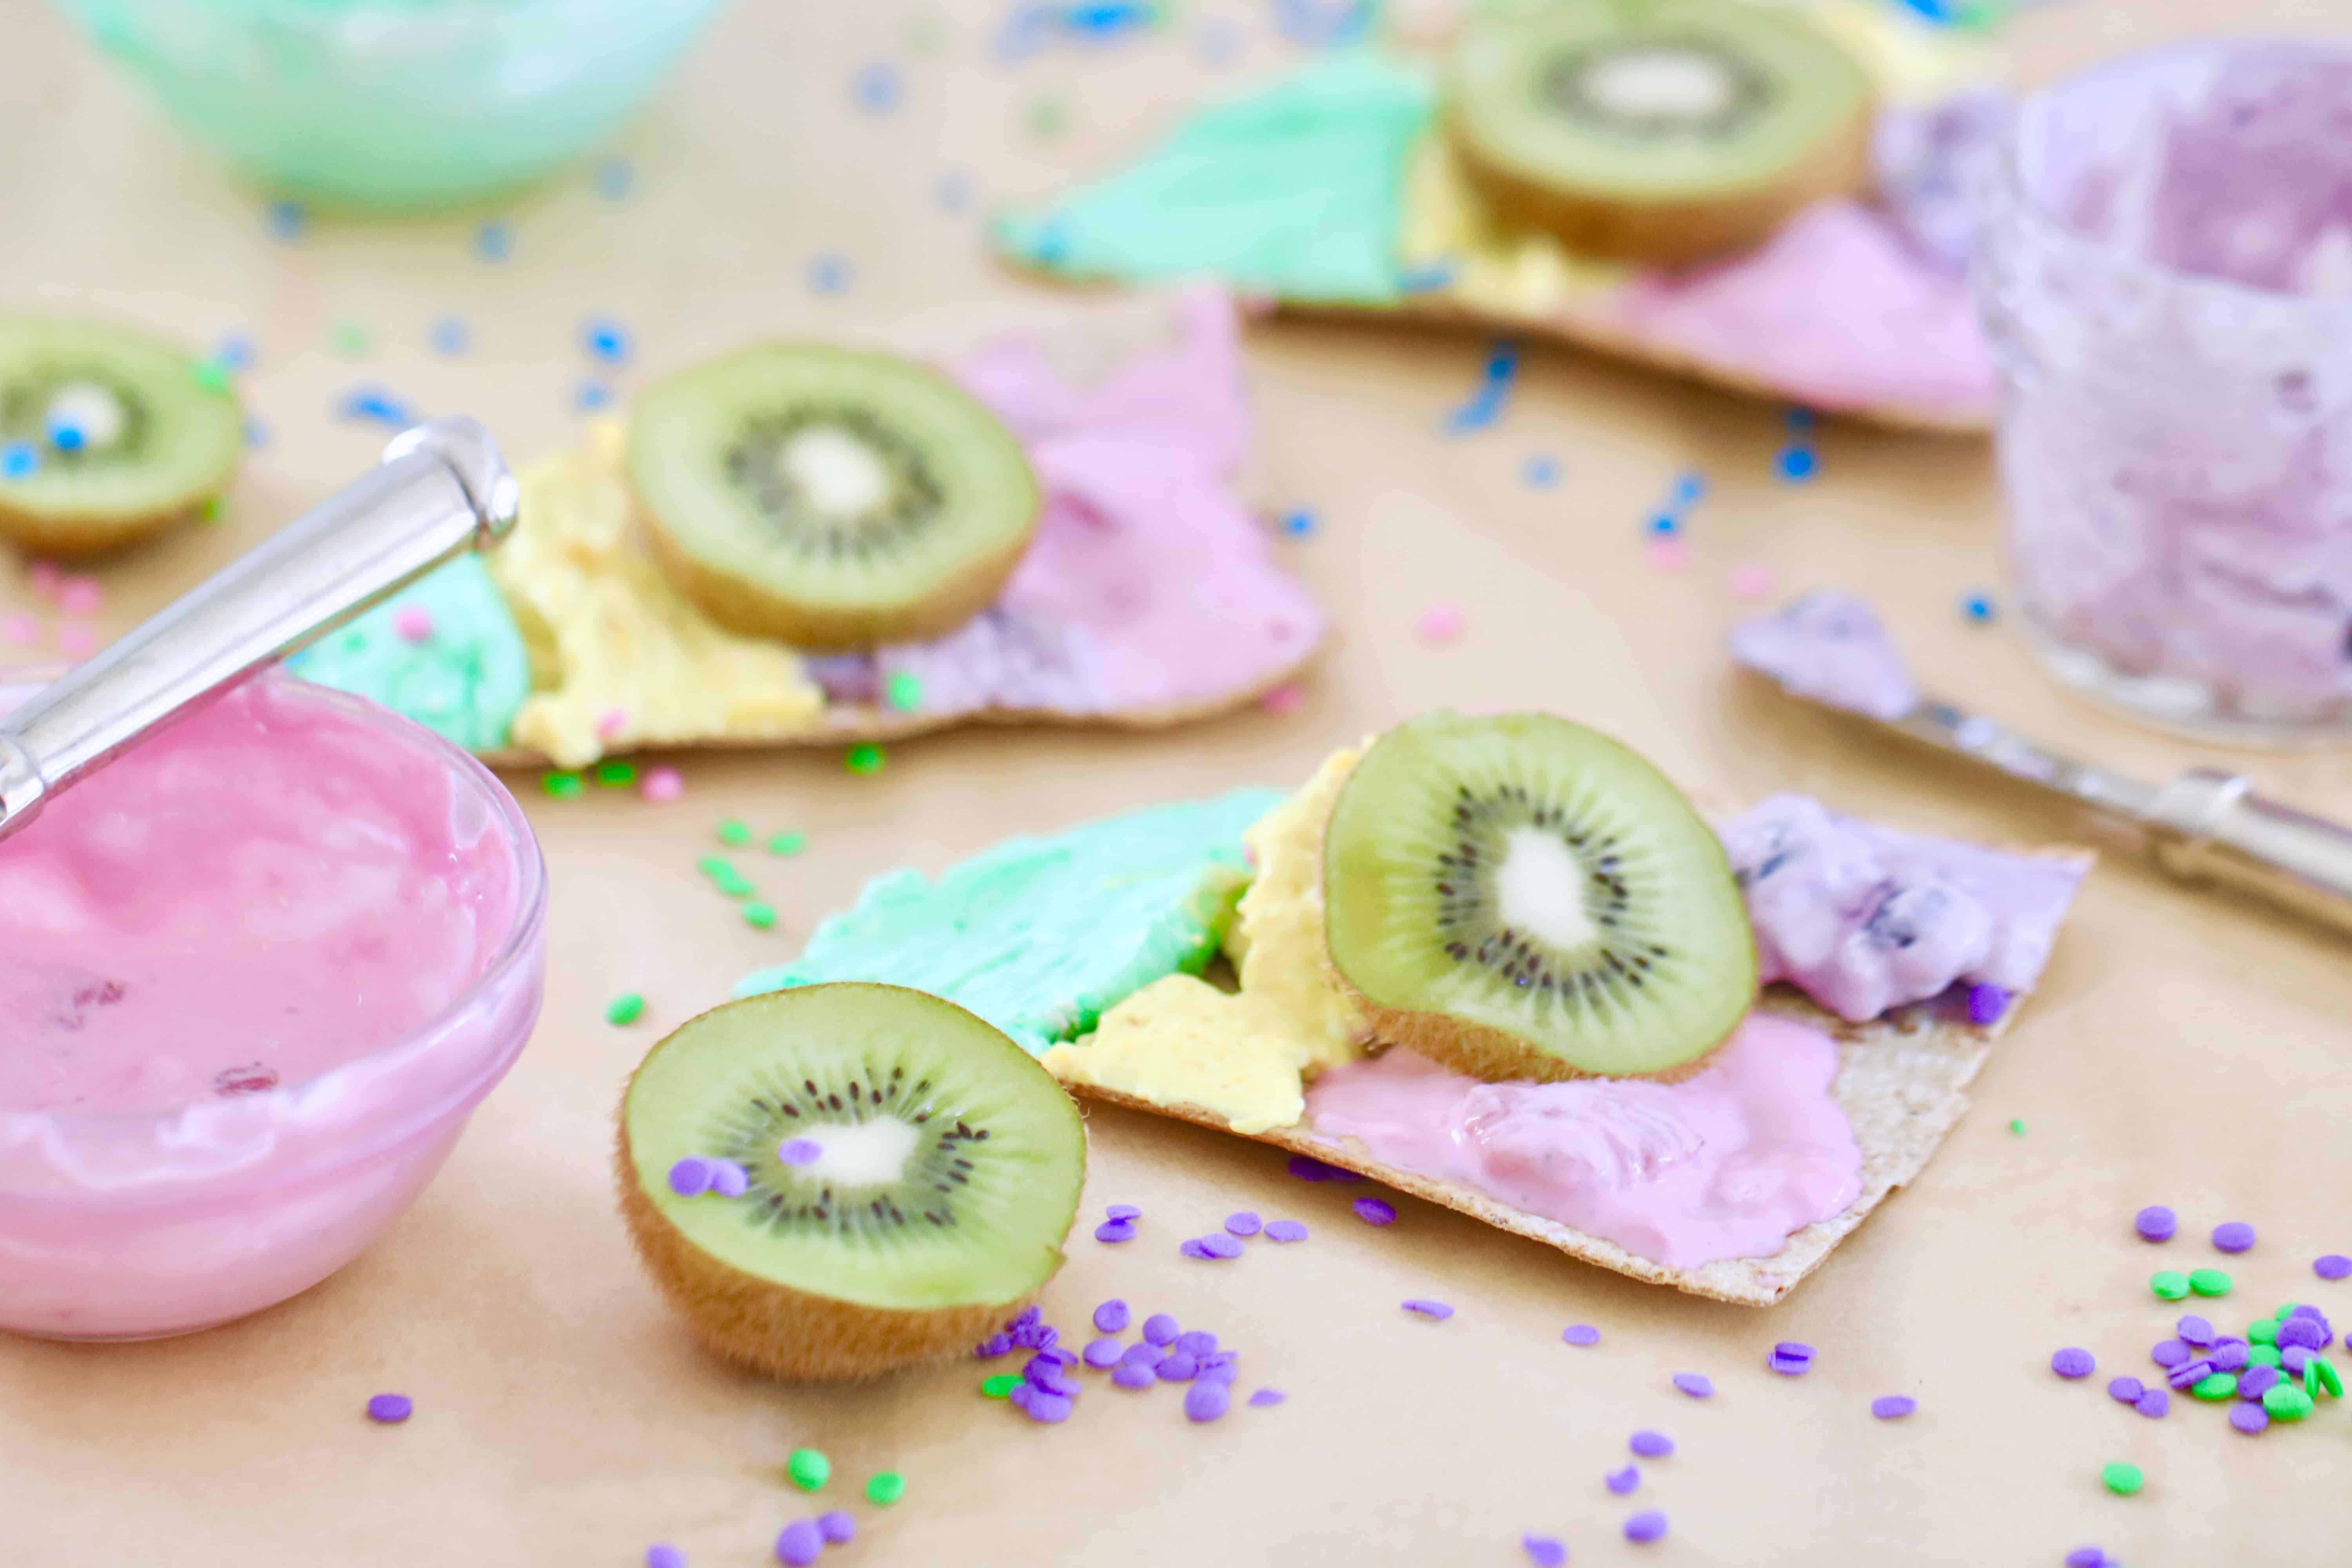
 It just screams fun, life, and laughter to me. Perhaps it’s the yellow, the vibrant green, or maybe even just the thoughts of Hawaii that enter my mind. Regardless, I dig it!
 You can find out more about that here, but simply put, it’s a week we can show support for those men and women struggling to bring life into this world.

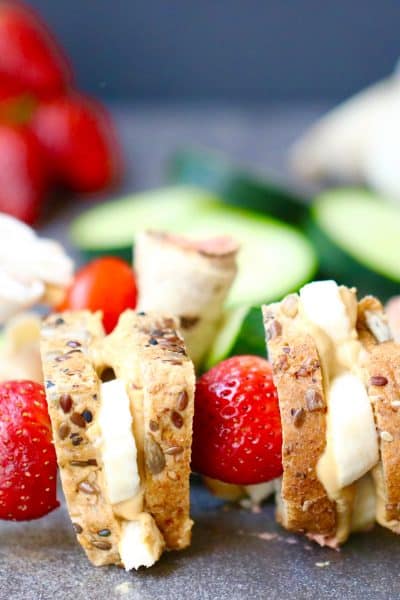

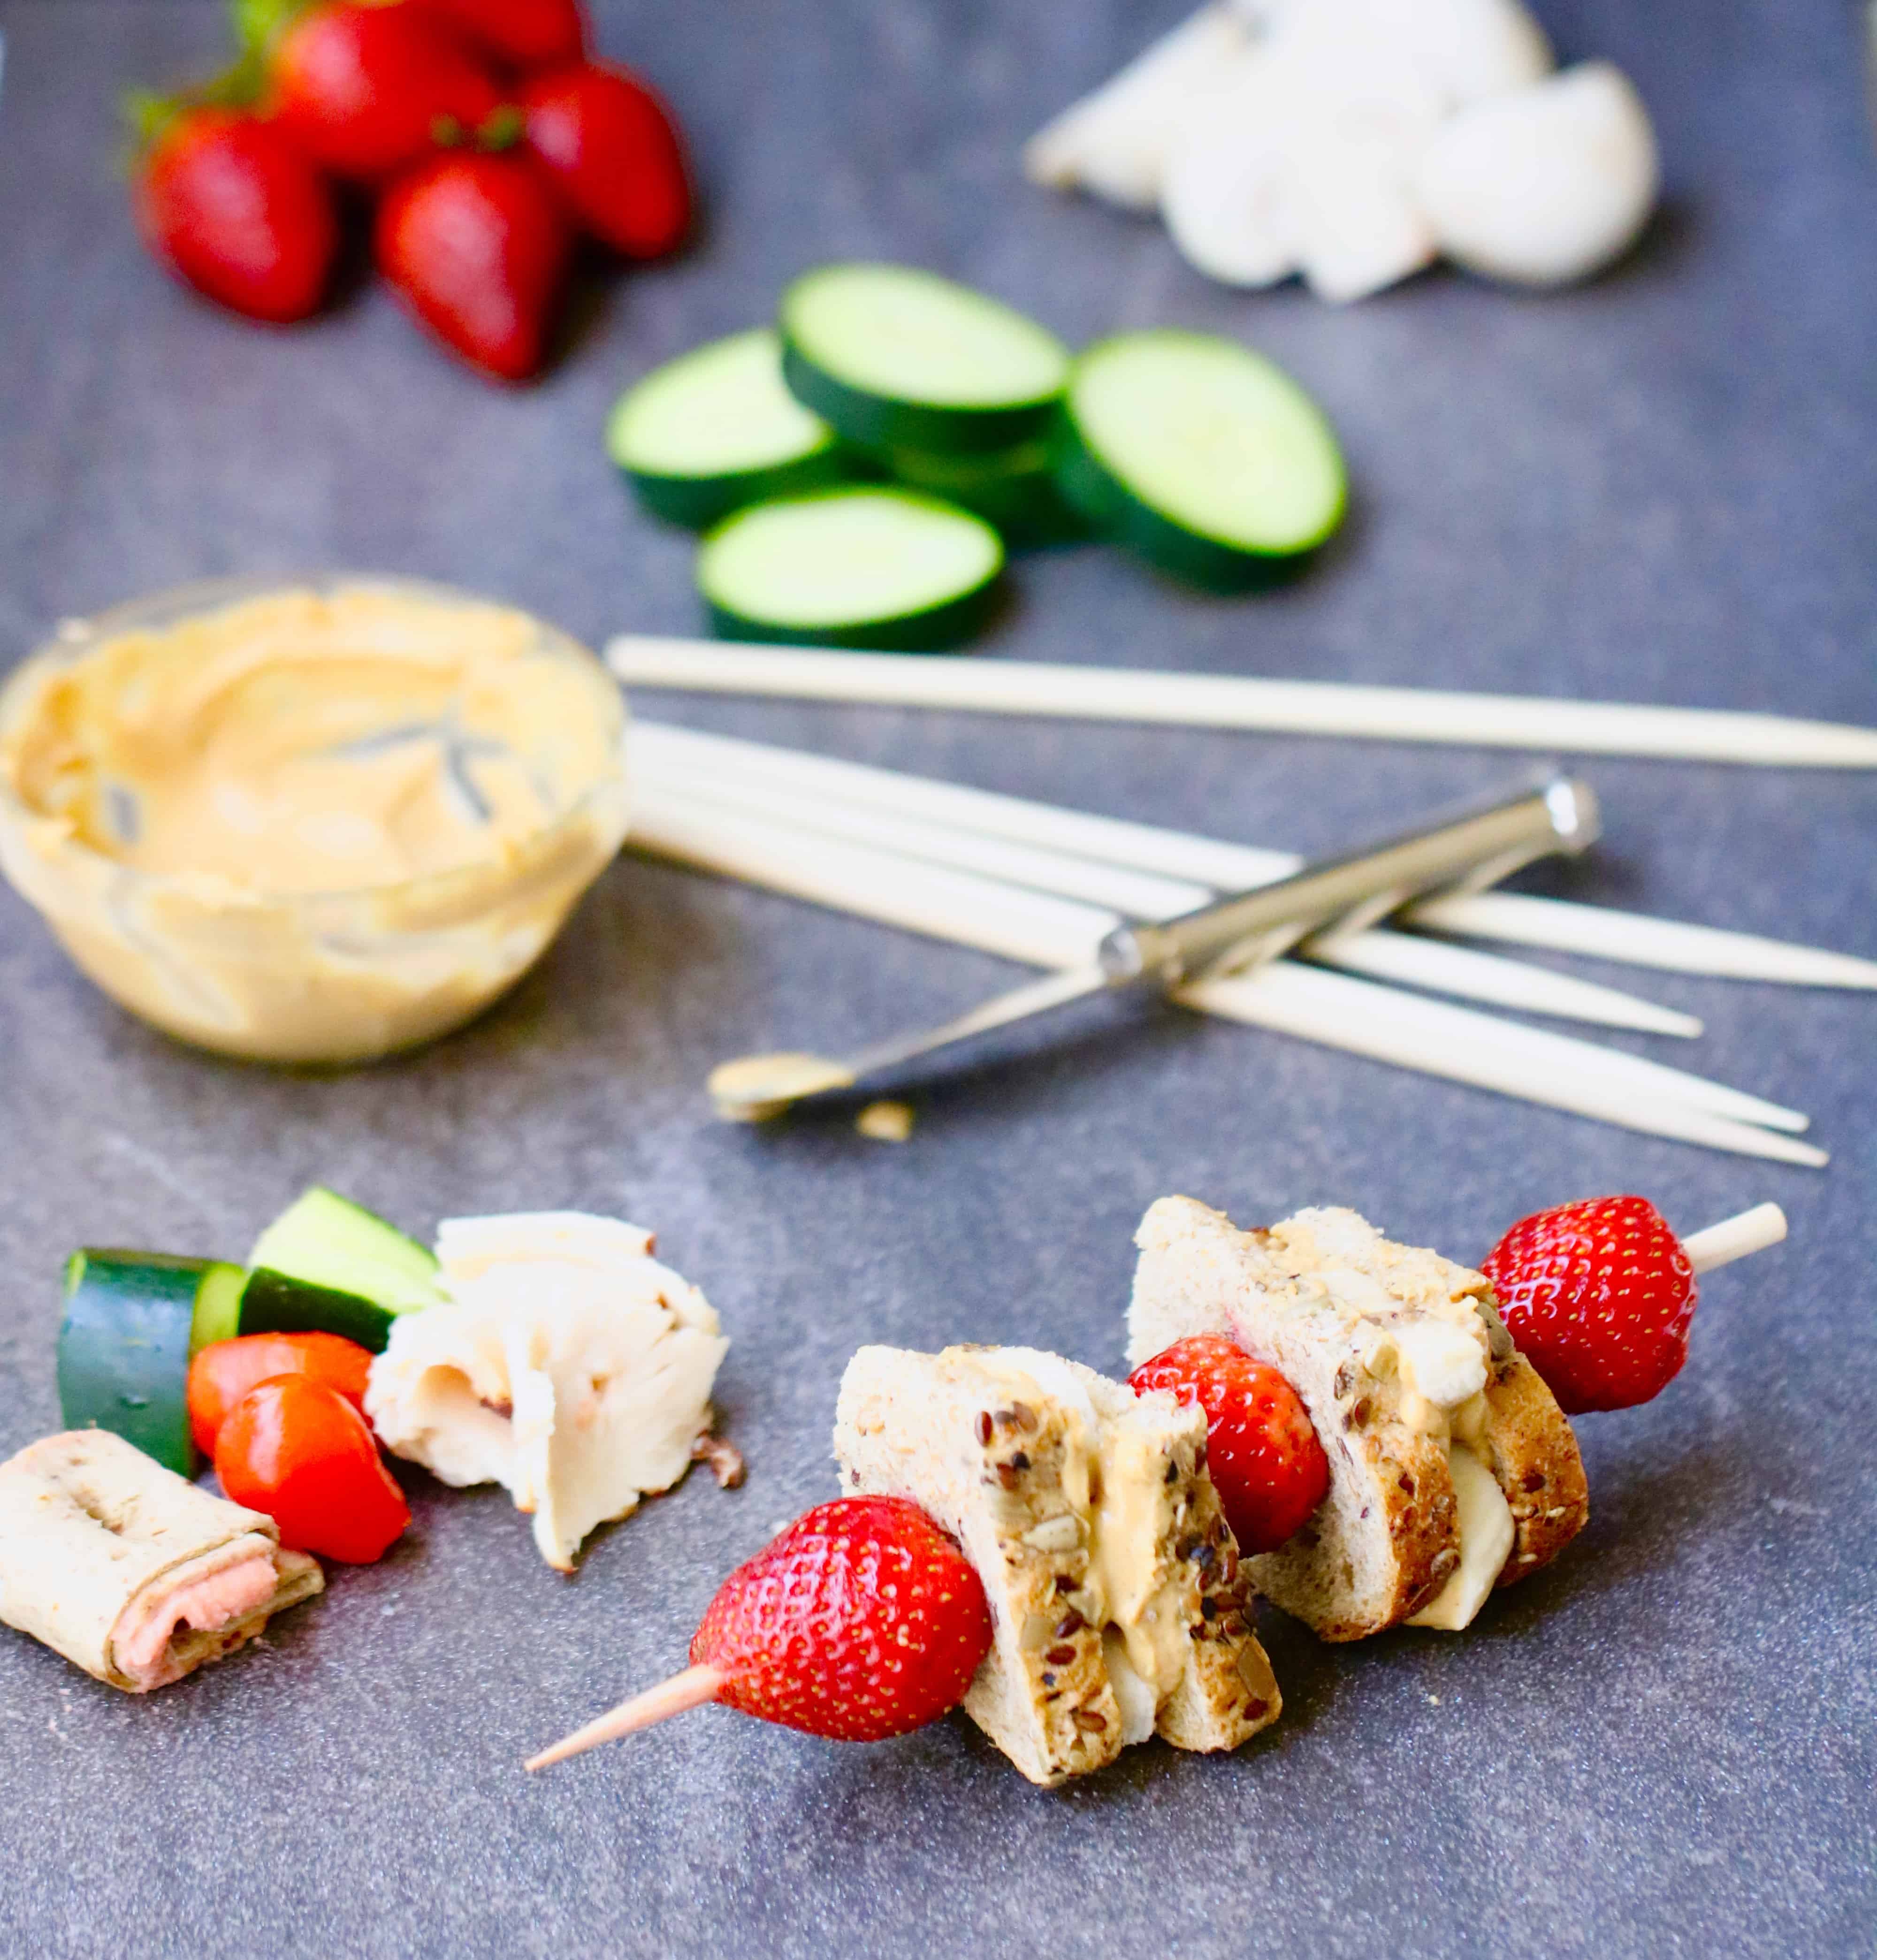
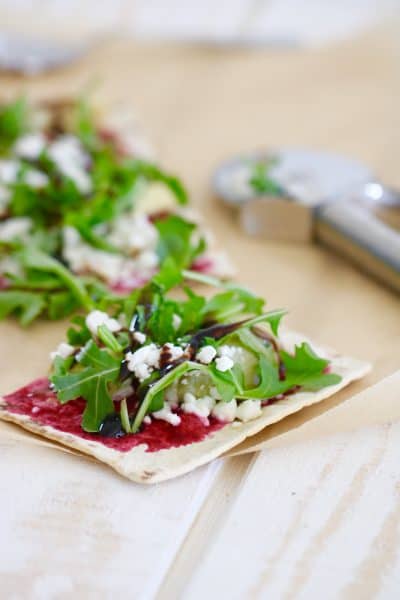
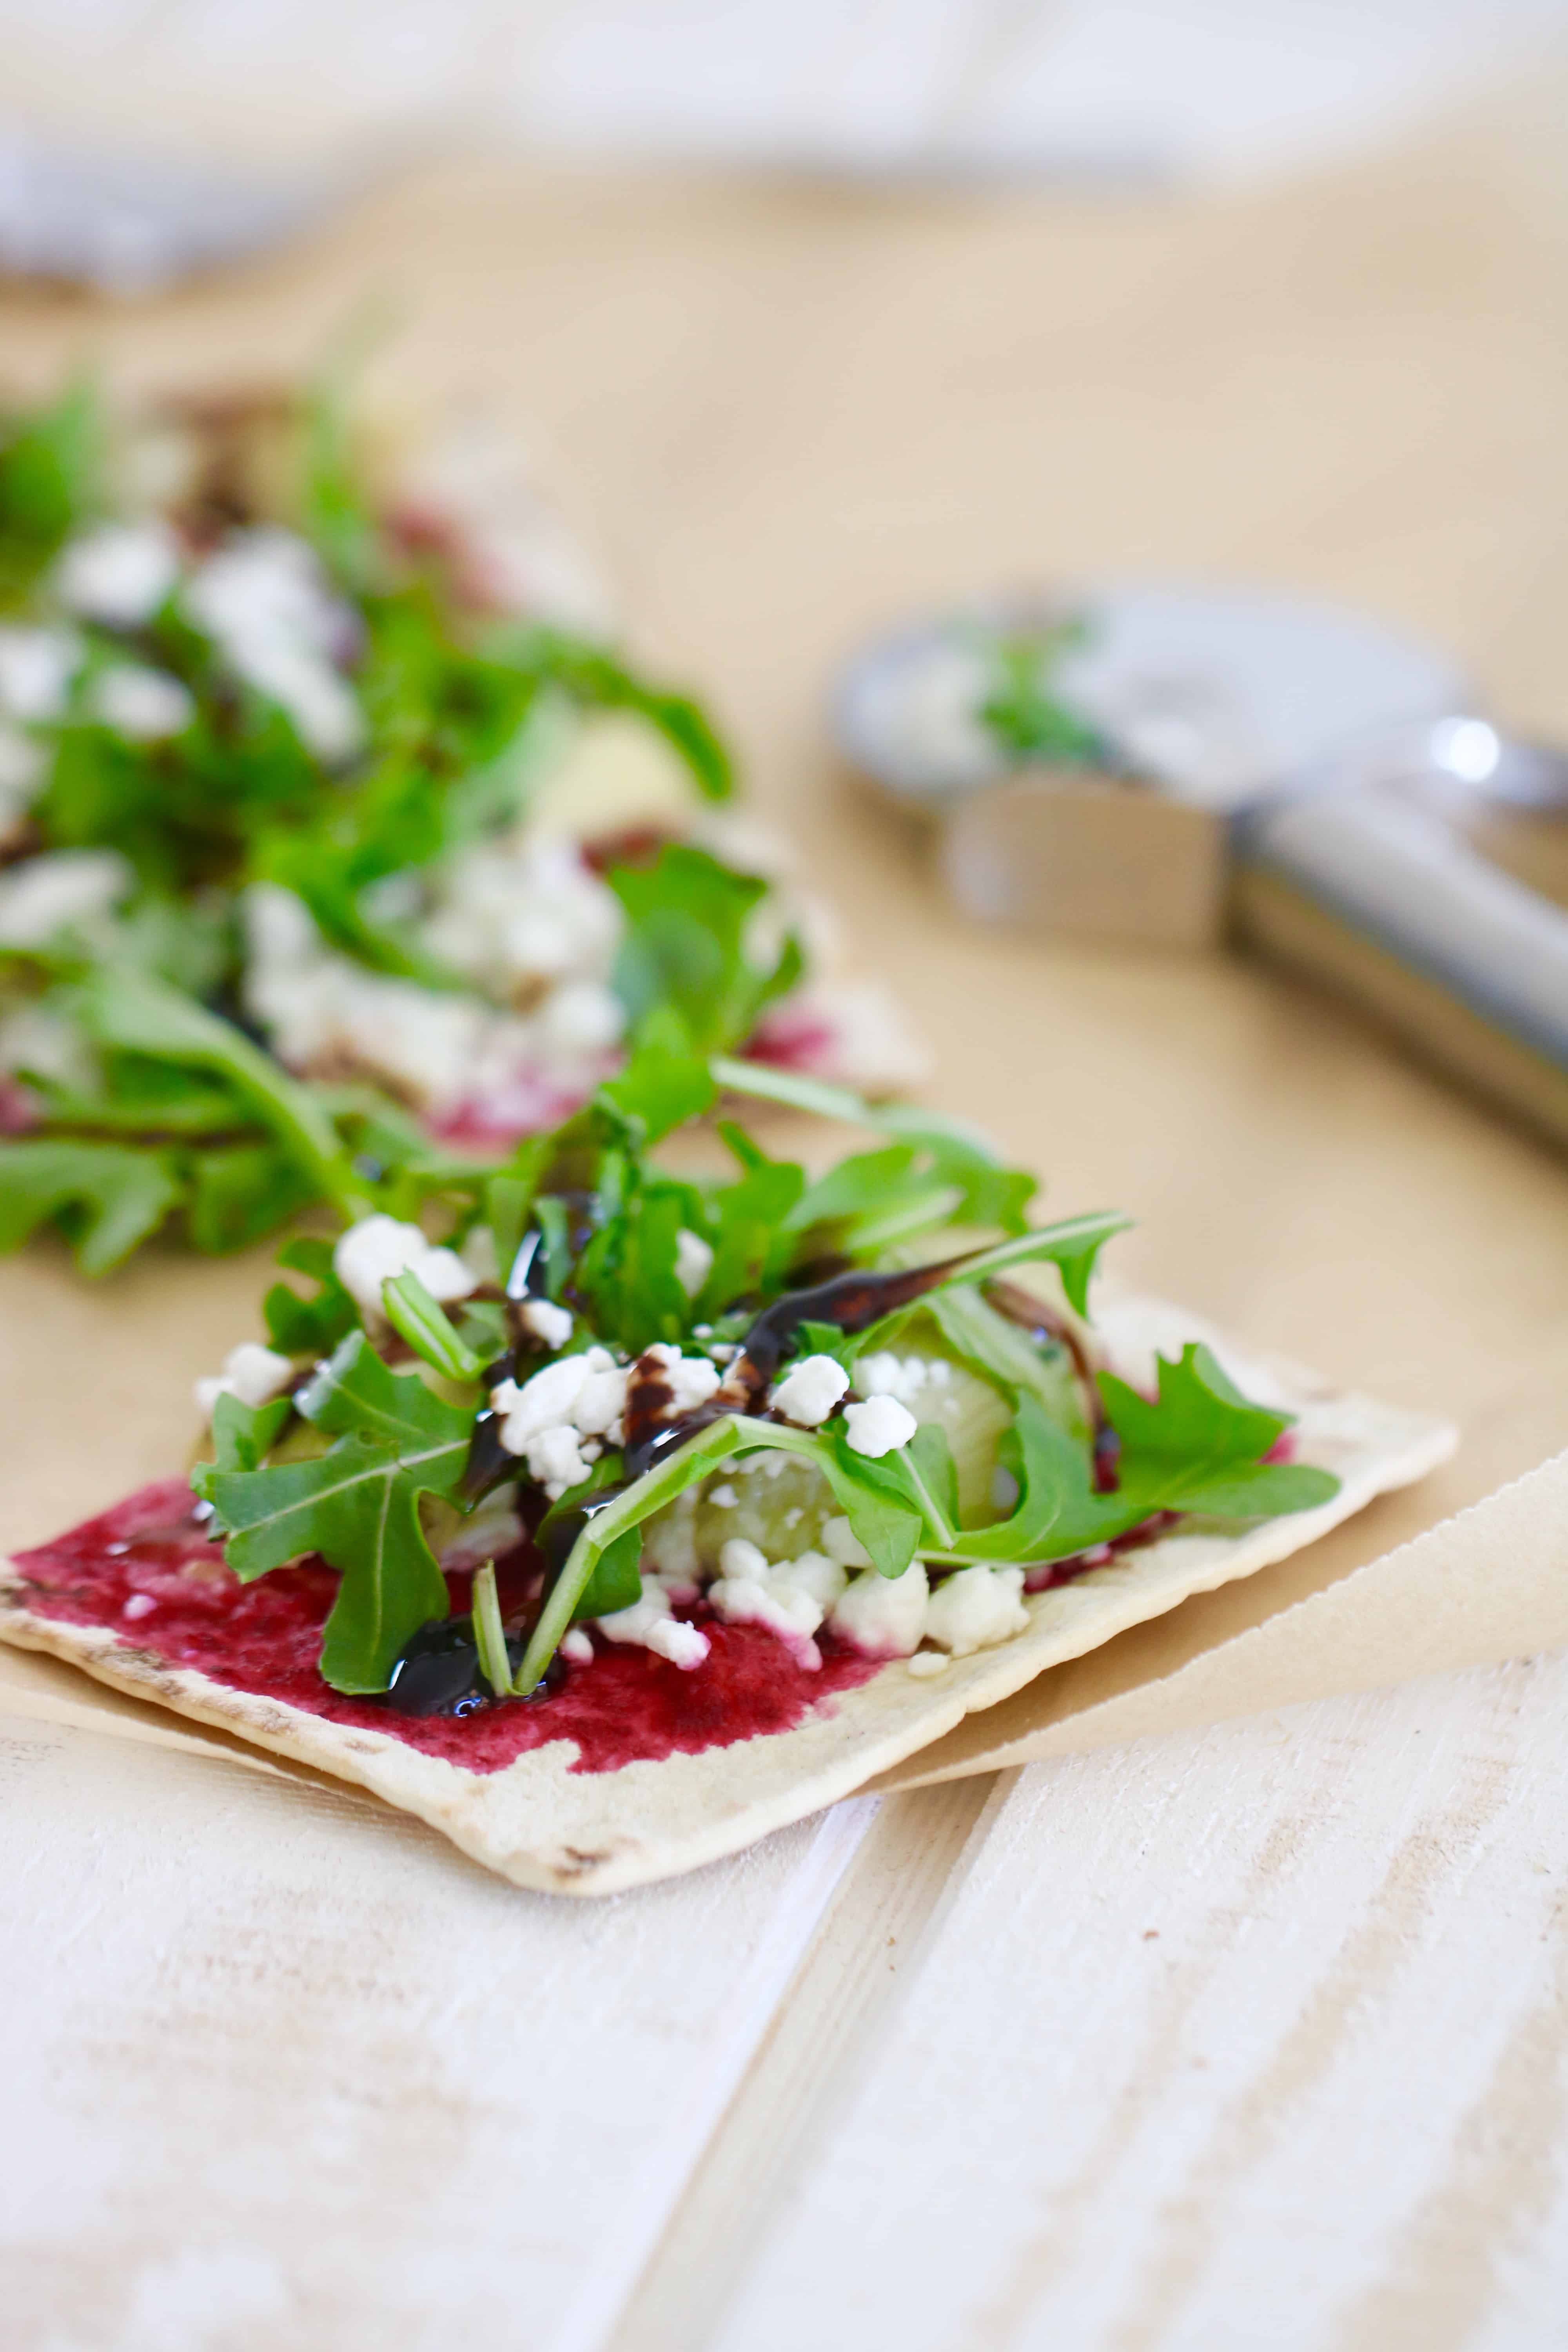
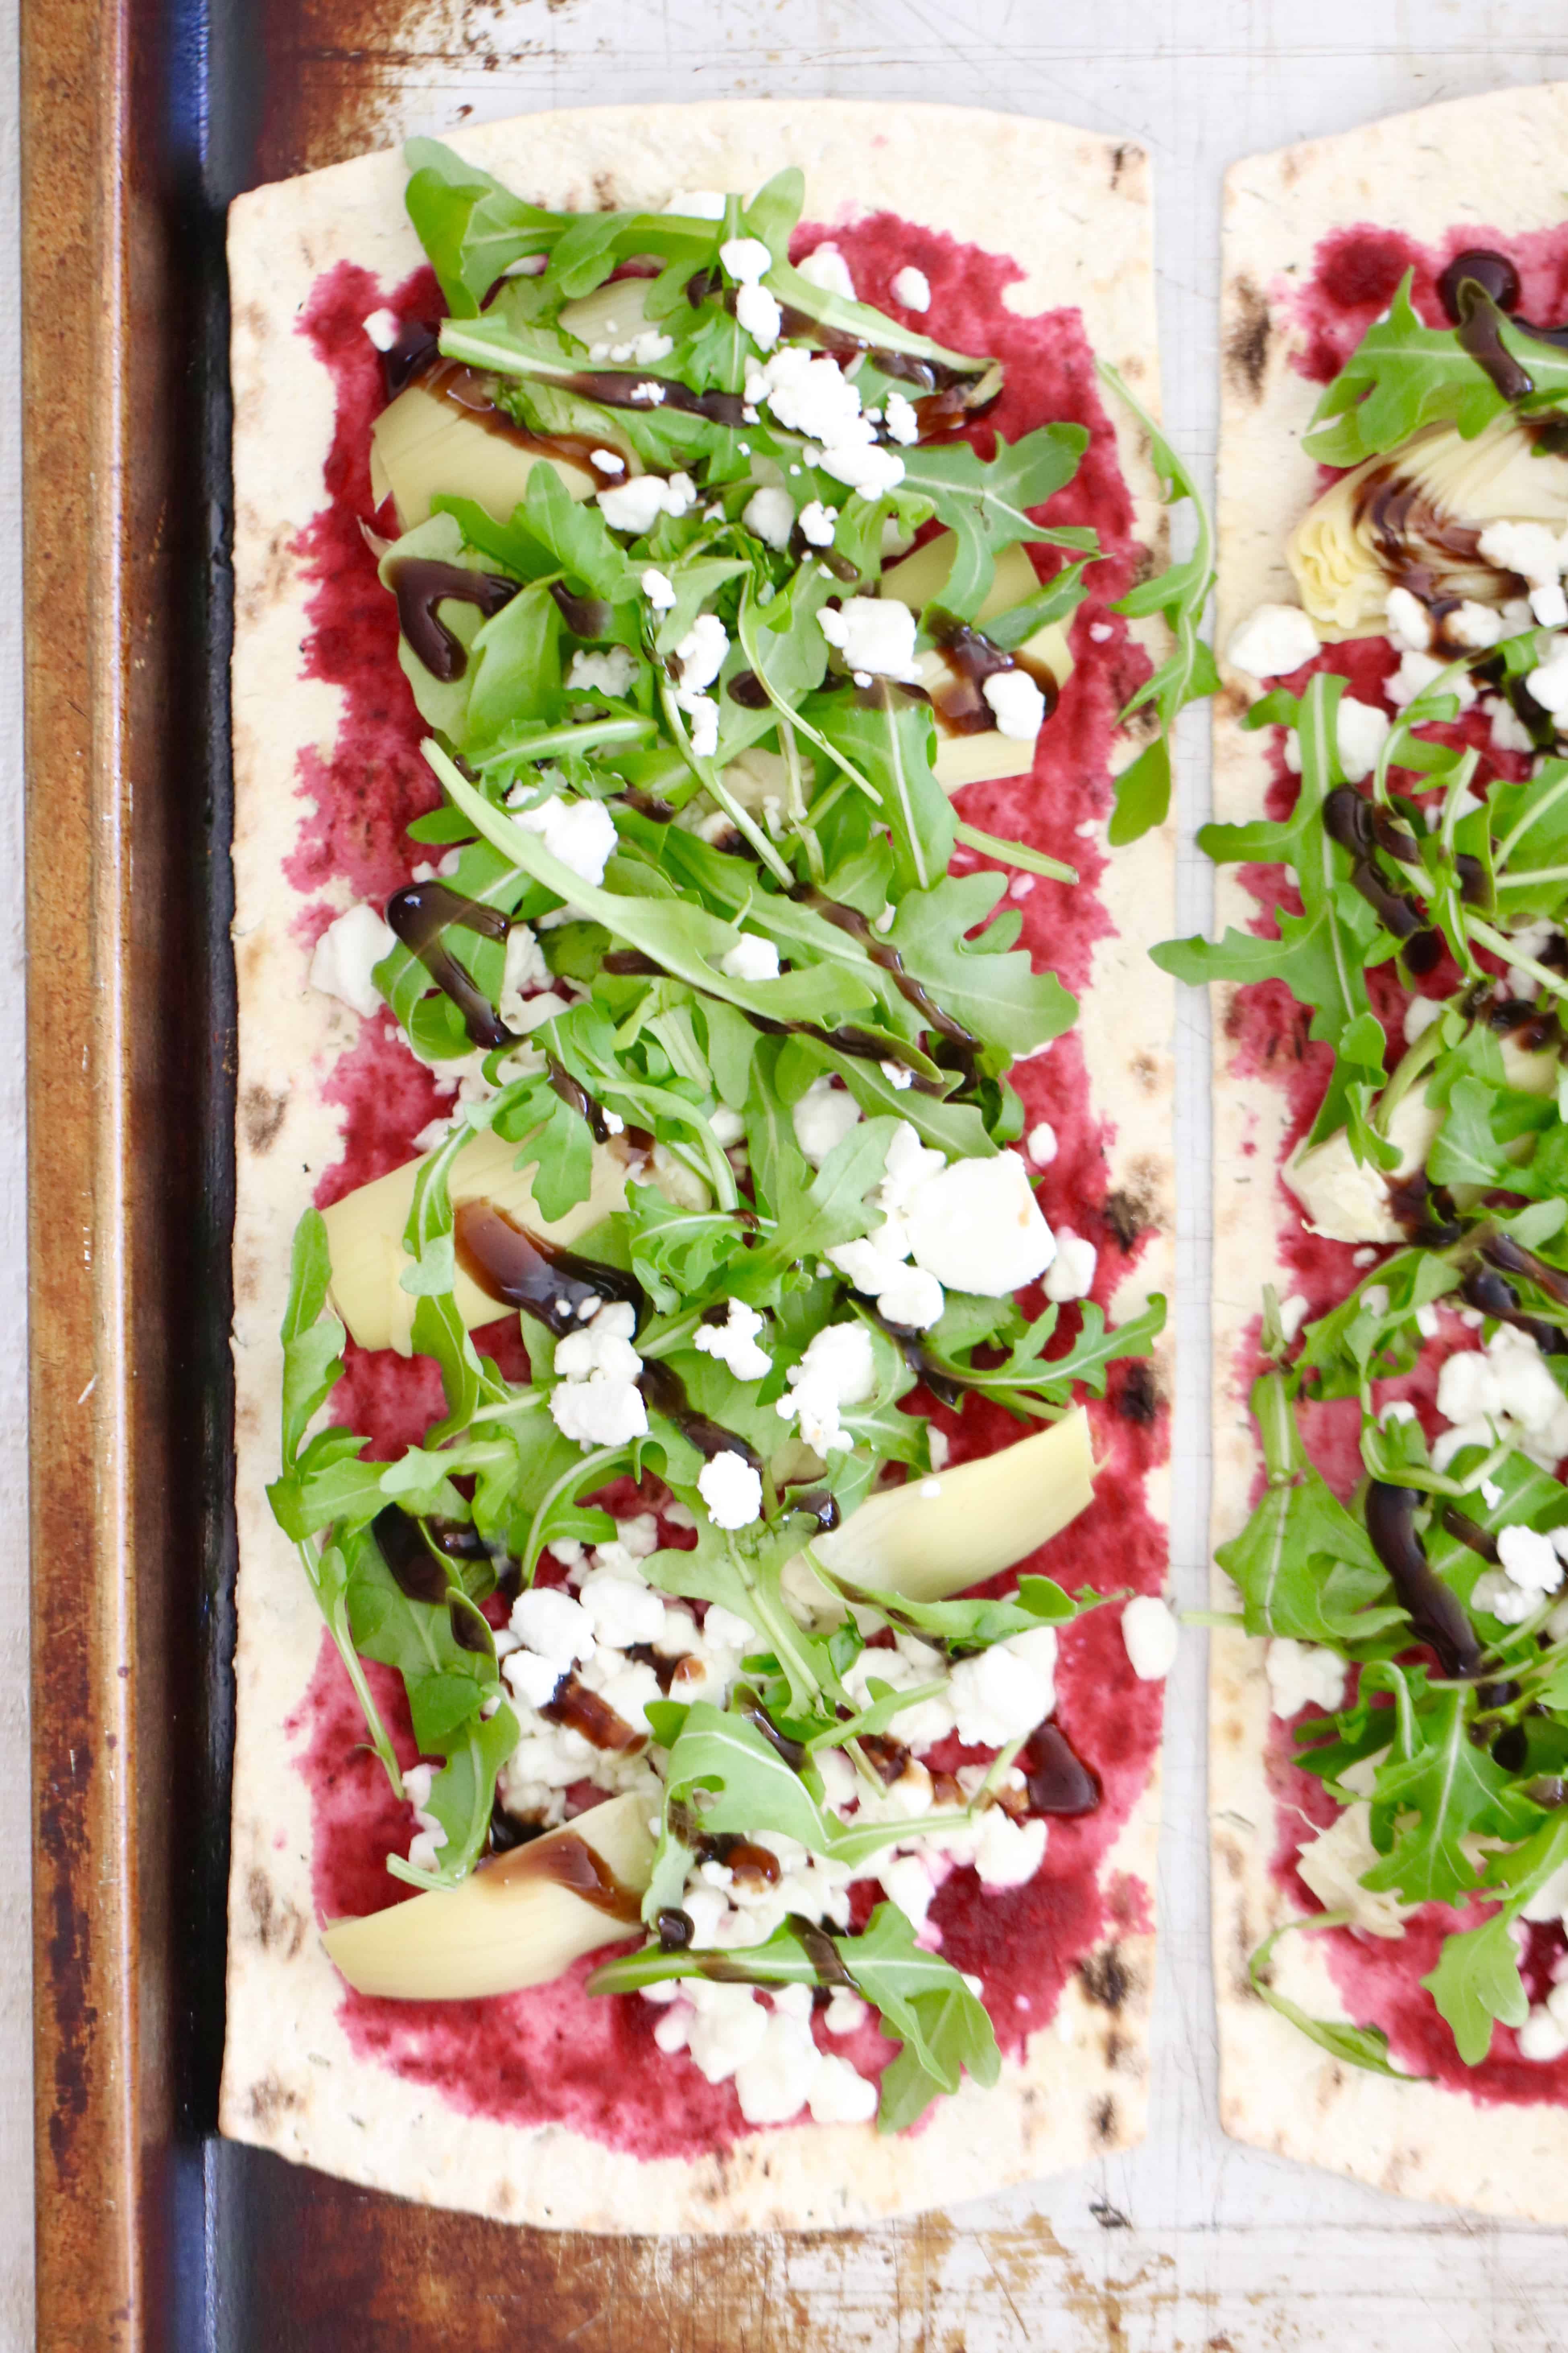
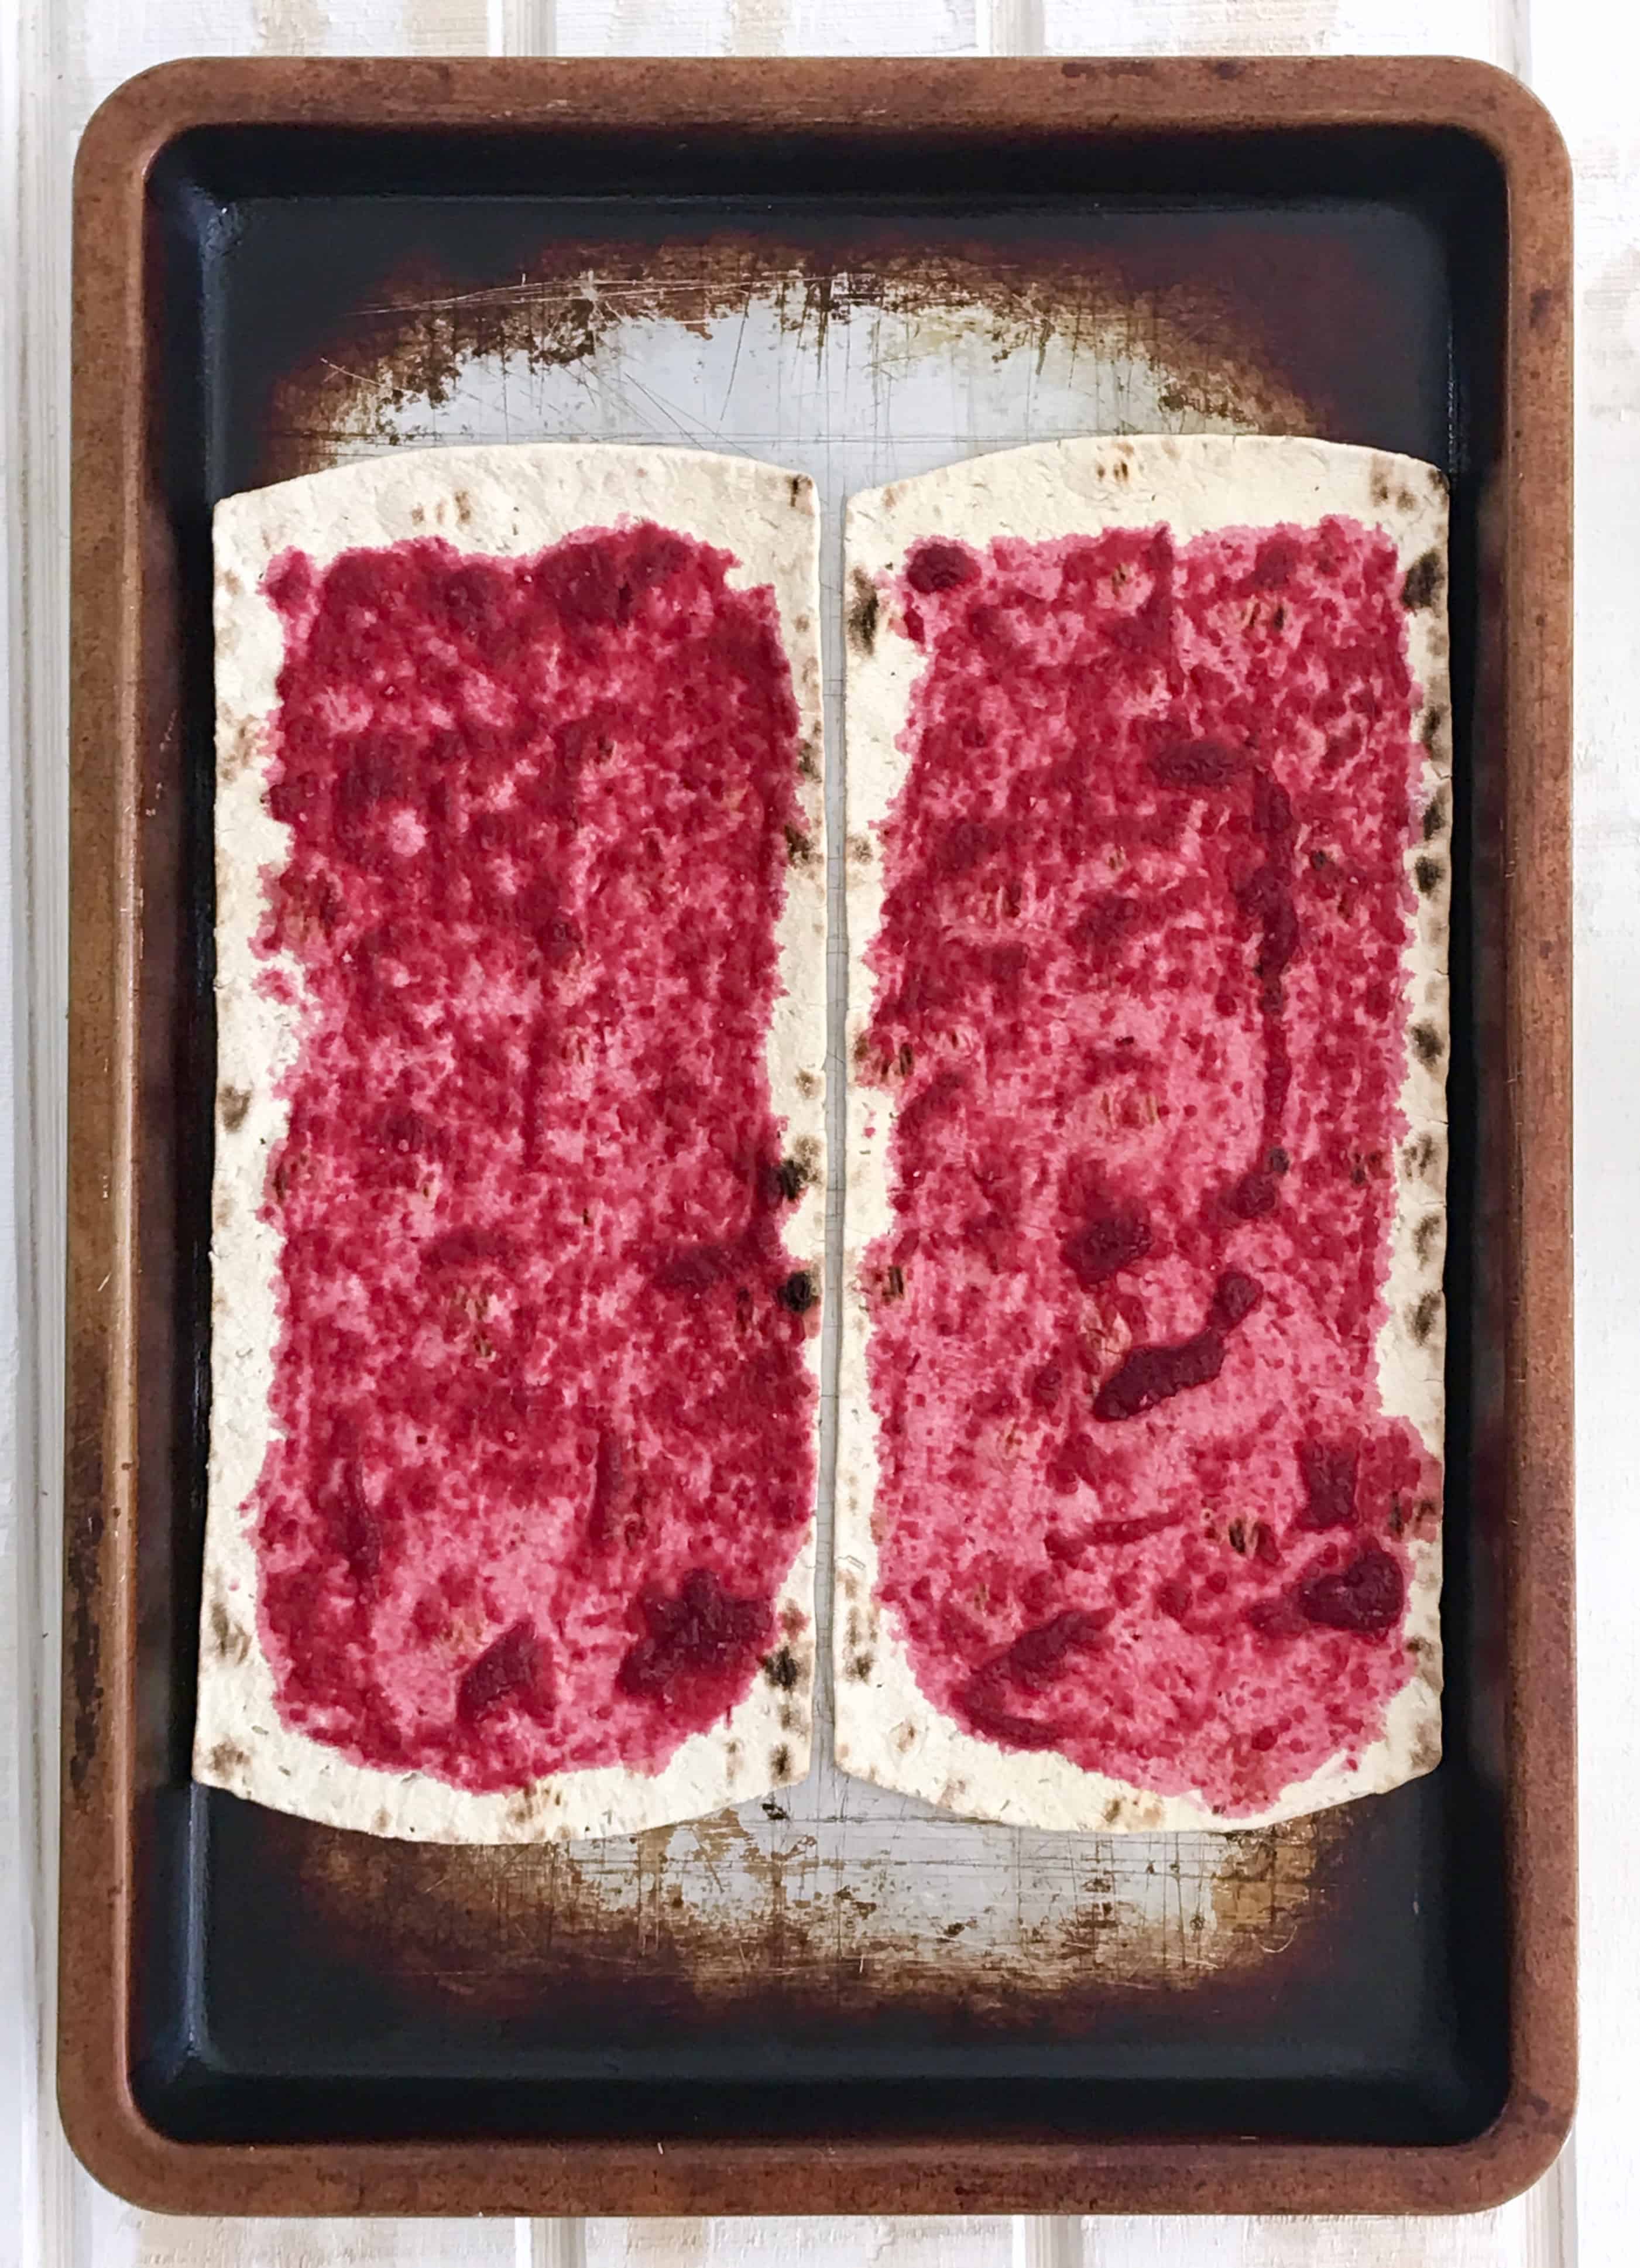
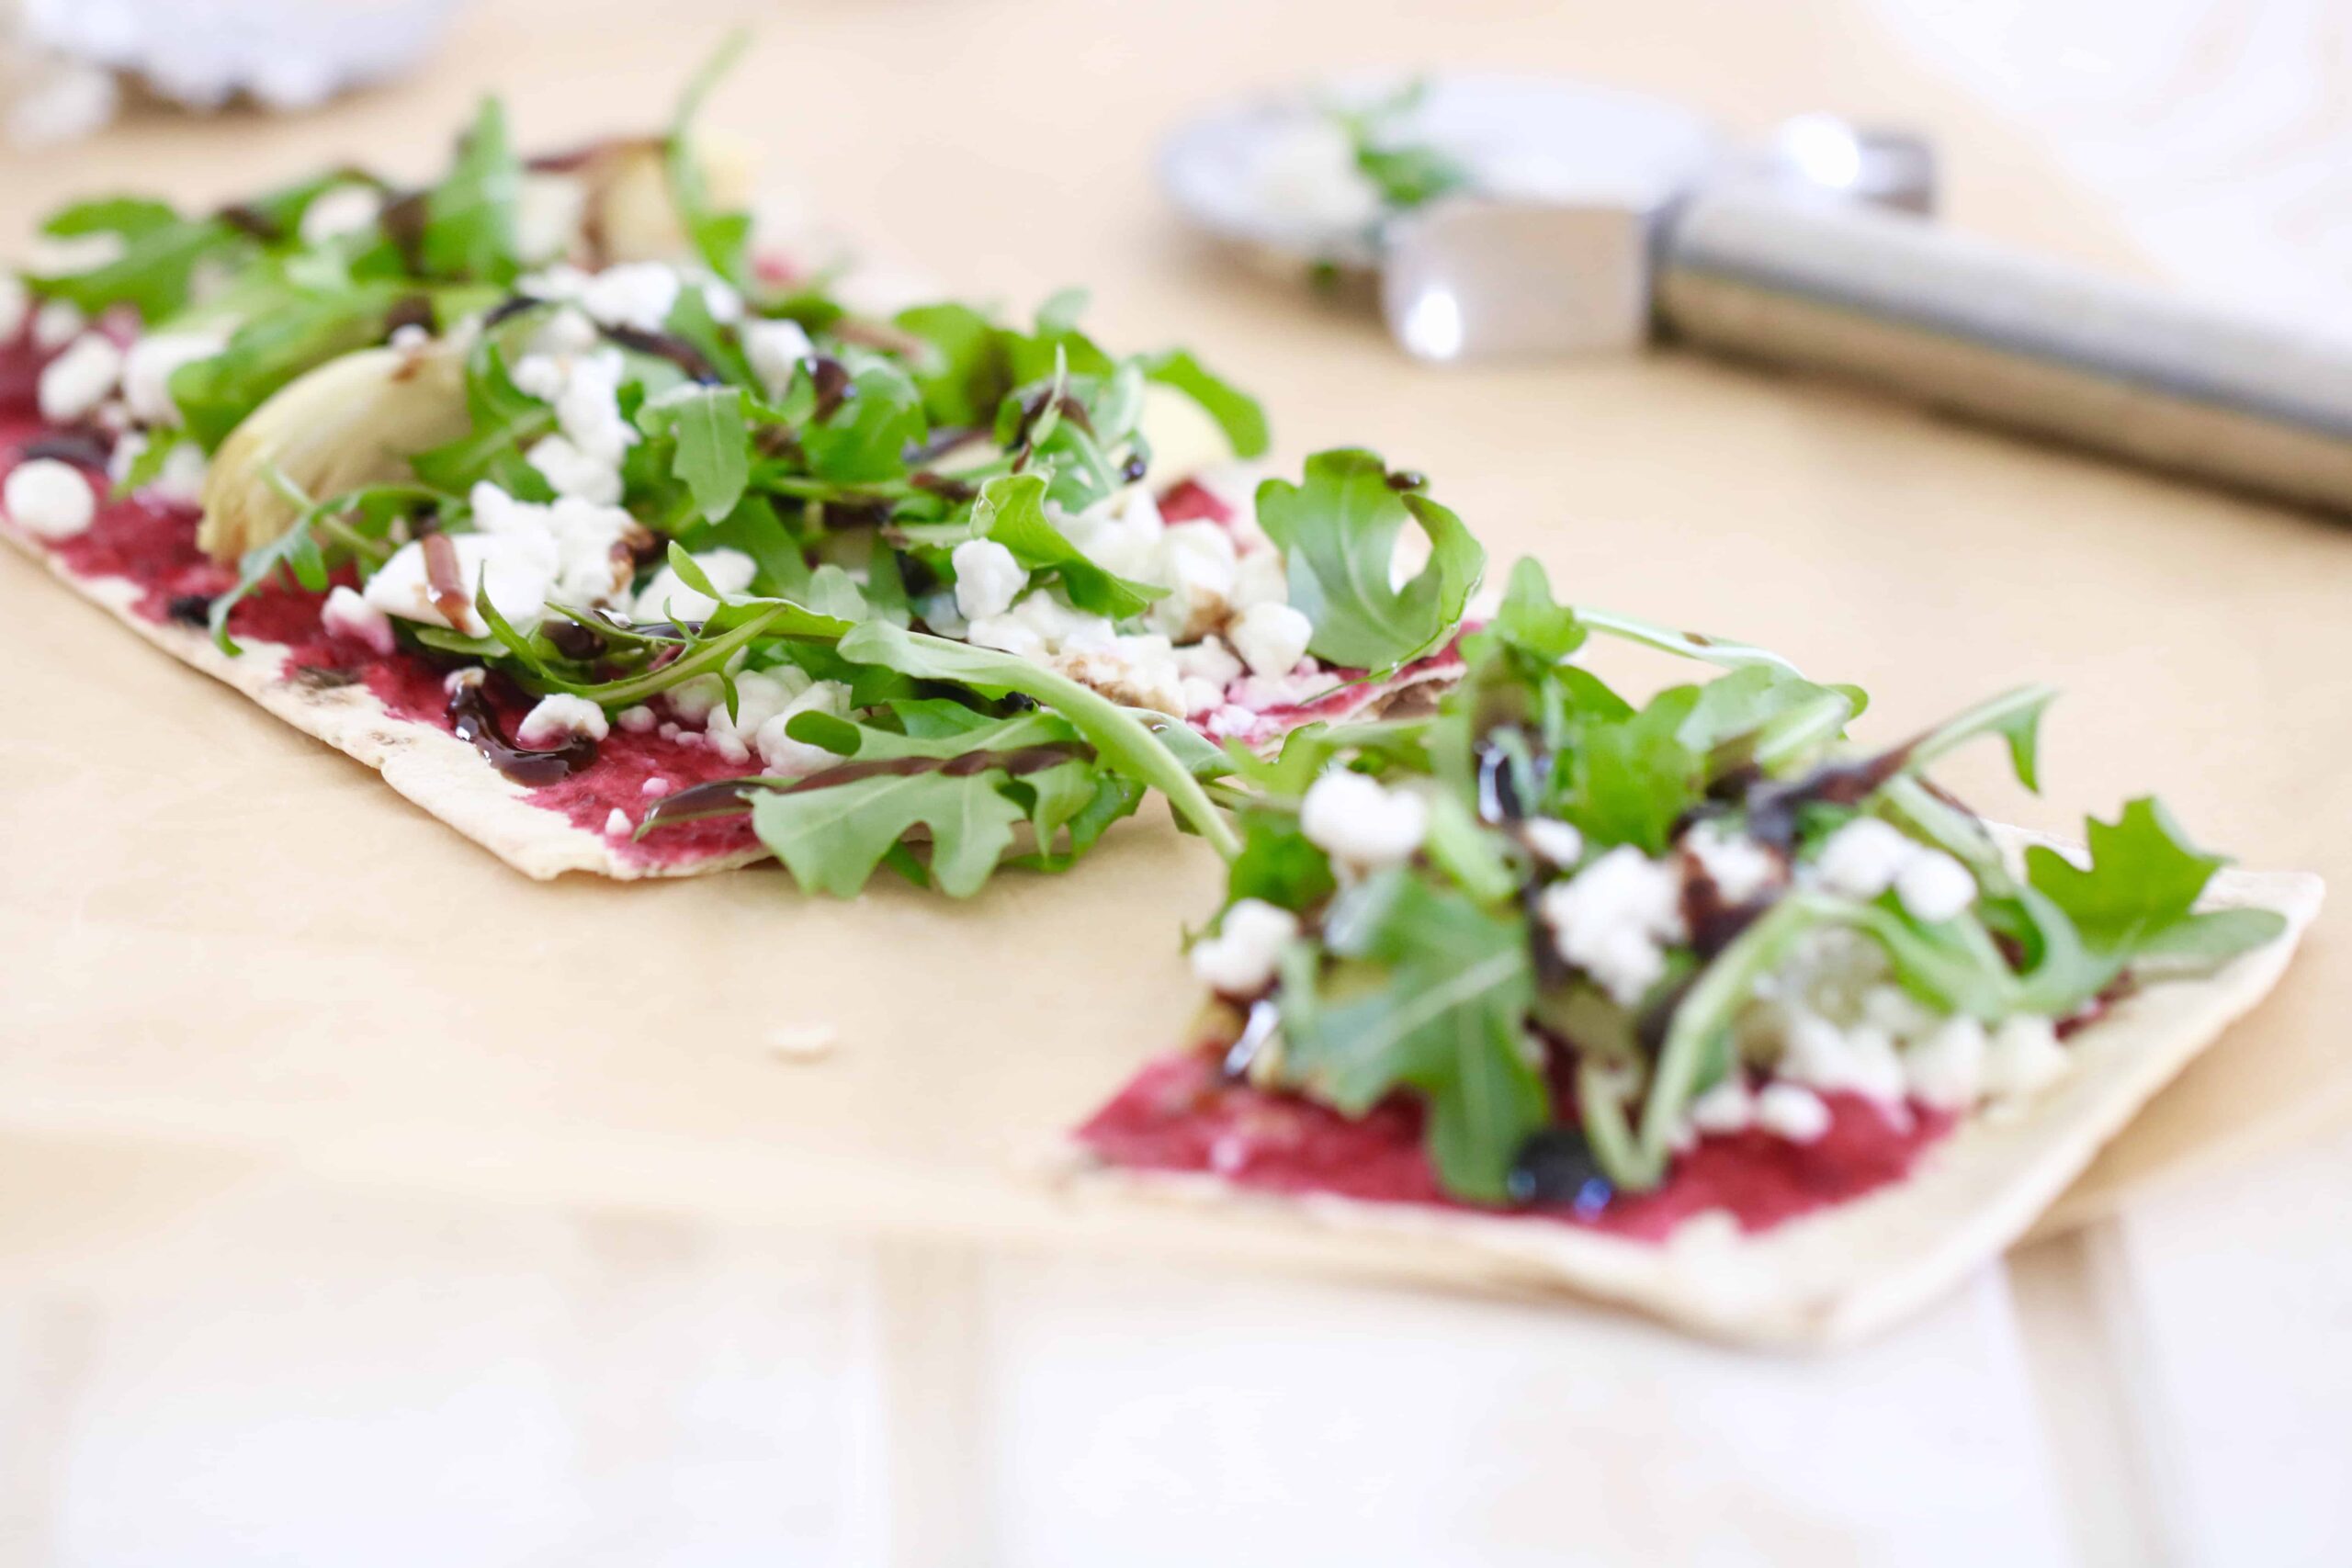
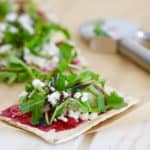
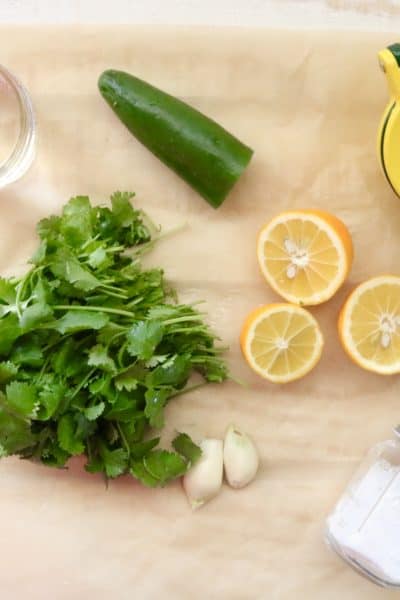
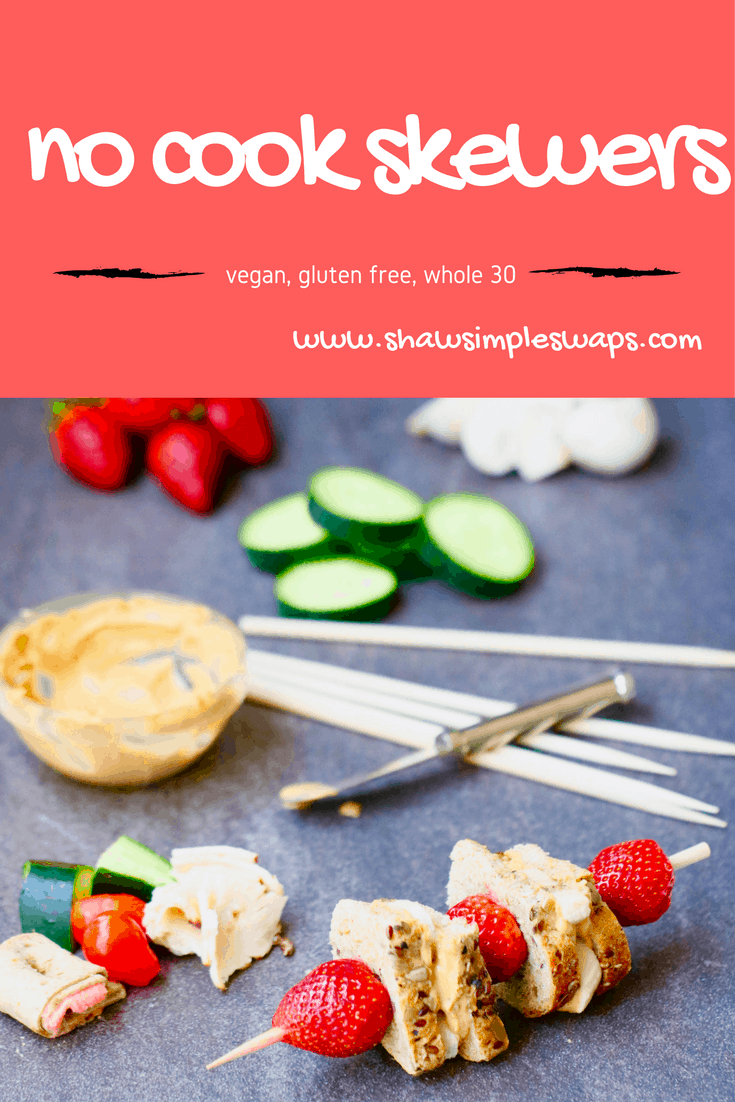 Head on over to Shape Magazine to grab the recipes for these No Cook Picnic Snacks and let me know where to meet you!
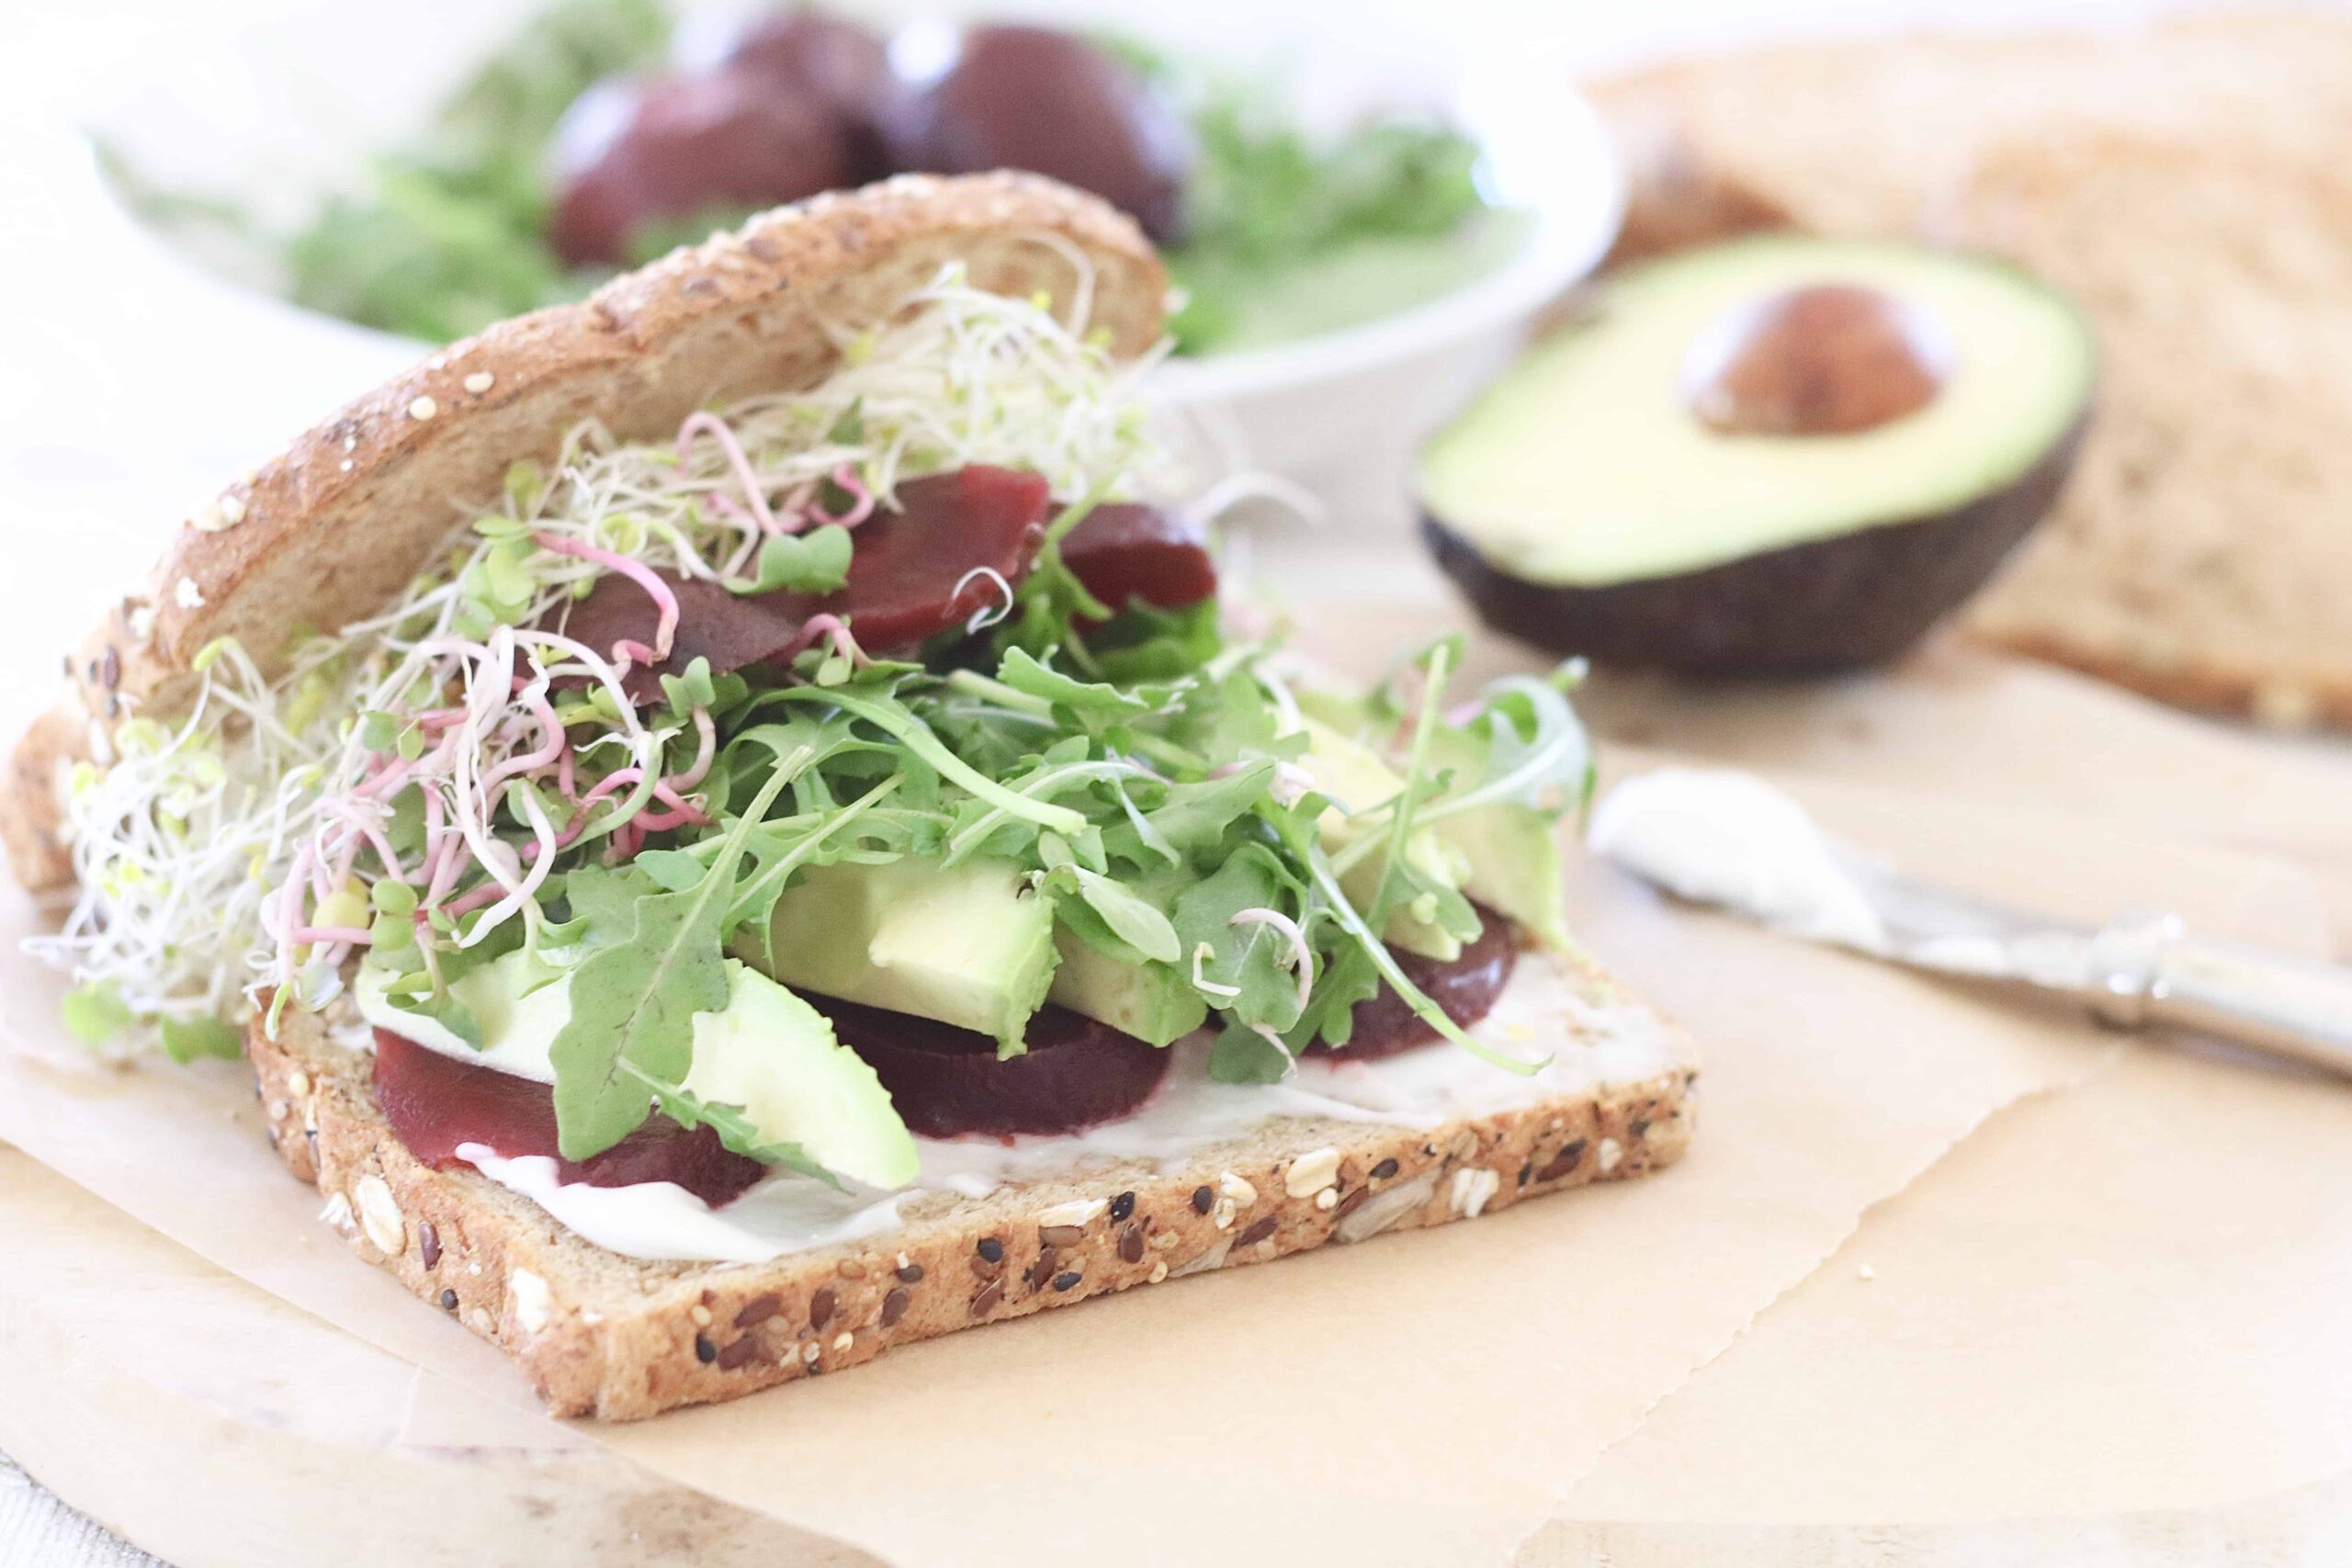
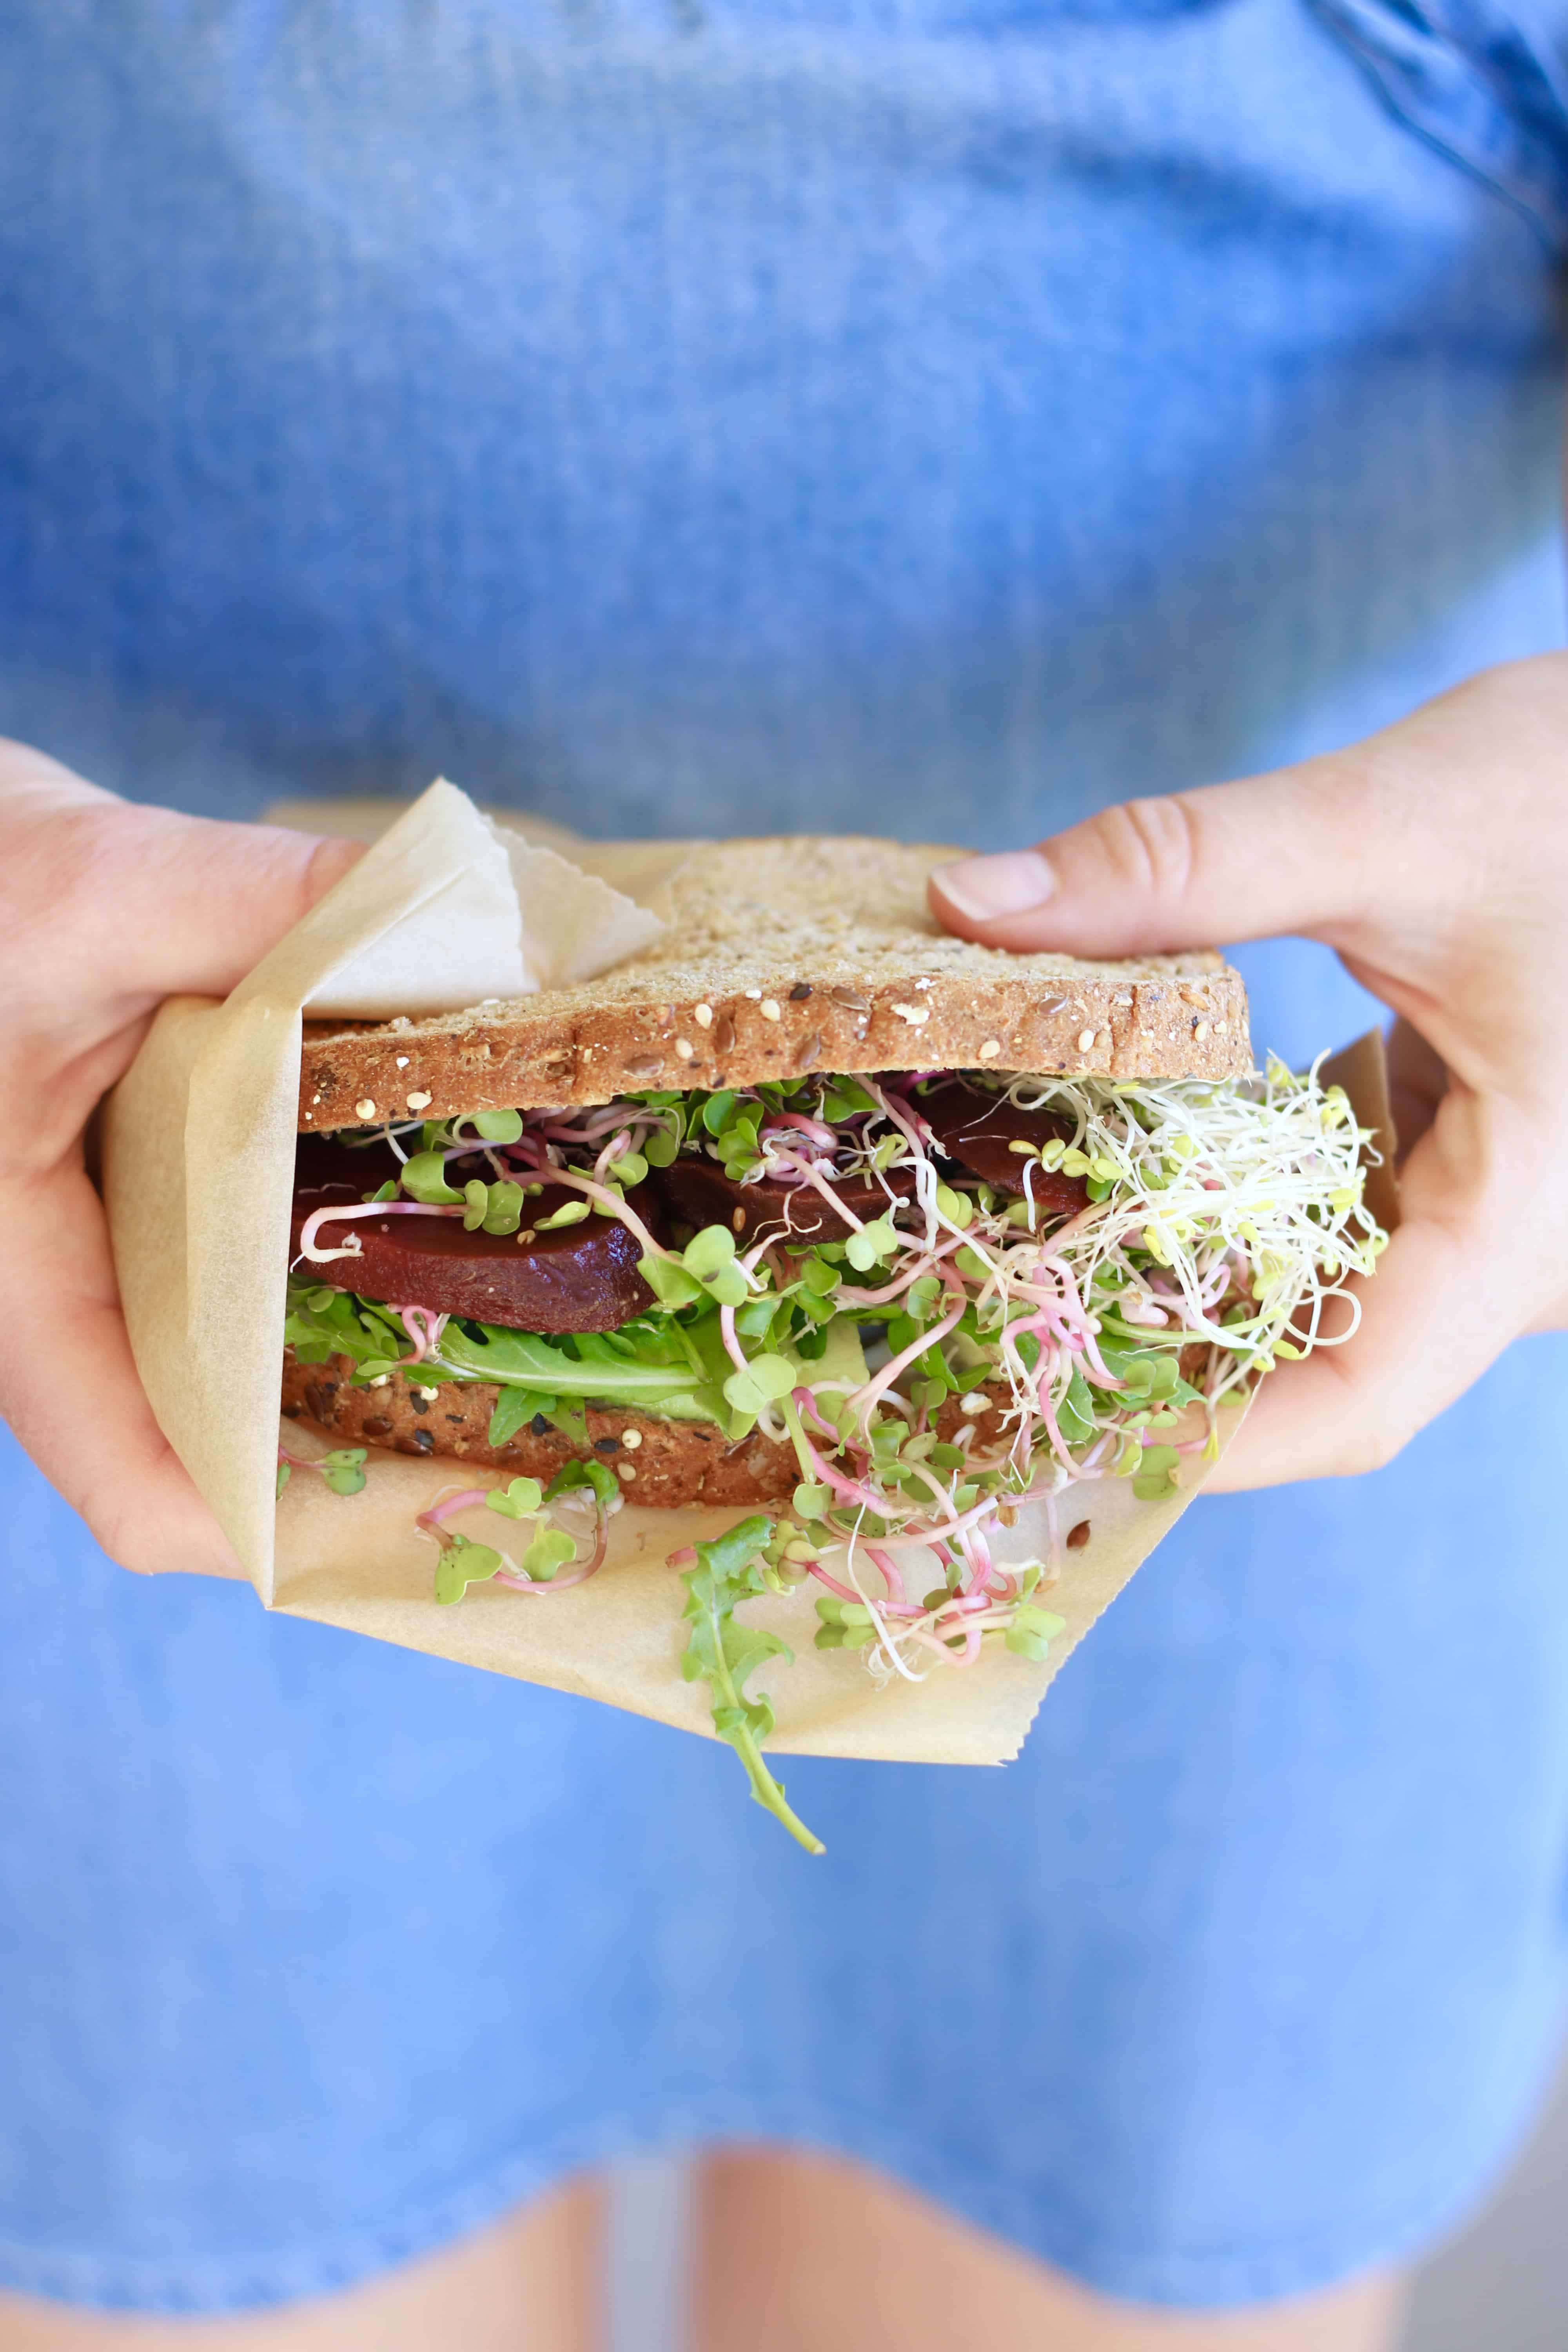 Now, tell me, are you a beet fan?
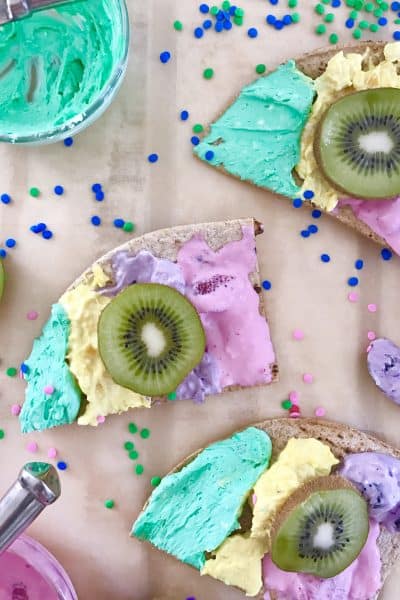


 How to become a Dietitian Entrepreneur: Resource Library


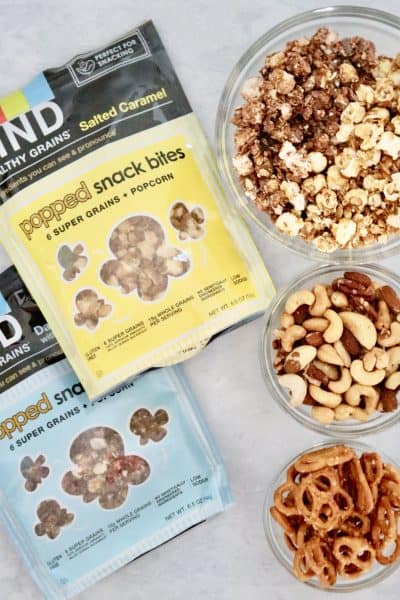
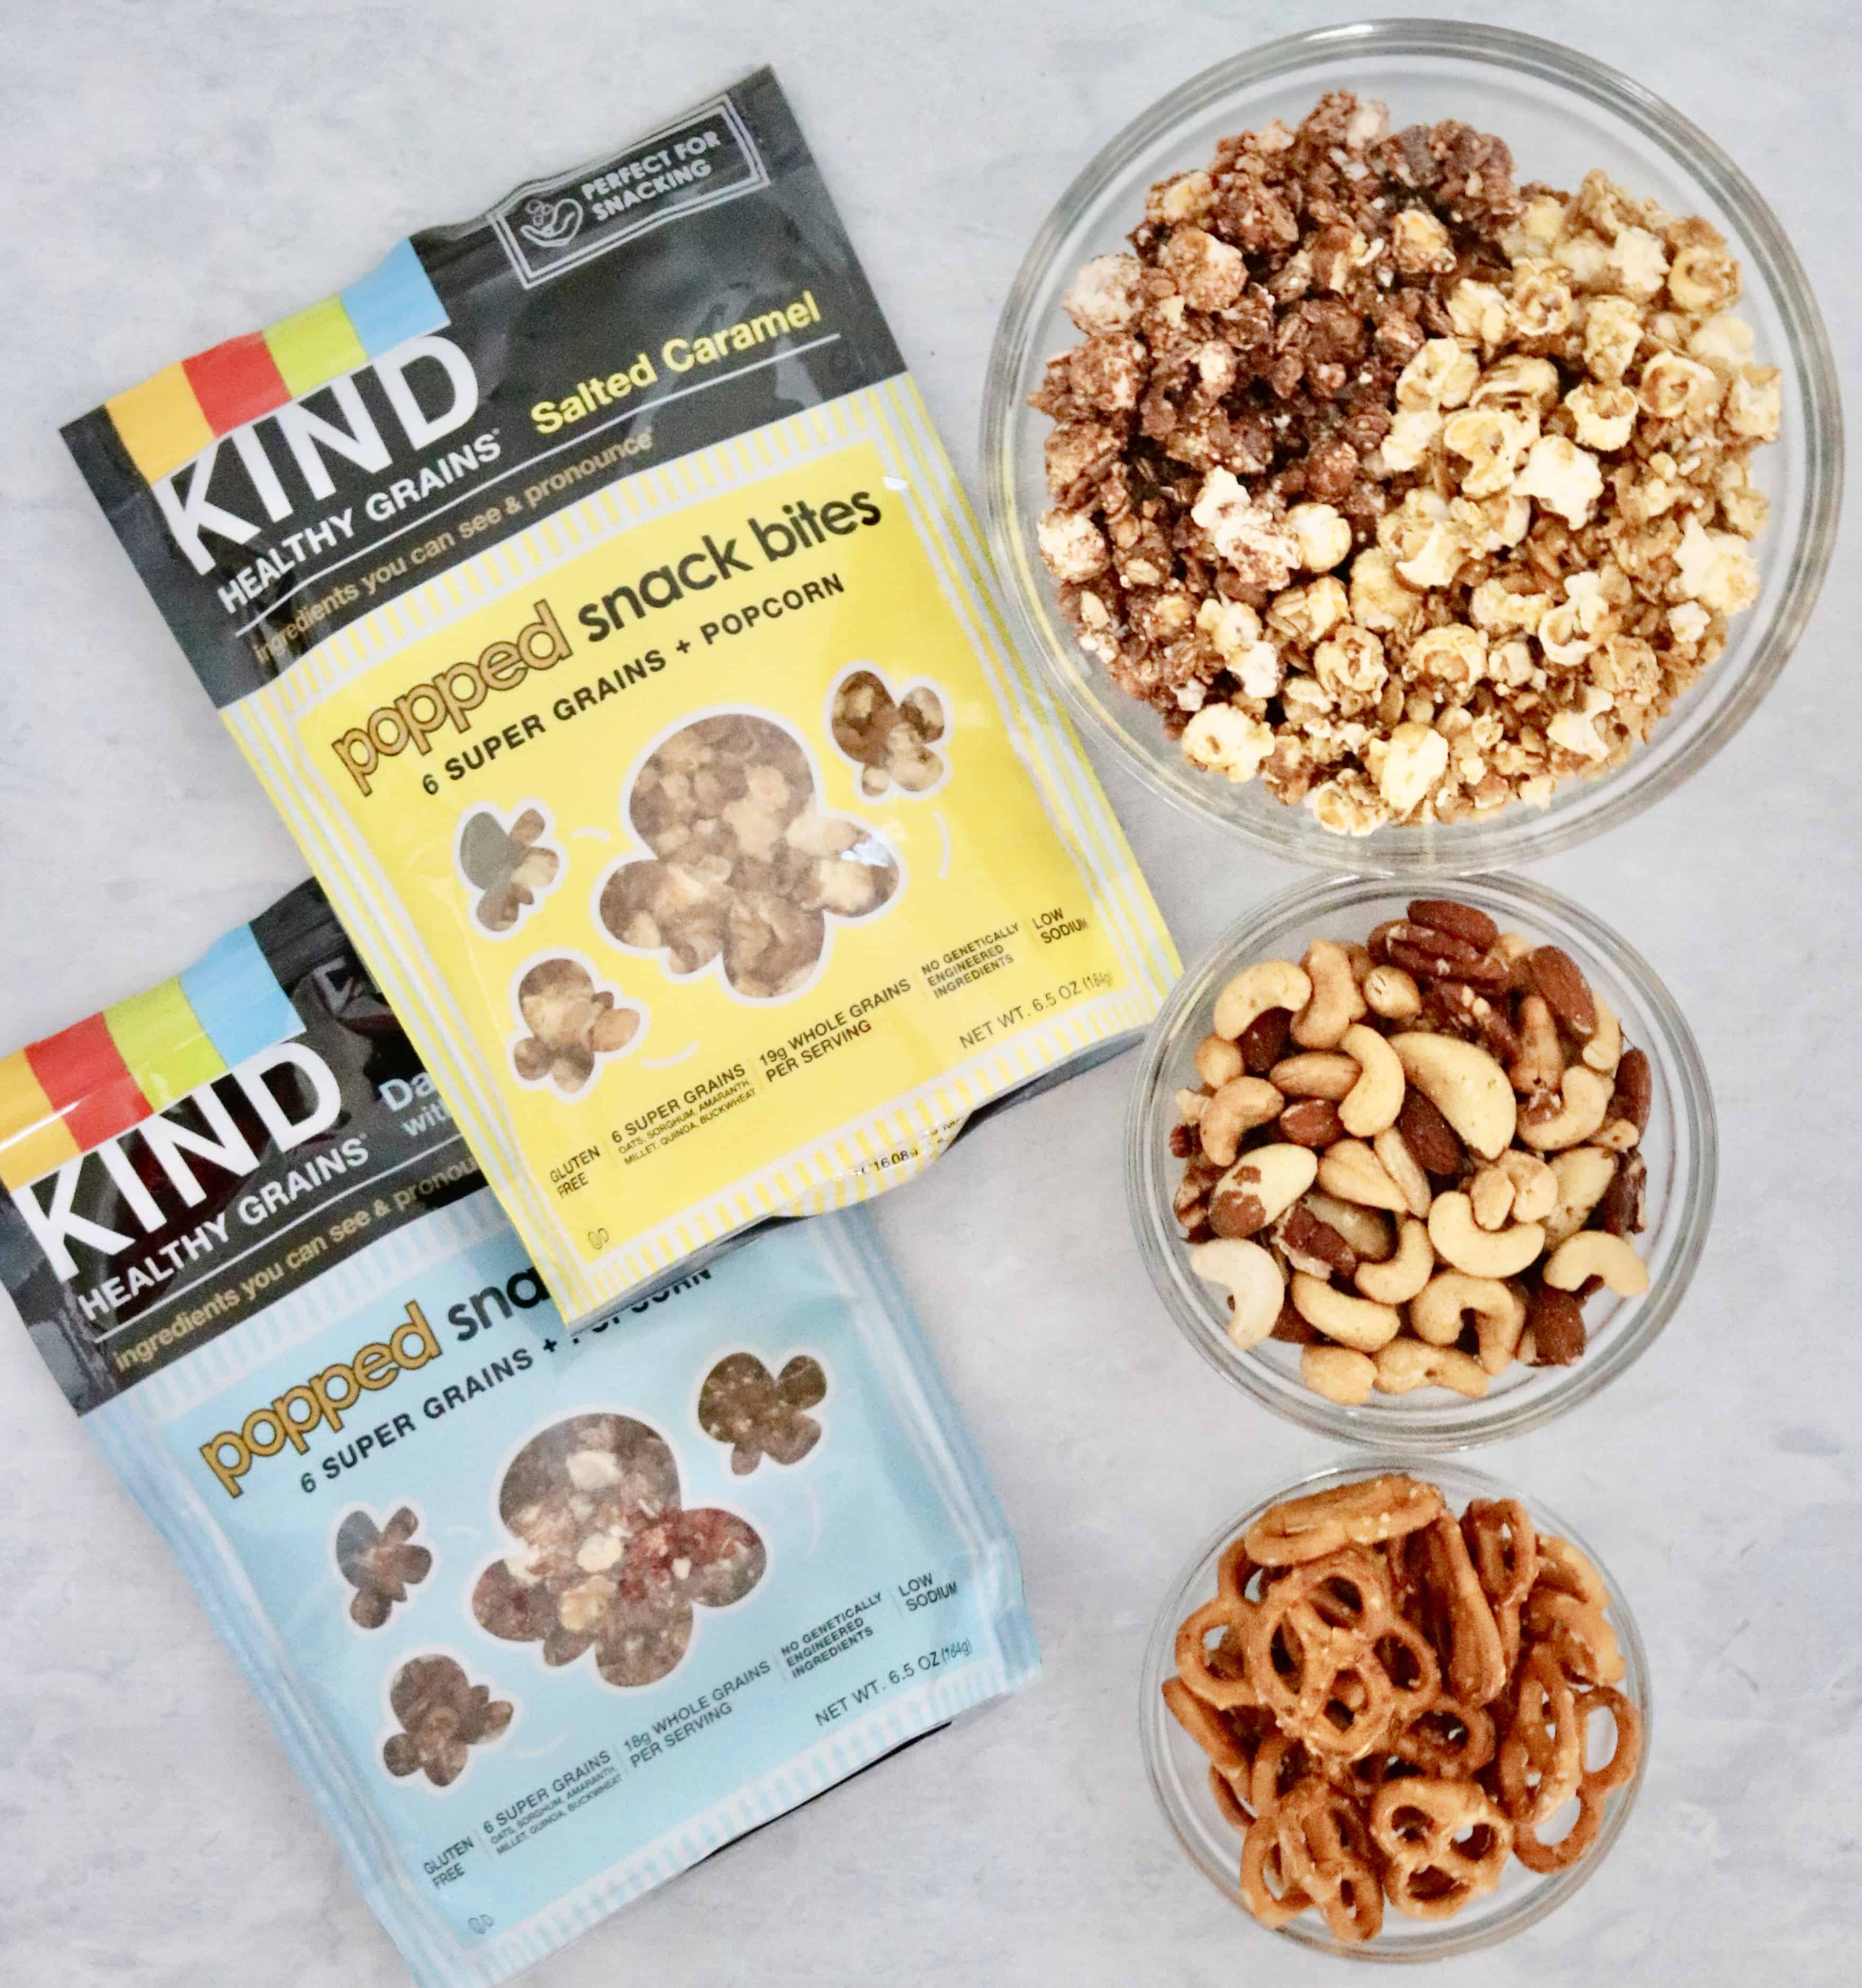 Disclosure: I received free samples of the KIND Popped Snack Bites used in this post, I was not compensated for my time. As always, I only use products and recommend the items I use in the Shaw Kitchen.
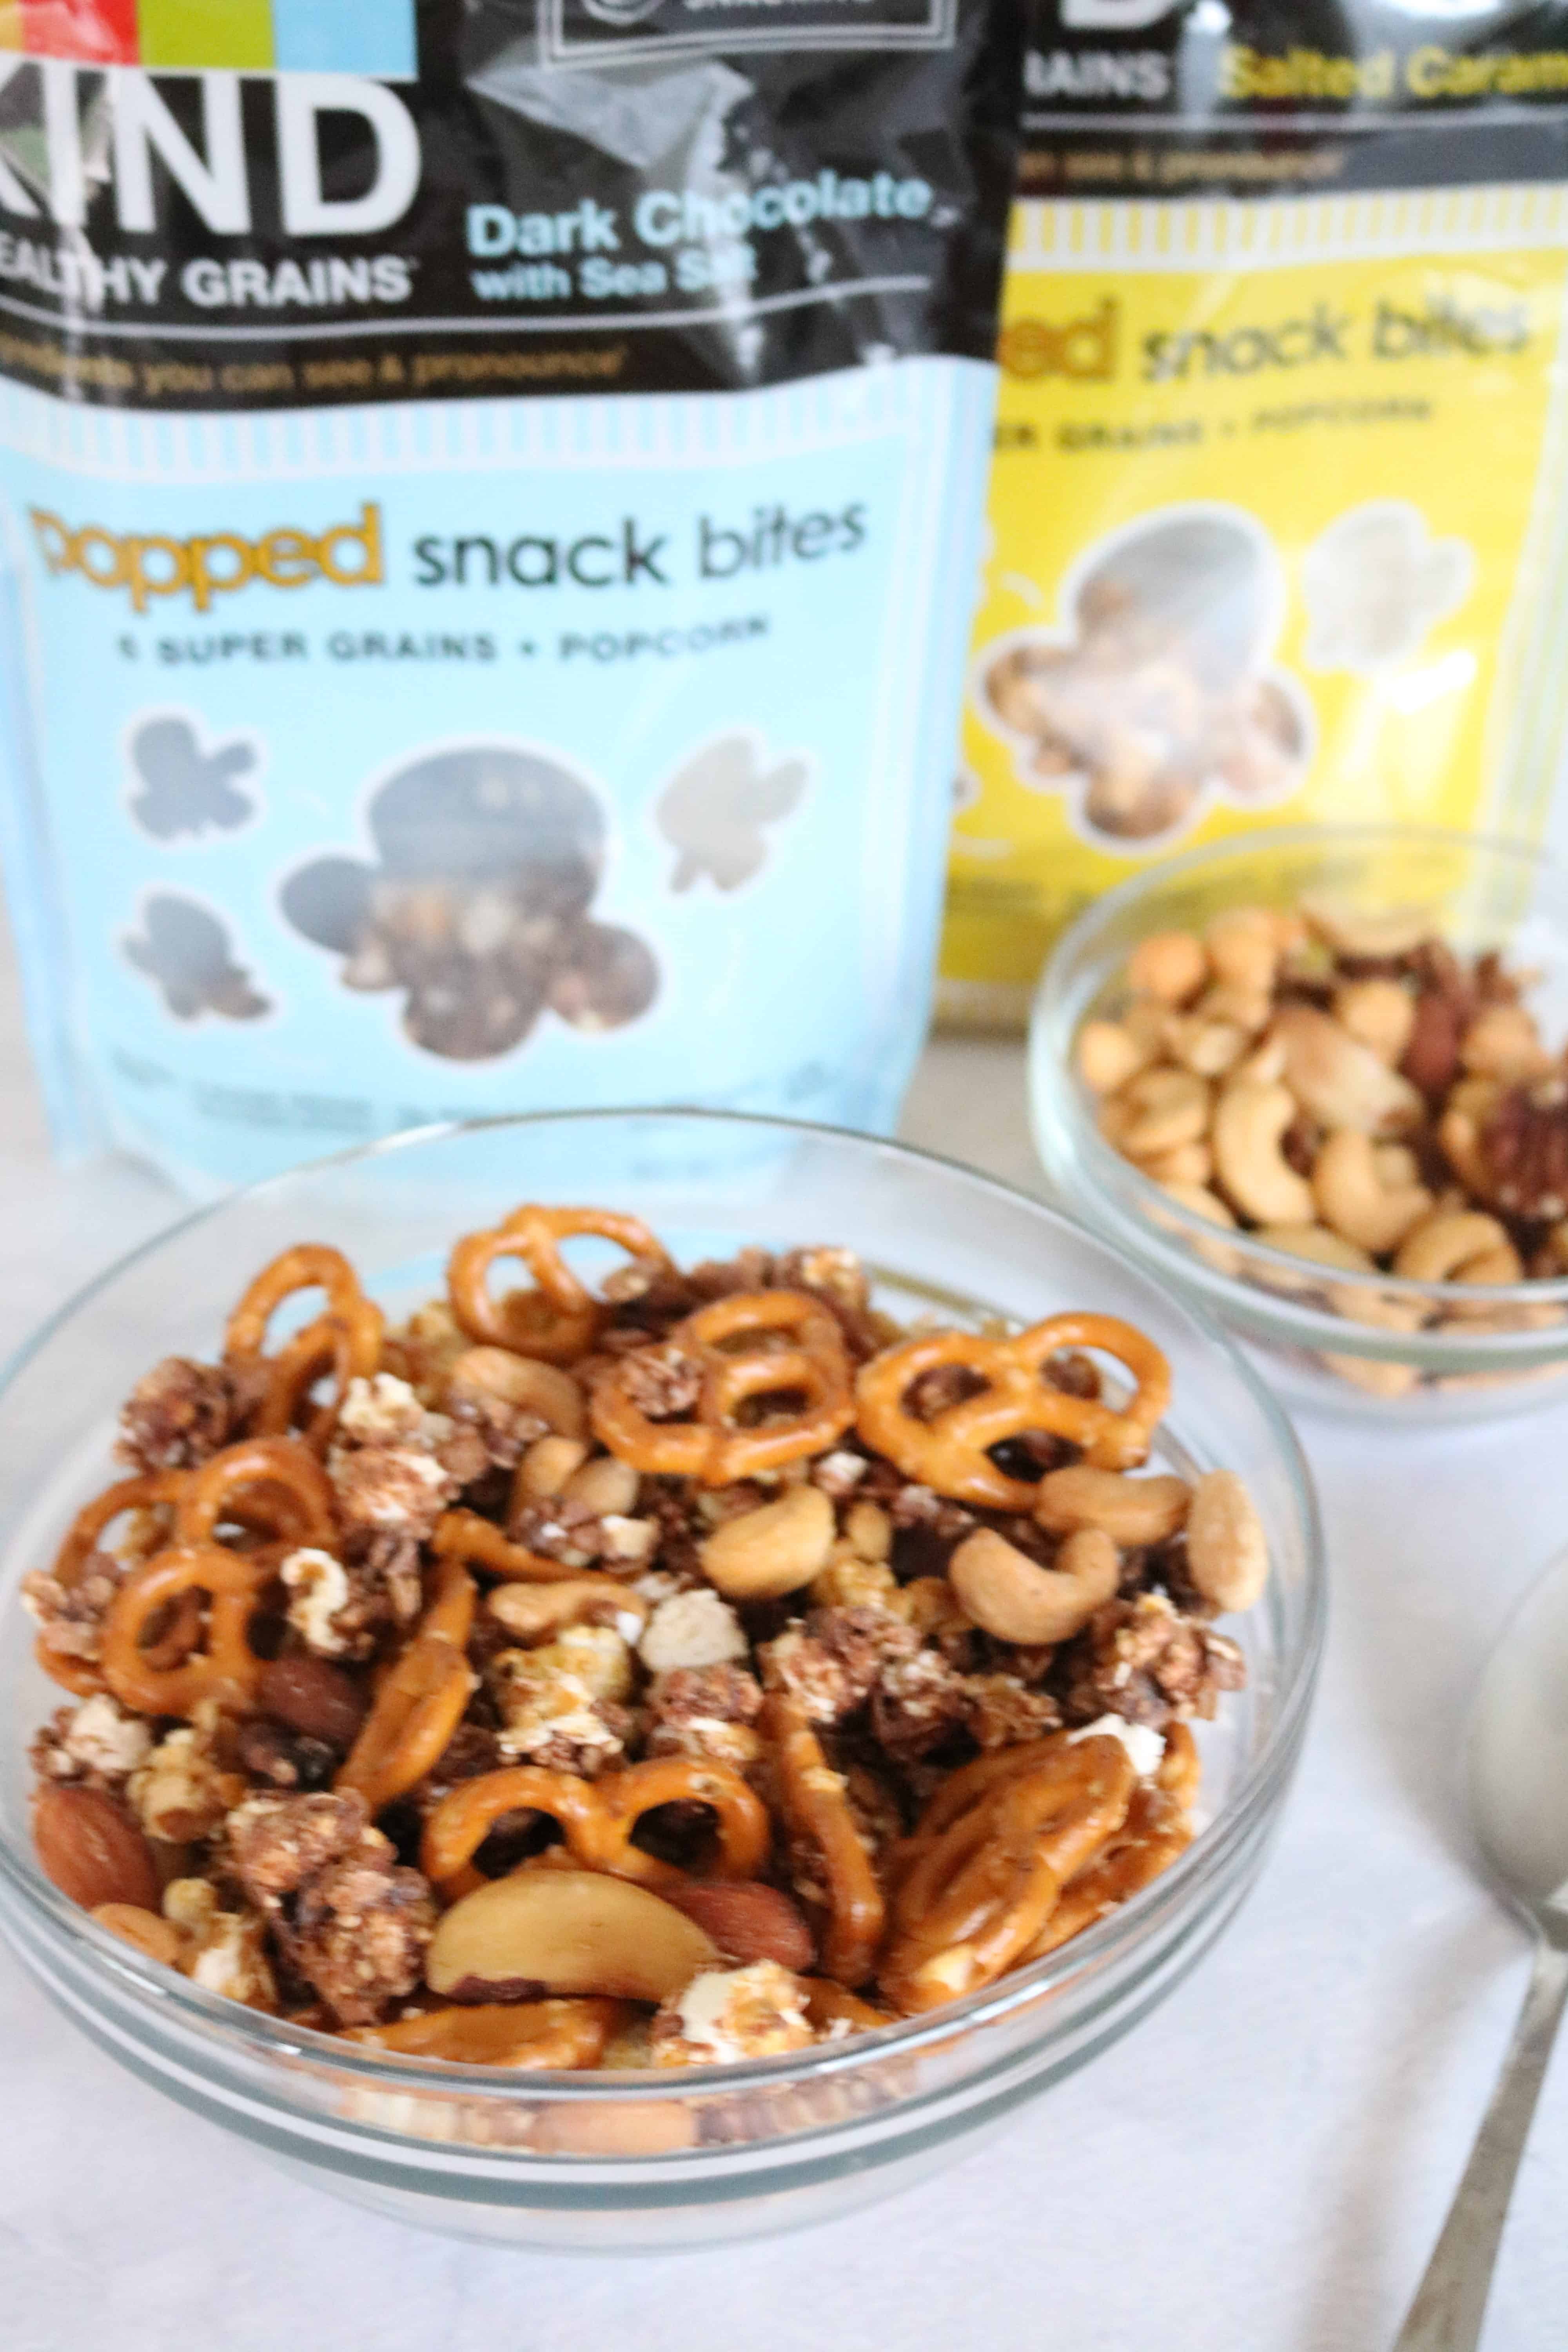 A few side notes as to why I love this Salted Caramel and Dark Chocolate Ancient Grain Snack Mix:
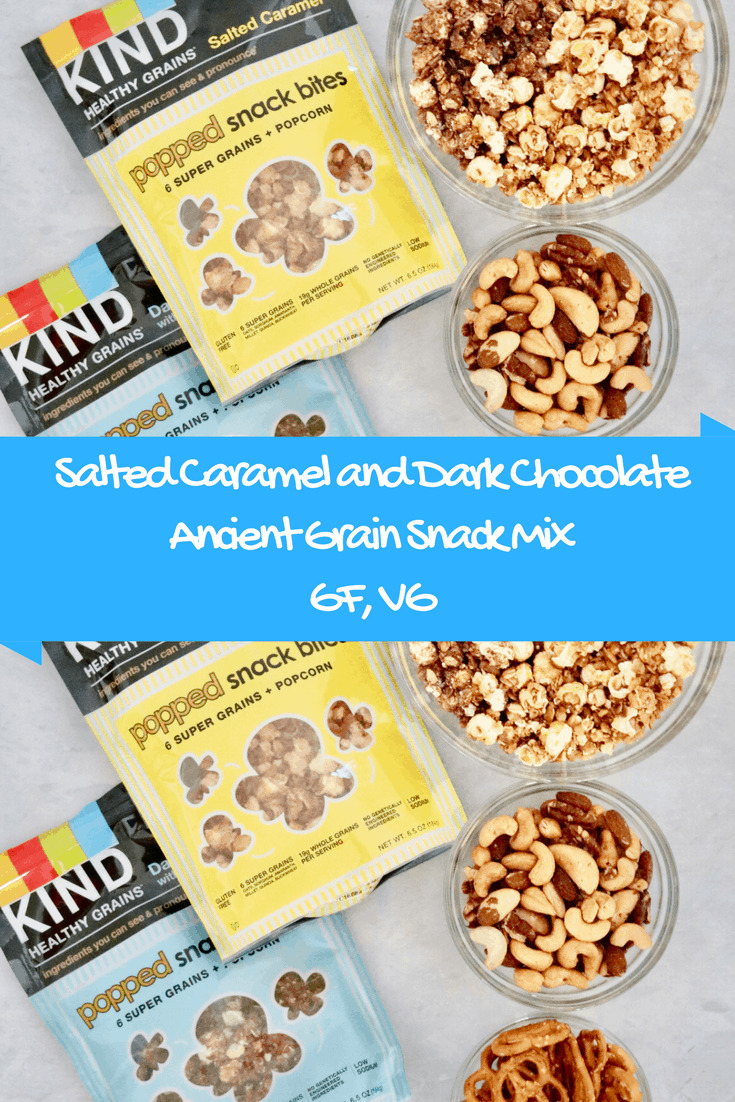


 I hope you learned a thing or two on this week’s Ask the RDN!